Kinkku (gammon)

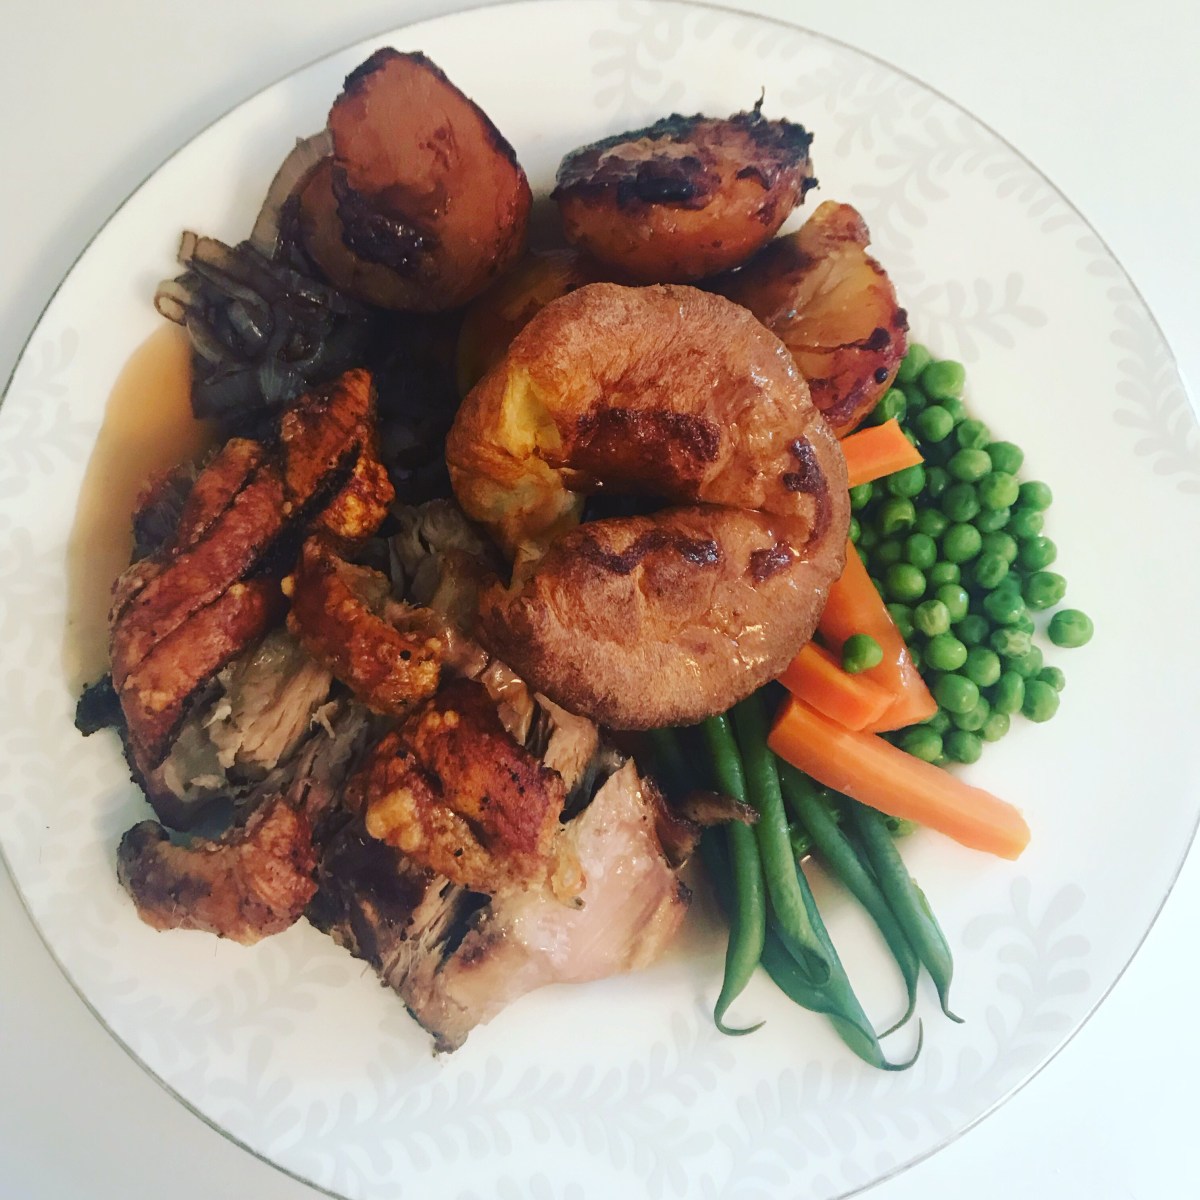
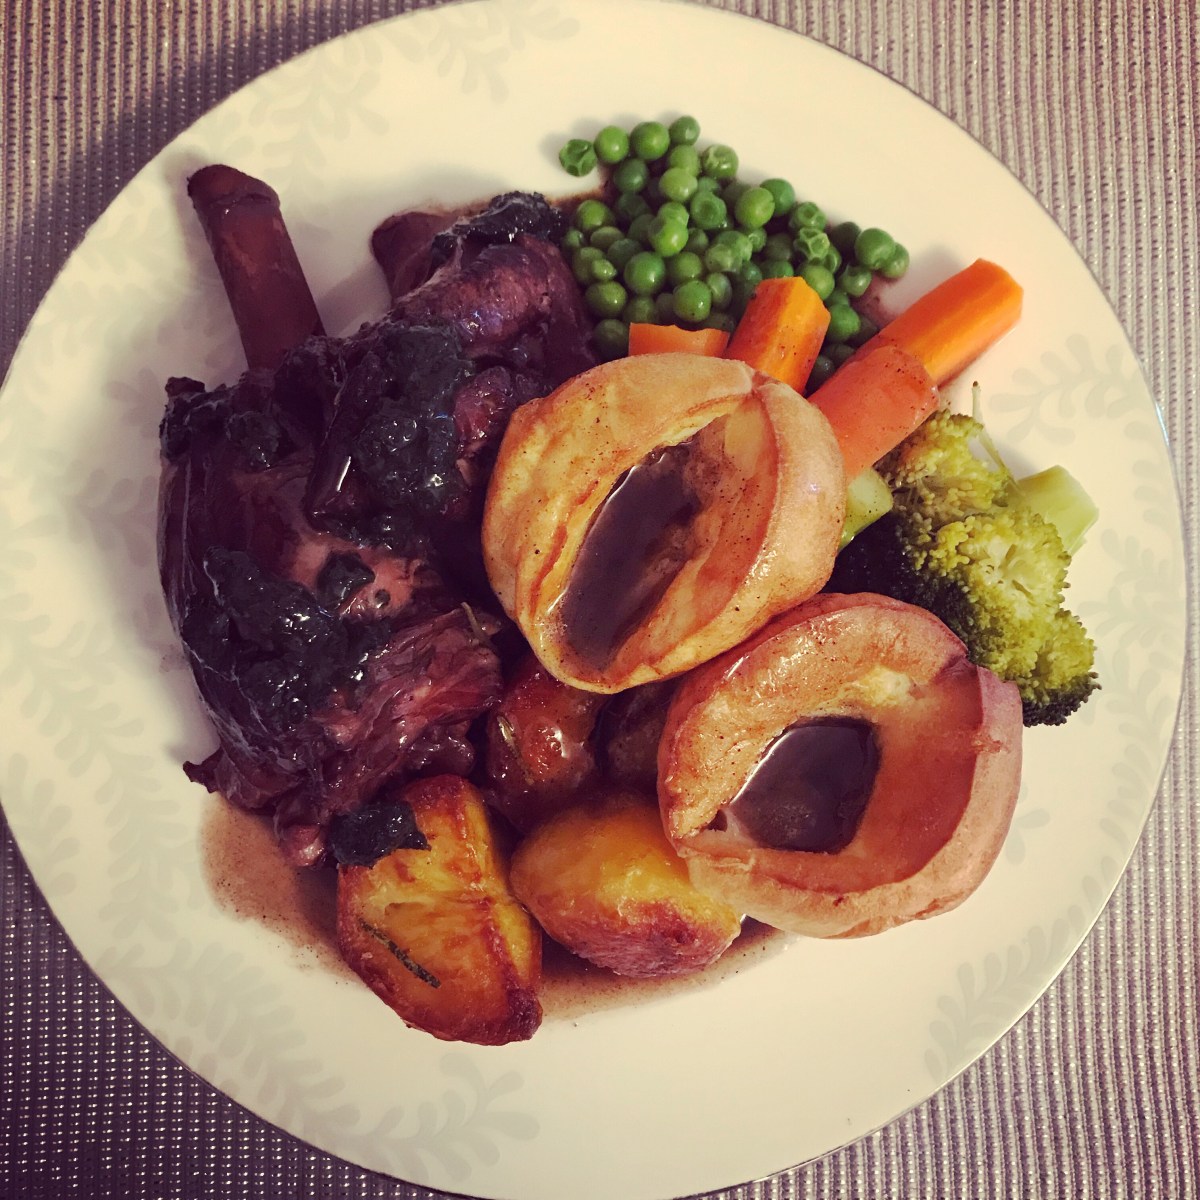
Gammon is the main star of the whole show in the Finnish Christmas table (nothing of course is stopping anyone cooking it other times too). The original one would be gray in colour instead of the pink in the picture, but unfortunately I’ve not been successful in finding a gray salted one in the UK yet. For the pink version, nitrate is added. It acts as a preservative, and gives the pink colour, however it’s considered to be pretty unhealthy. In the gray version, nitrate isn’t added. The key to getting a juicy piece of meat, as anyone practicing slow cooking of roasts already knows, is to cook the gammon at a very low temperature, for a very long time. It then gets taken out of the oven and cooled, coated and put back for a very high temperature for a short period of time. Traditionally, on the Christmas table the gammon is served cold. I tend to cook it the day before, and on the day of cooking have it also for dinner served warm. It’s perfectly fine to serve it both ways, which ever you would prefer.

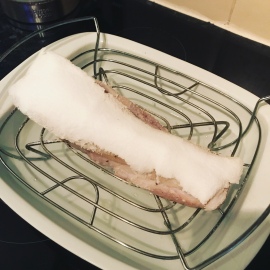
1. Take the gammon into room temperature. Dry with kitchen tissue. I would recommend putting it in a roasting bag. Cut a small hole at one corner. Put a roasting thermometer in the cold meat, so that the tip is at the thickest part. If your meat has a bone take care not to touch the bone with the thermometer. The ideal inside temperature of the meat for putting it in the oven is 10°C / 50°F.

img_1719

2. Place some water at the bottom of an oven pan. Heat the oven to 100°C (fan) / 210°F. The aim is to achieve inside temperature of the meat of 77°C – 80°C / 171°F – 176°F. I tend to try to get to the lower end, for juicier result.

img_1720

3. Remove from the oven. Cut the bag off, as well as any strings or net around the meat. Let cool on a rack for half an hour to an hour. After this, Remove the skin, and most of the fat.

img_1723

4. Coat with mustard, and breadcrumbs.

img_1727

5. Heat the oven to 250°C / 480°F, and cook the gammon for 10 minutes.

img_1726

Slow cooked roast pork shoulder

After not having had time for much home cooking lately, it was wonderful to whizz up this perfect fall-apart, melt-in-the-mouth shoulder of pork. I will also be using some of the leftover meat for another dish later in the week (keep your eyes peeled). This recipe does take quite a long time to cook, but I prepared the seasoning on the previous evening, and started the cooking as soon as I woke up in the morning. You can leave it unattended for a long time in the middle part of the preparations, so I also managed to go shopping whilst it was in the oven. For foolproof recipe for perfect Yorkshire puddings, click here.

1.6 kg piece of pork shoulder
3 sprigs of thyme, leaves
2 tsp sea salt
1 tbsp black peppercorns
1 tsp yellow mustard seeds

1. Crush and mix all the ingredients together. Cut slits on the pork skin, and rub the spice mixture all over the skin, slits and meat. If you have time, do this the evening before you intend to cook the meat. Place in a container, cover and refrigerate overnight.

2. Heat oven to 220°C / 430°F. Place the pork on a roasting rack, and roast for 30 minutes uncovered. Cover the pork properly by couple of layers of foil, and reduce the temperature to 160°C / 320°F. Roast for 4 1/2 hours.

3. Remove from the oven, and increase the temperature to 180°C / 360°F. Cut the skin off, and wrap the meat in the foil. To keep it warm, you may also want to wrap the foil package in a kitchen cloth / towel.

4. If cooking roast potatoes in the cooking juices from the pork, place the potatoes at the bottom of the roasting tray. Place the skin on the rack on top of the potatoes. Roast for about 1 hour 20 minutes , turning the potatoes every now and then (around every 20 minutes).

img_4203

Slow cooked lamb shanks

This is my husband’s favourite Sunday roast. I must admit that lamb has never been my favourite meat, however when I cooked these lamb shanks for the first time I was completely sold. The meat literally falls off the bone. This is also one of the dishes I would cook when I want to impress guests. With this kind of dish, I would say the main challenge is timing of all the elements. The lamb itself will take a long time in the oven, but once they are cooked, they can be covered and put aside to wait. You can also see the links to the perfect accompaniments of roast potatoes and Yorkshire pudding below.

Perfect roast potatoes
Yorkshire pudding
~~~~~
4 lamb shanks
100g plain flour, seasoned with salt / black pepper
2 tbsp vegetable oil
500ml red wine
500ml chicken stock
1 onion, sliced
3 fresh rosemary sprigs
3 fresh bay leaves

1. Heat the oven to 160°C / 320°F.

2. Coat the lamb with the flour.

img_2036

3. Heat the oil in a casserole dish, and fry the lamb for about 5 minutes, turning until browned all over.

img_2037

4. Add all the other ingredients. Liquid should pretty much cover the meat. Because of the size of the dish I use, I have to use double the amount of wine and stock than in the recipe, to cover the meat.

img_2038

5. Place in the oven, and cook for 3 hours.

img_2039

6. Remove the shanks. You need to be careful when handling them, as they are now so soft that the meat will fall off very easily.

img_2040

7. Sieve the liquid into a pan.

img_2041

8. Reduce the cooking liquid by boiling, uncovered, to about half, to get wonderful gravy that’s full of flavour.

Perfect roast chicken

This recipe isn’t for those looking for the quickest way to roast a whole chicken, but it truly is the one that gives you that extra special, juiciest one. Years ago, when I was practicing the cooking of roast chicken, I must’ve gone through so many different instructions. At the time I came across this recipe, I was a big fan of Heston Blumenthal, so I had to try his recipe. And boy, is this still the best, most perfect roast chicken I’ve ever had! It may seems like it requires a lot of effort and time, and yes, you may need to be organised with your time management, but after the short prep for the steps at the beginning you have a lot of free time. I don’t always do the brining the day before, but if you want it very special I would recommend you try. I’ve served mine with roast potatoes click here for my recipe, Vichy carrots, Yorkshire pudding click here for my recipe, minted pea puree and gravy made with the cooking juices of the chicken.

6% brine
5 litres water
300g table salt

Chicken
1.5- 2kg whole chicken
1 lemon
bunch of thyme
125g butter, plus extra for rubbing onto the skin
30ml dry white wine (I use Sauvignon Blanc) 

Gravy
20ml dry white wine
250ml chicken stock
1 tsp Dijon mustard
1 sprig of tarragon (leaves only)
1 sprig of parsley

1. To make the brine, mix the salt with water, and warm until dissolved. I do this with about 3 litres of water, and then add the remaining two litres afterwards, as this will help brine cool down quicker.

2. Place the chicken in a container, large enough for the chicken to be submerged in the water entirely. Once the brine has cooled down, pour over the chicken. Cover with clingfilm, and keep in the fridge overnight.

img_2311

3. Remove the chicken from the water, and dry with kitchen tissue. Remove the wishbone (this will make carving easier).

img_2310

4. Bash the lemon on the table a few times, and stab all around with a sharp knife. Place inside the chicken, together with half of the thyme. Place the bird on a roasting rack, and rub some butter on the skin.

5. Heat the oven to a very low temperature of 80°C / 180°F, and cook the chicken until the inside temperature of the thickest part of the breast is 60°C / 140°F (official recommendations are usually for the inside temperature to be 75°C / 165°F, if worried you can always cook until that. I have however never had any problems with cooking to the lower temperature). The cooking should take about 3-4 hours.

img_2324

6. Take the chicken out of the oven, and rest for at least 45 minutes. I sometimes get to this stage early in the day, which then allows me to go out, and continue once I’m back. Or, during the resting you can make your roast potatoes and Yorkshire puddings.

7. Melt the butter in a pan and add 30ml white wine and a few sprigs of thyme. Bring to boil, then remove from the pan from the heat and use the melted butter to baste the chicken before and during browning.

8. Heat the oven as high as it goes. Once the resting time has elapsed, put the chicken back in the oven for about 10 minutes, until golden brown, but taking care it doesn’t burn. Once coloured, remove from the oven. Keep on a cooling rack. Season your carved chicken with salt and black pepper.

img_2332

9. Add white wine to the roasting tray with the cooking juices, and place on the hob over medium heat. Scrape the edges and bottom of the tray, and stir. Add the chicken stock, and reduce until thickened to a sauce. Strain into a small saucepan.

img_2334

10. Before serving, stir in the mustard and warm through. Add the finely chopped parsley and tarragon, and season with salt and black pepper.

Salt crust baked crispy skin pork belly

I’ve had good pork belly with perfect crispy skin in restaurants, and I’ve also had not so good ones. I’ve tried to cook it myself unsuccessfully too, until now. You see, the crispy skin is an absolute must making this dish a fantastic one. If I have pork belly with a disappointing skin, I feel cheated. In the past, the prep of the pork has required scoring and spice rubbing of the skin, and then still ending up with either half cooked or too cooked skin that’s thick and tough. No more of this problem, since after my extensive research I decided to try salt crust baked method. It worked beautifully, and gave me the best pork belly I’ve ever cooked!

900g – 1kg piece of pork belly

Marinade
1 clove garlic
2-3 stalk of fresh thyme, leaves only
2 tbsp olive oil
pinch of salt
pinch of black pepper

Salt crust
1-2 dl table salt, depending on the size of the meat

1. Dry the piece of meat on all sides with a kitchen tissue. Mix the marinade ingredients together, and rub on the meat side only. Put in a container, skin side up. dry the skin again, cover and leave in a fridge for 2 hours (or longer).

2. In a roasting tin, add about 1cm (half an inch) of water at the bottom. Place the pork on a rack. Pat dry the skin once more, and pour the salt on the skin. The salt will become a hard crust during cooking, and will be easy to remove later on. There is no need to score / slit the skin.

img_1388-1

3. Cook at 170°C / 340°F for 40 minutes.

4. Remove from the oven, and turn the heat up to 240°C / 465°F. Remove the salt crust. If any salt has fallen onto the meat on the sides, scrape off. Cook in the hot oven for further 30 minutes. You should end up with a perfectly crispy, golden colour skin and juicy meat.

5. Rest the meat for about 5-10 minutes, covered with foil.