Beef and chorizo empanadas

We first had empanadas when holidaying in the Dominican Republic, and have loved them since then. They aren’t that complicated to make, and I don’t think they can get any better than the ones this recipe is for. And the great thing is that you can easily adjust the filling to your own liking.

Pastry
375 g plain flour
1 tsp salt
225 g butter
2 eggs + 1 for coating the empanadas for baking
100 ml cold water
~~~~~
Filling
100g cooking chorizo 
300g mince beef
1 onion
handful of fresh coriander
handful of fresh parsley
2 tsp ground paprika 
2 tsp ground cumin
2 tsp dried chilli flakes
2 tbsp tomato purée 

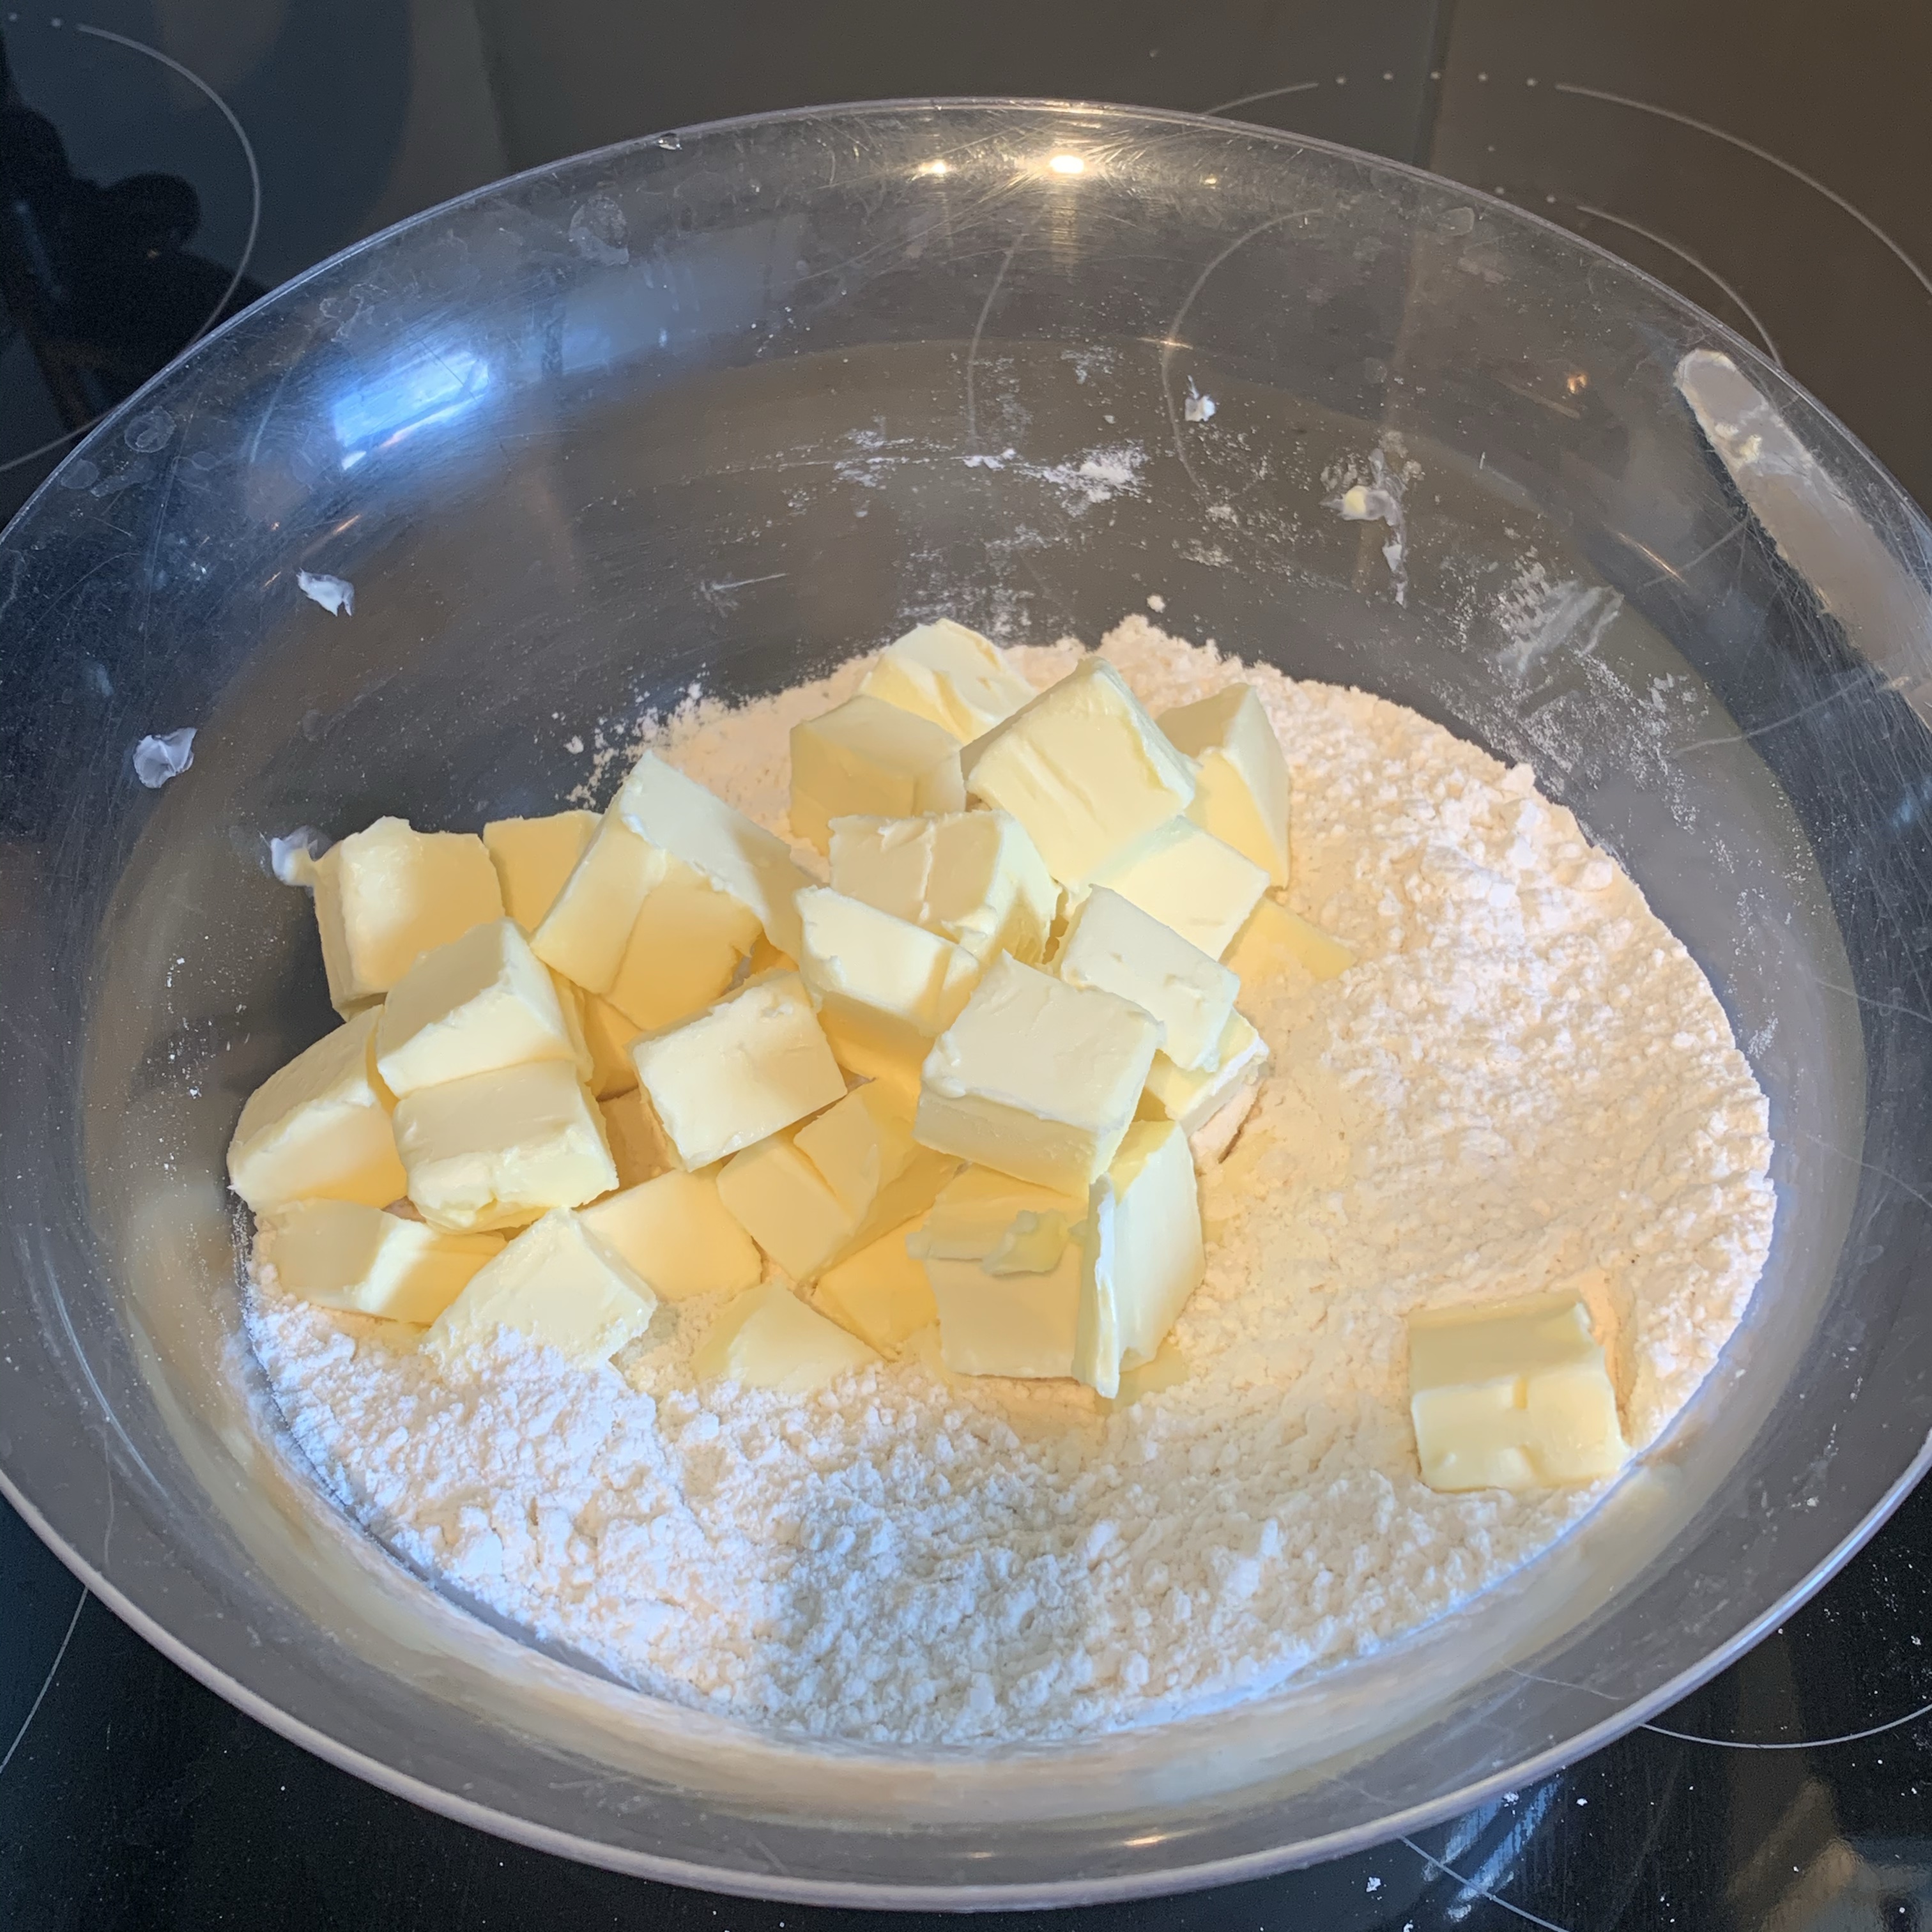
1. Mix the flour, salt and butter together until crumb-like, then add the eggs and water. Knead the dough until smooth. It will be quite soft, however if it’s sticky, add a little more flour. Cover with cling film, and rest in the fridge for around 20 minutes.

2. Place the mince beef in a bowl. Chop the chorizo into small cubes, and add to the mince. Finely chop the onion, parsley and coriander, and add to the bowl, followed by the paprika, cumin, chilli flakes and tomato purée. Mix well together. Put a little cooking oil in a frying pan and heat. Add the mixture into the frying pan, and fry until cooked. Let the mixture cool.

3. Heat the oven to 160°C / 320°F (fan). Divide the dough into four pieces (this just makes it easier to work it). Roll each piece, one at a time, to thin sheets, about 5 mm thickness. Then cut into circular shapes.

4. Place cooled filling from the centre towards one side of the round (as the other half will be turn over to cover it). The amount of filling depends on the size of the circles, you want to put enough filling, but so that you can still securely close the halves together, without the filling seeping through. Dip your finger in a bowl of water, and run it around the circles’ edge. You may need to repeat a couple of times for each one. Then fold the empty half over, and press the edges together. With a fork, press the edges together. 
img_4152

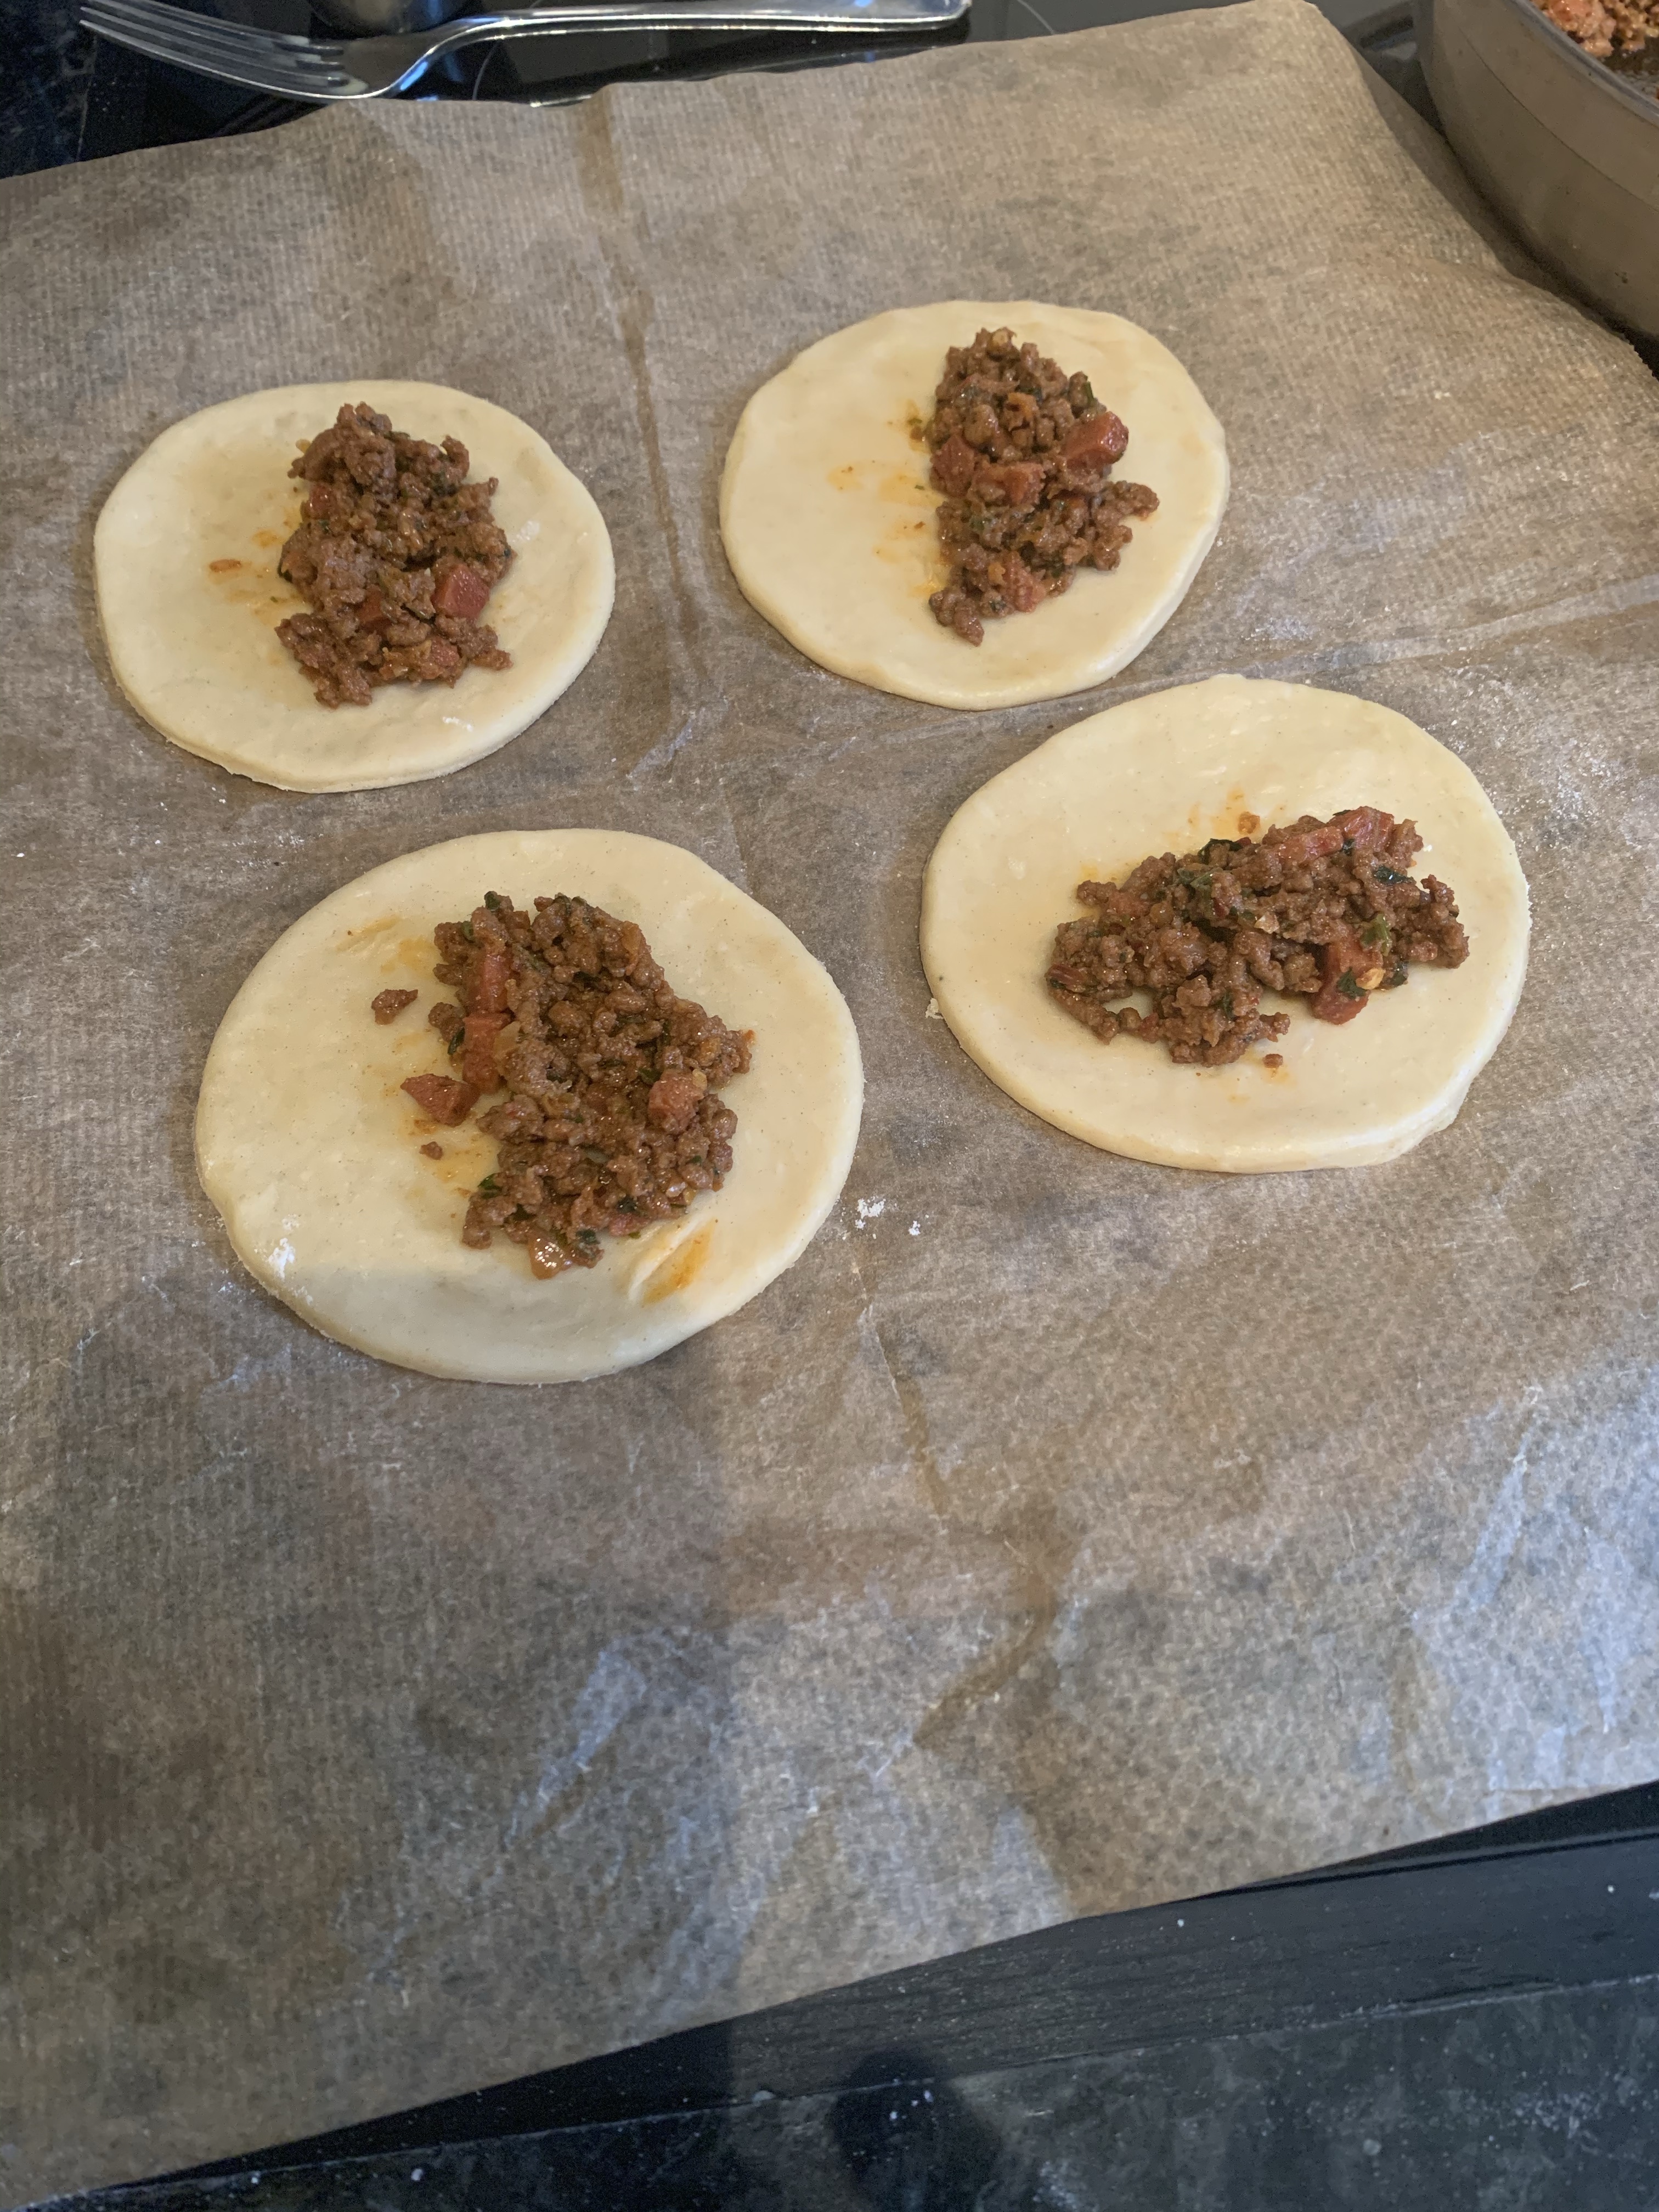
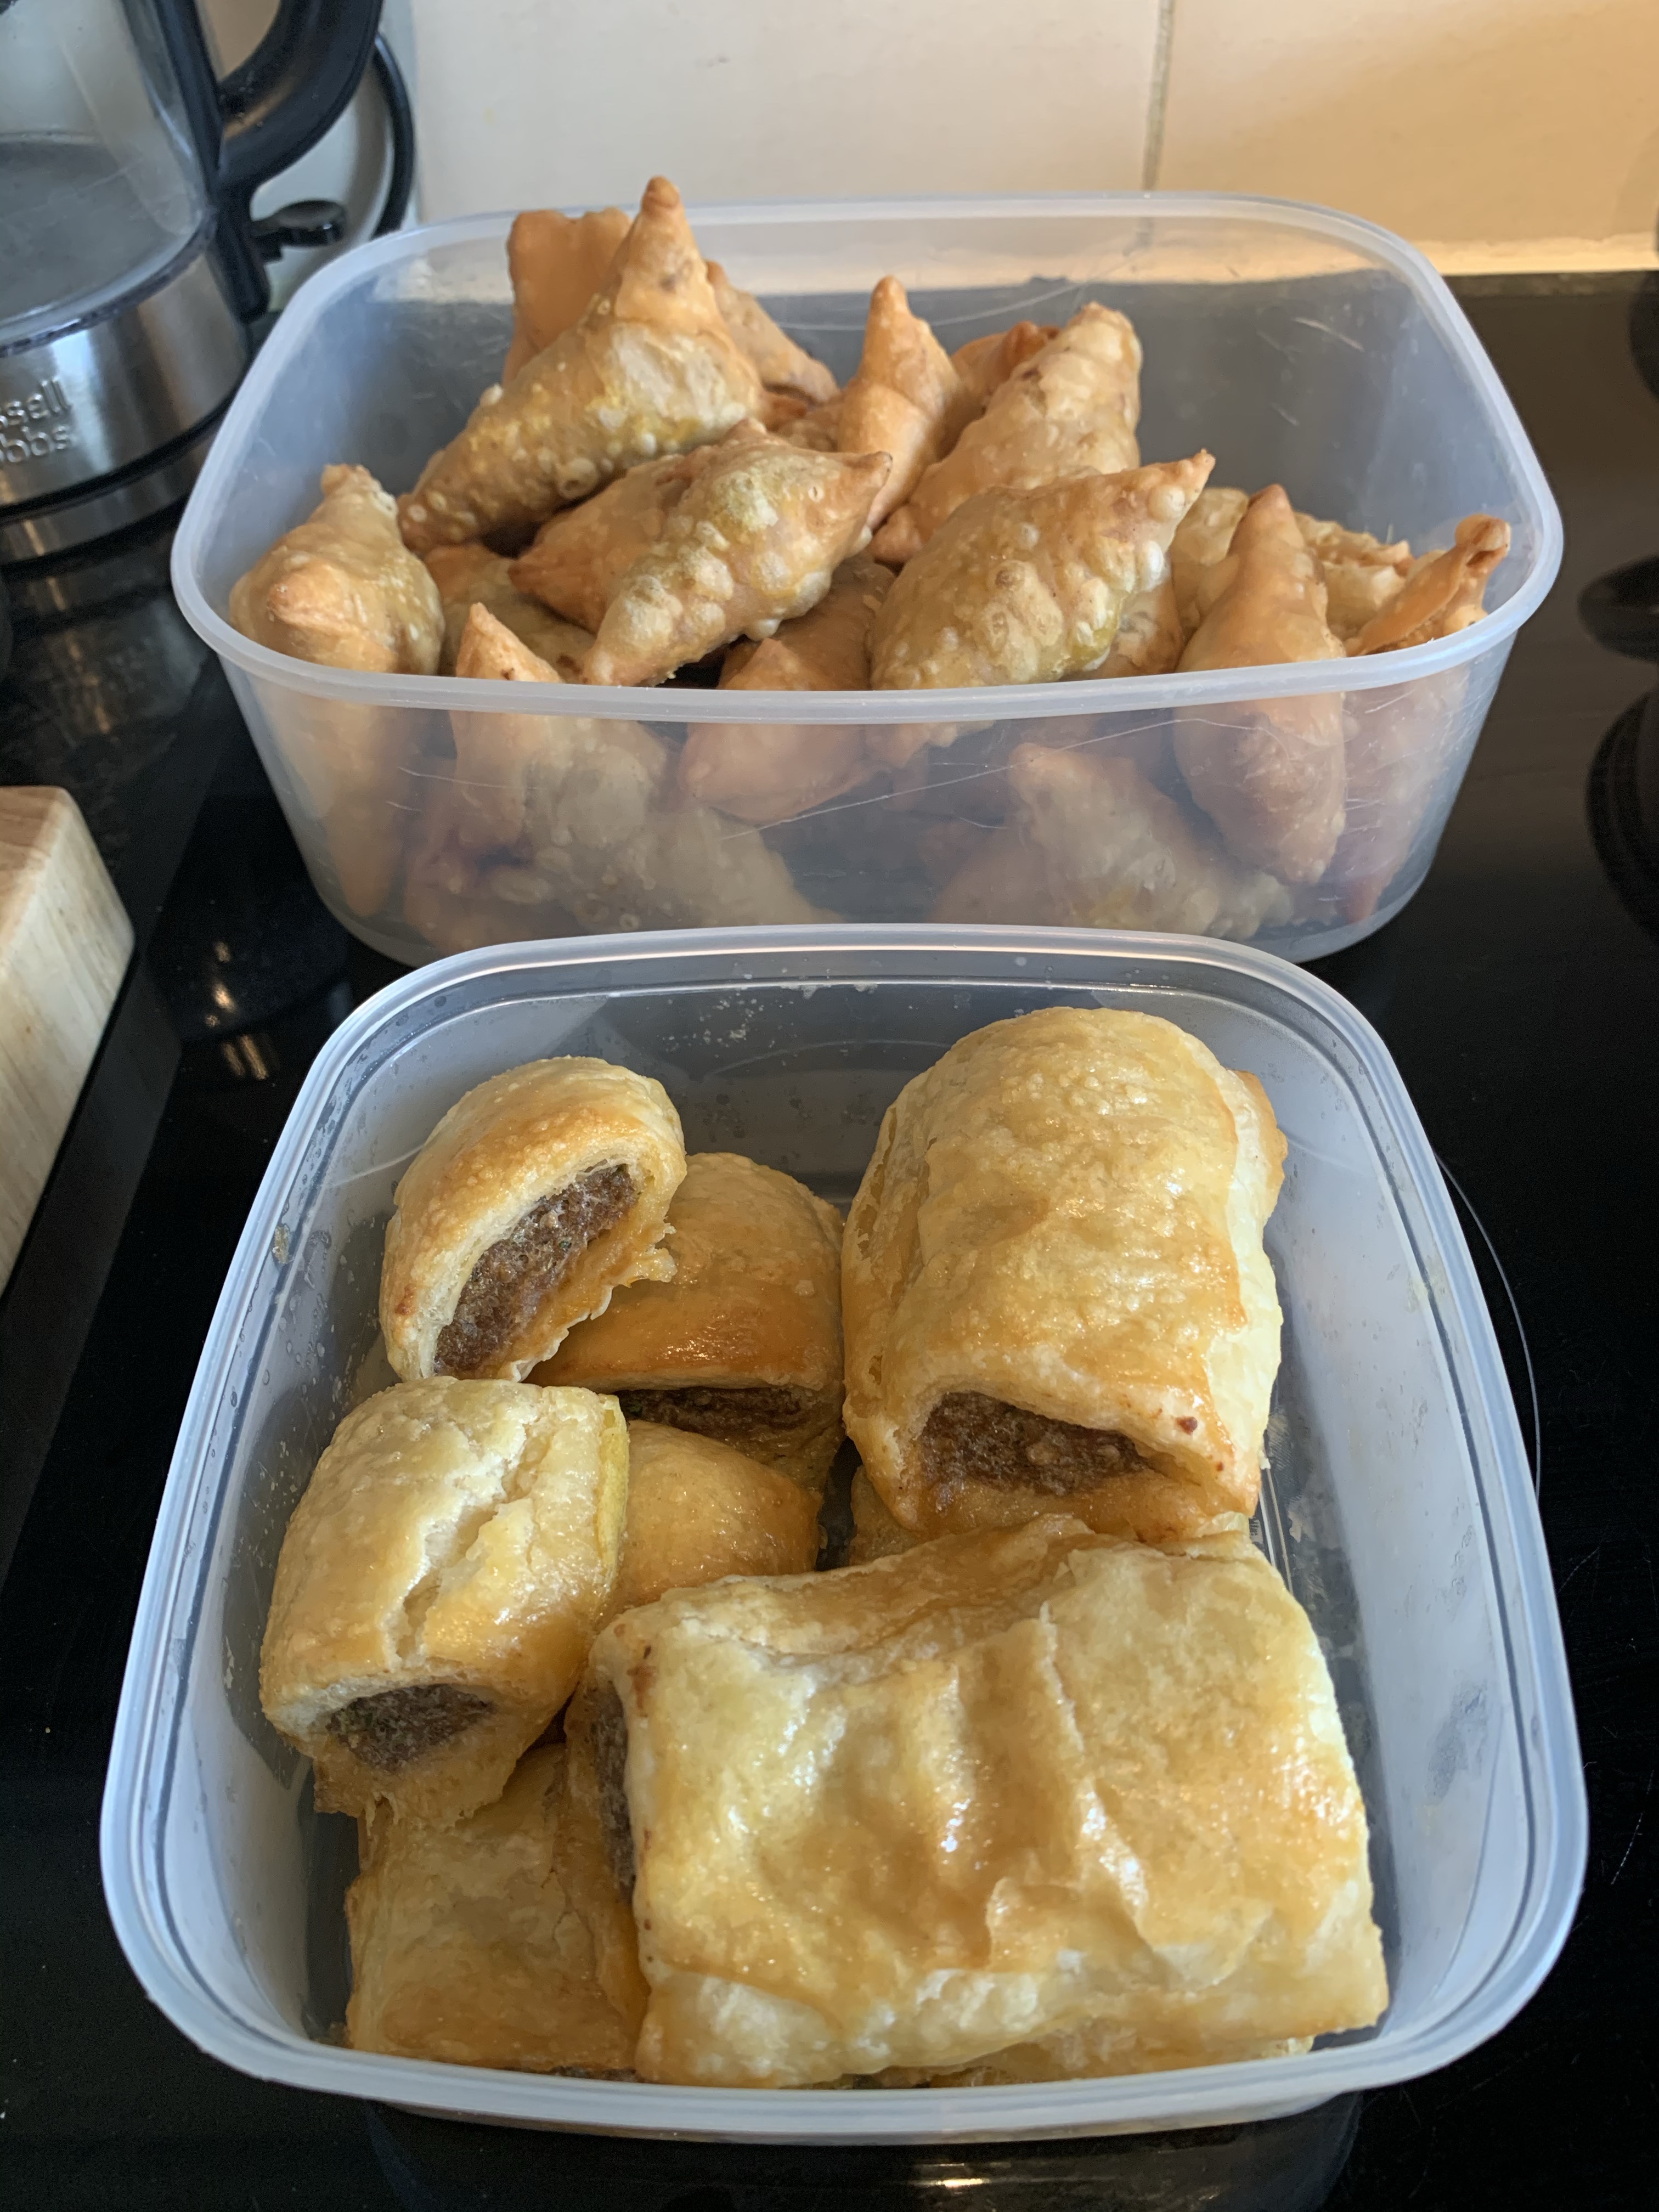
5. Once all the empanadas have been prepared, brush them with beaten egg, then bake in the preheated oven for 20 minutes.

Hasselback potatoes

I think hasselback potatoes are currently my new favourite kind of potatoes, there’s just something about them. Not only do they look exciting, they also taste very good!

6 potatoes
1 sprig of fresh rosemary, leaves only
~3 sprigs of fresh thyme, leaves only
1/2 tsp sea salt
1/2 tsp black peppercorns
3 tbsp olive oil
butter

1. Preheat the oven to 180°C / 356°F (fan). Wash the potatoes well, and dry with kitchen tissue. Place the potatoes on a large, deep spoon one at a time, and cut slices for the whole length of the potatoes. The spoon should ensure you don’t cut the potato through completely, as you do want to keep the whole potato in one piece at the bottom.

img_4222

2. Crush the peppercorns and salt (I use pestle and mortar). Finely chop the herbs, and add to the salt and pepper, and crush all together a little more. Add the oil, and mix everything together.

img_4221

3. Loosen / spread the potatoes (slices) a little if possible, then rub with the spice mixture, trying to get some also in the gaps. Place in an oven tray and bake for 40 minutes.

img_4223

4. Remove the potatoes from the oven, and put a small knob of butter on top of each potato. Place back in the oven, and bake for further 10 minutes.

Puff pastry

During the first wave of the Covid lockdown in the UK, one of the food items that was hard to get your hands on was puff pastry. Because of this, I started making my own, and I was so surprised how simple it actually really is. Now, I tend to always make it myself. I  can use the same all butter puff pastry for savoury or sweet foods just fine, and now I’m just thinking that why on earth did I not start making my own sooner?

225g plain flour
1/2 tsp salt
150g butter
150 ml cold water

1. Mix  the flour and salt together in a bowl, then put in the fridge for a few minutes, whilst cutting the butter.

2. Cut the butter into cubes. Put the cubes into the bowl with the flour, and stir with a spoon, until all of the cubes are coated with the flour.

3. Pour the water into the butter and flour, them mix all quickly to a rough dough. You will still have some cubes of butter in the dough mix. Put some flour on you work space, and tip the dough on the table. Shape the dough into a log, and press the log flat with your hands, but don’s knead it. Wrap in a cling film, and place in the fridge for at least 15 minutes.

4. Place the chilled dough log on a floured surface, and roll to a thickness of about 1 cm to a rectangular shape. The length should be about three times the width.

5. Fold the top third of the pastry down, on top of the middle third, then fold the bottom third over these.

6. Turn the dough block in a way that the open edge is to the right. I also tend to turn it over so that the last fold is at the bottom. Add flour on the surface if required.

7. Repeat the dough rolling and folding process 4-5 times. If the dough starts getting too sticky, cover with cling film and place in the fridge for a few moments, before continuing.

8. When using the dough, roll to about 1/2 cm thickness, add the filling of your fancy, brush with egg wash and cook in the oven at 200°C / 392°F for about 15-30 minutes, depending on the food. Below pictures are some examples I’ve used my puff pasty for: raspberry pastry, chicken pie, sausage rolls and Finnish Christmas prune tarts.

Sticky pork ribs

I’m not necessarily the most experienced when it comes to pork ribs, but I definitely know good food when I come across it. I started eating and cooking pork ribs last year, and this recipe makes amazing, fall-of-the-bone ribs. They do take quite a while to make, but I guarantee they’ll be worth it!

2 racks of pork ribs
cola
~~~~~
120 ml dark muscovado sugar
2 tsp paprika powder
1 tbsp caster sugar

1/4 tsp salt
2 cloves of garlic, finely chopped
2 chillies, finely chopped

120 ml tomato ketchup
2 tbsp soy sauce
2 tbsp Worcestershire sauce
1 tbsp rice vinegar
2 tbsp water
1 tsp fish sauce
1/2 tbsp lime ( or lemon) juice

1. Heat the oven to 140°C / 284°F (fan). Place the ribs in an ovenproof dish and cover with the cola. Tightly cover with foil. If the ribs are not fully submerged, turn them around a couple times during the baking. Bake 2-3 hours in the pre-heated oven.

2. Mix all the sauce ingredients together in a pot, and simmer for a few minutes.

img_4262

3. Once the ribs are done, remove from the dish and dry with kitchen tissue. Get rid of all the liquid, and place the ribs back in the dish. Coat the ribs with the sauce, and place in the fridge for a minimum of  an hour. The ribs can also be prepared until this point the day before.

4. Heat the oven to 200°C / 392°F (fan) or prepare the barbecue. Cook the ribs, uncovered, for 20 minutes. Turn the ribs around half way through, basting them, to make sure they are coated with the sauce all over. 

5. After the final baking time, remove from the oven, and cut into singular pieces. Toss around in the sauce to coat them all around, and serve. Sprinkle with spring onions and sesame seeds if desired.

Homemade chicken stock

I take great pride for making most things from scratch. I would say a general rule is that homemade is always much tastier and healthier, whatever it is. Please don’t be put off making your own chicken stock even though it does take quite a while to make; after the initial steps it won’t need much attention from you, and you can use the remaining cooking time doing other things. The absolute key to a good, flavoursome stock is bones. You must, must, must use chicken on the bone, and for richer flavour you do also want to ensure you have some meat. I usually use chicken legs, drumsticks and wings. Once the cooking of the stock is finished, you can  remove the meat off the bone and use it for other meals. Once cooled, I freeze the stock in portion sizes. Since I started making my own stock, I hardly ever use shop bought ones anymore, those are now in my cupboard merely for back up for when I’ve run out of my own. I often make a double batch of the recipe, as it does take quite a long time to make.

1 chicken leg
475g chicken wings
500g chicken drumsticks
3 liters water
1 celery stick, chopped into big pieces
1 carrot, chopped into big pieces
1 medium onion
~15 black peppercorns
4 garlic cloves
3 bay leaves
1 tsp sea salt
~~~~~
I sometimes make a Chinese variation, and replace the celery, carrot, onion and bay leaves (use the other remaining ingredients) with

1 thumb size piece of root ginger, sliced
4 spring onions

1. First, place the chicken and water in a large pot, and bring to simmer. Bare in mind that for the best results, the stock shouldn’t boil at any stage, only simmer.

2. ‘Scum’ will start coming to the surface of the stock. Keep skimming this away, however don’t stir or disturb the stock otherwise. I use a slotted spoon for this. At this stage, it’s important to give the stock attention.

3. Once there is no more scum rising to the top (this can take about half an hour), you can add all other ingredients. Then cover with lid, and set the temperature to a low simmer, making sure it doesn’t boil. Cook for 3 hours.

4. Strain the stock through a sieve. I tend to also use muslin, to get rid of even finer impurities.

5. If freezing some of the stock, let it cool. Portion into containers, and put in the freezer. Work through all the wings, legs and drumsticks (by hands) to remove all the meat. If not using straight away, freeze in portion sizes. You will get quite a lot of meat out of them, don’t waste them!

Prawn and tuna roulade

I’ve been struggling for quite a while to find inspiration to write my posts, and finally this simple and fresh dish has made me want to do it again. I’ve not made this dish in ages, but have been thinking about it every now and then. It’s very easy and quick to make, and great as a snack or part of a small lunch.

Roulade base
600ml milk
250ml plain flour
175g butter, melted
1 tsp salt
3 eggs
~~~~~
Filling
120g tinned tuna
300g cottage cheese
100g feta cheese
150g prawns / shrimps
juice of half a lemon
a bunch of dill, about 20g, finely chopped

1. Preheat oven to 250°C /480°F. Whisk the milk, eggs and butter together. Add the salt and  flour to the mix, then pour the mixture into a large oven tin (the mixture will be very thin), lined with non-stick greaseproof paper. Bake for 15 minutes.

img_3292

2. Whilst the base is baking, mix the filling ingredients together.

img_3295

3. Once the base is baked, let it cool. Once cooled, cover with the filling. Then, roll tightly.

69b664d0-6b23-4167-b5c6-134598424768

4. The flavour will be at it’s best if you chill the roulade in the fridge before serving.

Cauliflower and broccoli gratin

This gratinated cauliflower and broccoli is a wonderful and tasty side to any dish. It’s not difficult to make either, which makes it a great staple accompliment to any dinner table.


1/2 cauliflower
1/2 broccoli
~~~~~
50g butter
4 tbsp plain wheat flour
500ml milk
200ml grated cheddar cheese
2 egg yolks
1 tsp salt
1/2 tsp ground white pepper
1 tsp ground nutmeg

1. Preheat the oven to 225°C (fan) / 435°F. Cut the cauliflower and broccoli to florets. Place in a pot, and boil until just about cooked throug, but still firm (around 10 minutes).

img_1803

2. Melt the butter in a pot. Once melted, remove from the heat. Mix in the flour, and once the butter and flour are properly mixed, add the milk, stirring.

3. Place the pot back on the hob, and cook the mixture on a low heat for about 5 minutes, stirring the whole time. Use of a whisk may help you to get a smooth sauce.

4. Remove the pot from the heat again. Add most of the cheese (just save a little to sprinkle on top). Once the cheese has melted, add the egg yolk, stirring well.

5. Place the pot back on the hob once more for a couple of minutes, stirring, however don’t let the mixture boil. Stir the remaining spices into the sauce.

6. Place the broccoli and cauliflower florets on an ovenproof dish. Pour the sauce the vegetables, and sprinkle with the remaning cheese. Place in the oven, bake until hot and the food starts getting a nice colour on top.


Sangria

My husband and I were supposed to go on a long weekend to Barcelona recently, however due to the lockdown of most countries during the Coronavirus outbreak, we had to stay at home instead. As we couldn’t go to Spain, we decided to bring a bit of Spain to us, by making our own Sangria. I’d never had it before, and I was a little bit apprehensive about it because I don’t somehow think red wine works as a cold drink. I’m so glad we made it though, as it was amazing! I’ve already made it again since the first time, that’s how much I liked it.

Makes 2 servings

~1/2 bottle of fruity red Rioja (or Pinot Noir or Grenache)
1 tbsp syrup
50ml brandy
1 slice of pineapple
3 strawberries
1 kiwi
1/2 apple
1 orange
1/2 lemon

ice cubes for serving

f90f7e60-cc5e-4c8b-bfde-64ed17cb7790

1. Peel and cut the kiwi in smallish pieces. Finely chop the pineapple and cut the strawberries in quarters. Slice the lemon. Place in the serving jug.

2. Cut the orange in half. Squeeze the juice out of one half, and slice the other half, and add the juice and the slices to the other fruits.

3. Pour the wine in, followed by the brandy and syrup, and stir well.

4. Put some ice in the serving glasses, and fill with the liquid and fruit.

Enjoy!

32f537d6-a2e5-44c7-9801-fb0daaf134c1

Southern pulled pork

I don’t think I know anyone who wouldn’t like this comfort food of pulled pork. You can eat it in various different ways, hot or cold. You also get a lot from one piece of meat, and it can easily be frozen for those laze days when you don’t feel like cooking.

~2kg boneless piece of pork shoulder

Marinade:
150g dark muscovado sugar
2 large onions, chopped
16 cloves of garlic
1 tbsp tabasco
1 tsp coriander seeds
4 tbsp english mustard powder
4 tsp paprika powder
200ml tomato ketchup
2 tbsp Worchester sauce
4 tbsp treacle
2 tbsp sea salt

1. Blend all marinade ingredients together into a paste.

2. Pour the marinade paste over the pork shoulder and massage onto the pork, making sure all of it is coated. Marinade in the fridge for at leat 2 hours.

img_1750

3. Place in a pot. Add water so that it just about covers the meat. The meat normally comes with the skin, I tend to cook it with the skin on, and remove it after the cooking. Cover the pan with a lid. Bring to boil, then reduce the heat and simmer for 2 hours, or until the meat pulls apart.

4. I like to spoon some of the marinade / cooking liquid over the meat for some extra flavour. On this occasion I served my pulled pork in a homemade pitta bread (click here for recipe) with some lettuce, tomato and gherkins.

img_1758

Carrot cake II


I posted my other carrot cake recipe quite a long while ago (Click here to view), and completely forgot that I was going to put the other recipe I also use on here. But better late than never! This cake comes as an extremely fluffy, moist piece of cake, and for sure would impress even the toughest cake critics!

175g light muscovado sugar
175ml walnut oil (you can replace this with vegetable oil)
3 large eggs, beaten
175g carrots, grated (~2 large carrots)
100g raisins
grated zest of 1 orange
1 tsp ground cinnamon
175g self-raising flour
1 tsp bicarbonate of soda
1 tsp ground nutmeg

1. Preheat the oven to 160°C (fan) / 320°F.

2. I usually prepare all of the ingredients first, as the batter making steps are very quick. Put the sugar, eggs and oil in your main mixing bowl.

img_1743

3. Measure the raisins in a bowl, peel and grate the carrots, and grate the orange peel.

img_1745

4. Measure all the dry ingredients (flour and spices) in a separate bowl, and mix them together.

5. Mix the sugar, eggs and oil together lightly. I use a food processor on level 3 for 2-3 minutes. If you don’t have one, it’s fine to mix by hand.

6. Add raisins, orange peel and grated carrots, until everything are nicely mixed together.

7. Add the last remaining dry ingredients. There is no need to over mix this, just until it’s all mixed together.

8. Pour in your baking tray. I use a silicon one, so no greasing is required, however, if using a metal tin, it would be a good idea to grease your tin.

9. Bake for about 45 minutes. I use a metal knitting needle to check that the cake is fully cooked through. Stick the pin all the way through to the centre of the cake. Once you pull the pin out, if the pin is clean, the cake is cooked through. If some dough has got stuck on the pin, it will still need some more baking.

10. Once the cake is cooked through, remove from the oven to a wire rack to cool. Squeeze the juice of the orange. Prick holes onto the cake with a needle, and pour the orange juice over it. Once the cake is fully cooled, remove the cake from the tin, turning it upside down. Dust with icing sugar.