

Since I tried making my own granola for the first time some time ago, I’ve never bought it again! It requires pretty little effort, and doesn’t take long to make – and you can select the ingredients you want.
Ingredients
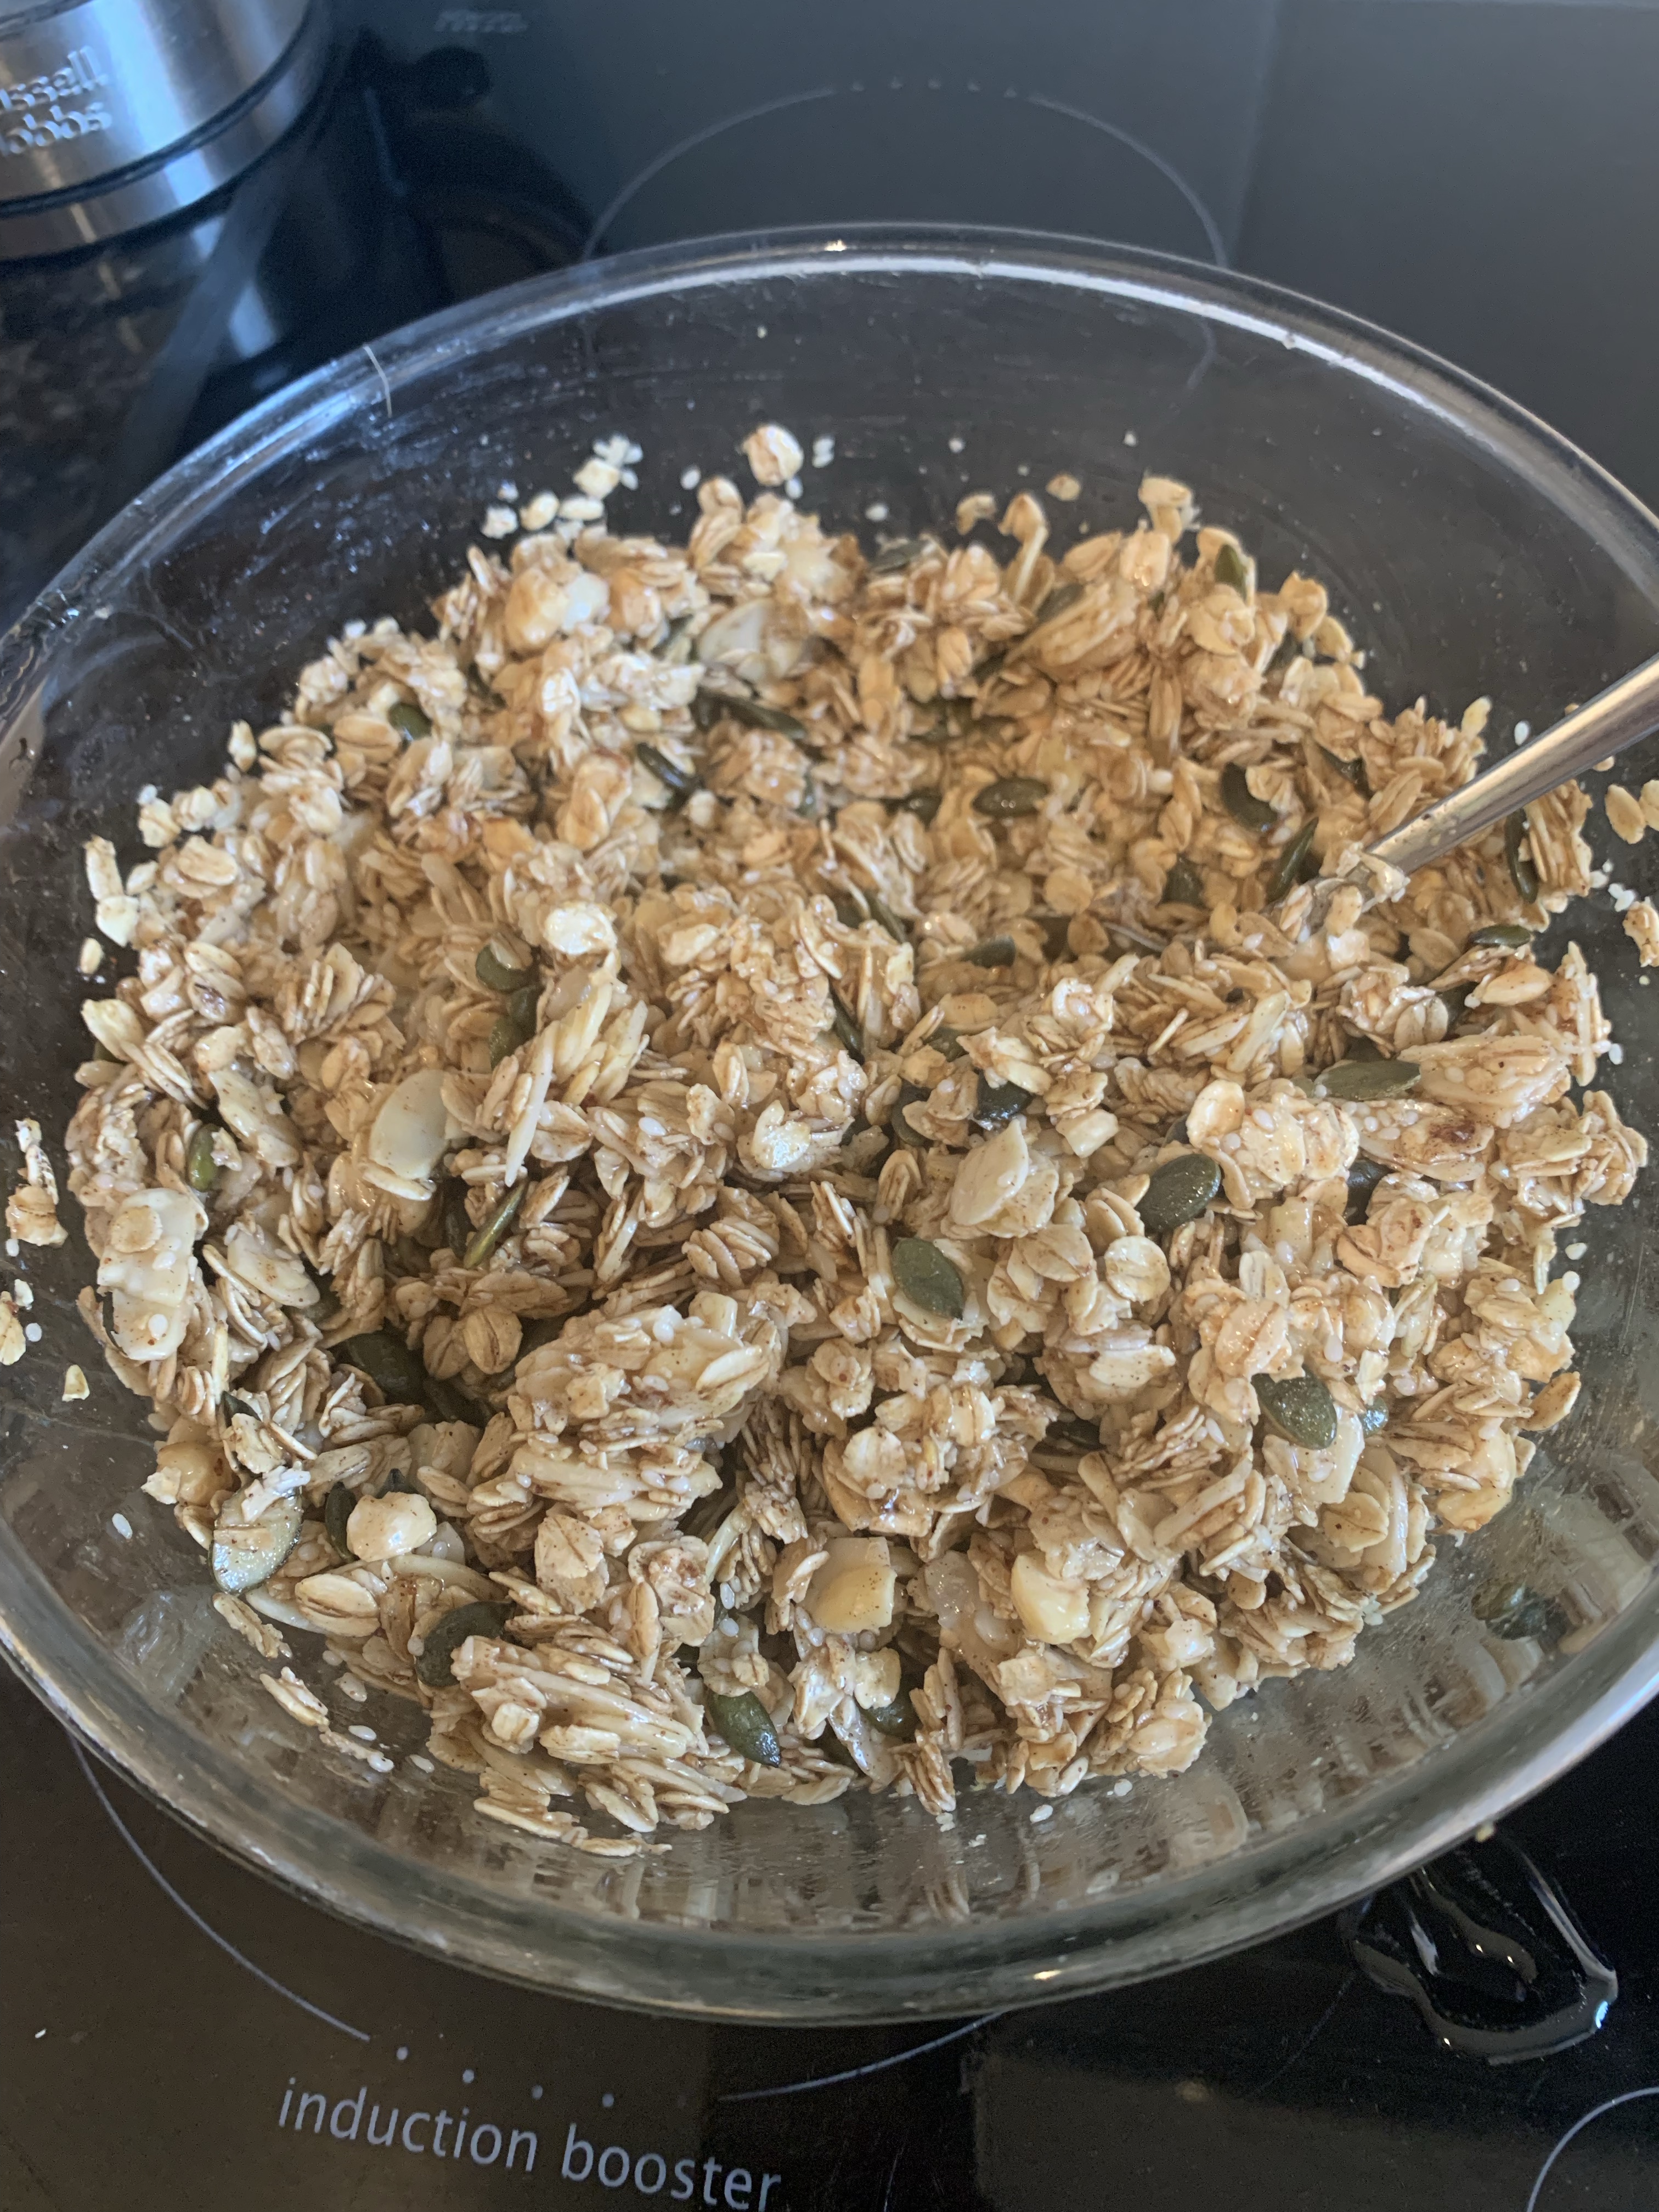
300g rolled oats
4 tbsp sesame seeds
200g nuts and seeds (I usually use ~100g flaked almonds, ~50g whole hazelnuts and ~50g pumpkin seeds)
2 tsp ground cinnamon
2 tbsp vegetable oil
125ml maple syrup
2 tbsp clear runny honey
2tsp vanilla extract
~~~~~
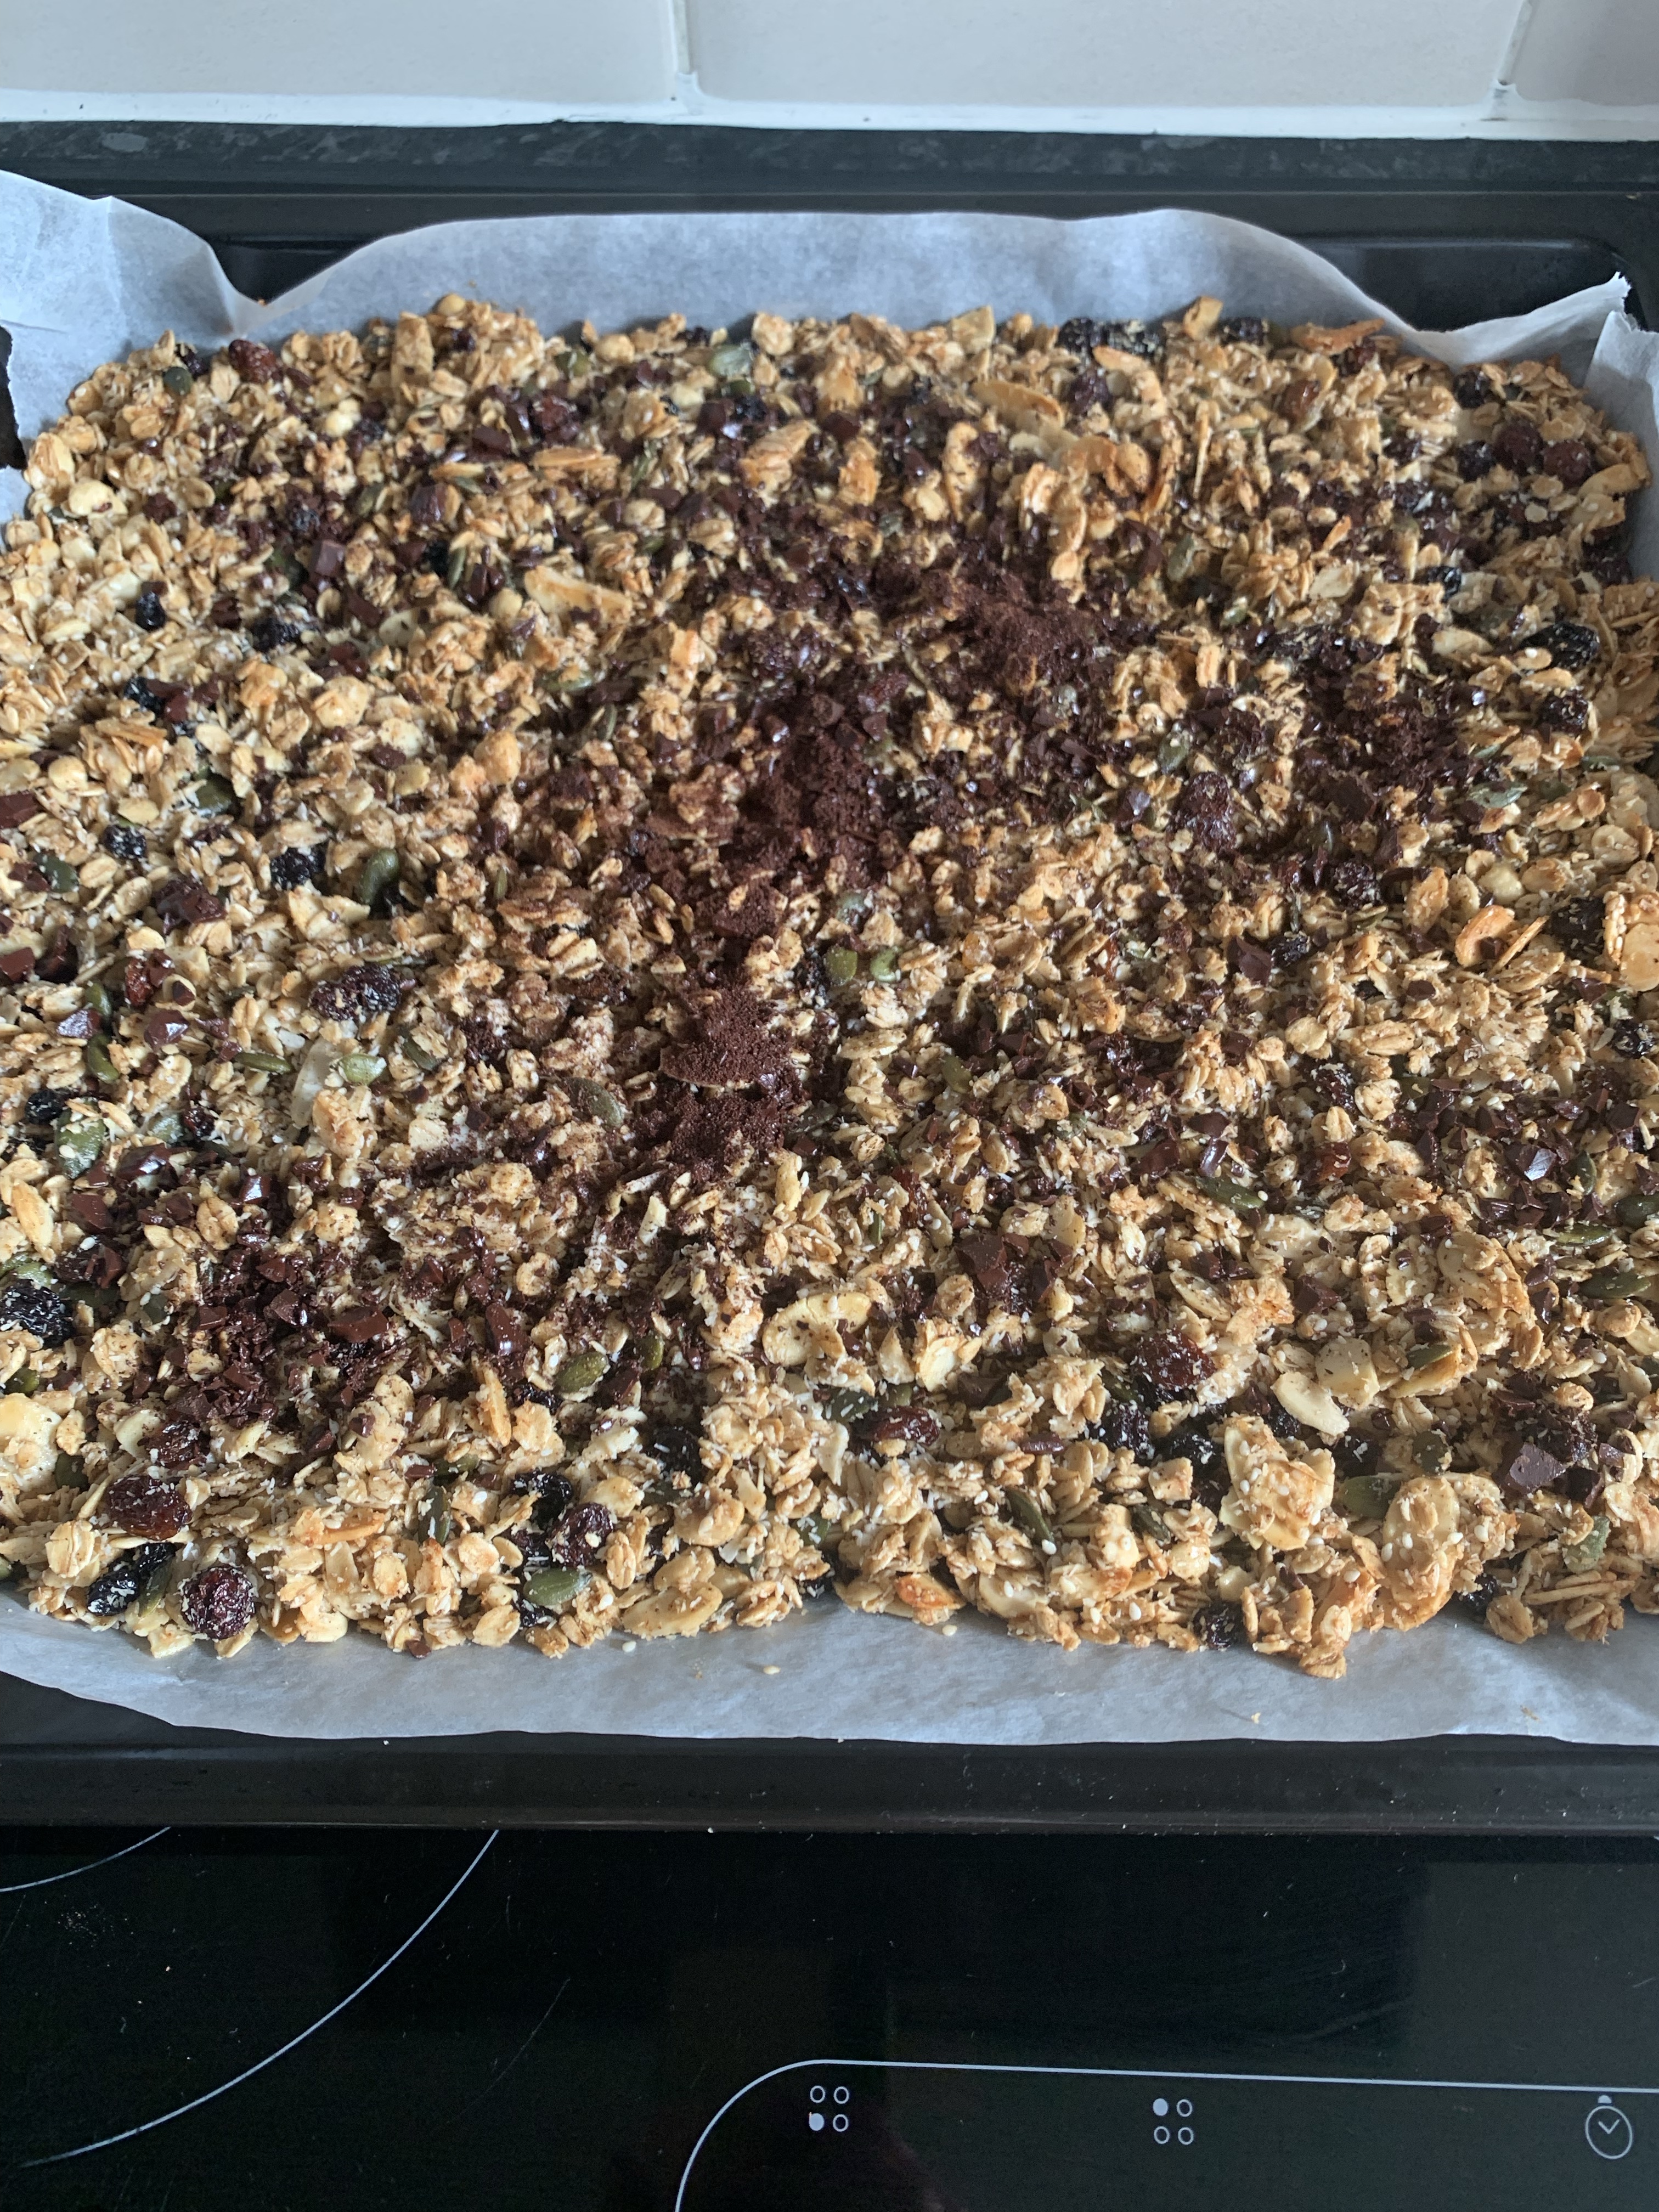
100g dried fruit (I usually use mix of currants, raisins, sultanas and mixed fruit – my husband likes the bitter citrus pieces)
50g desiccated coconut
~~~
optional: ~45g dark chocolate (70%)
1. Heat the oven to 130°C (265°F).
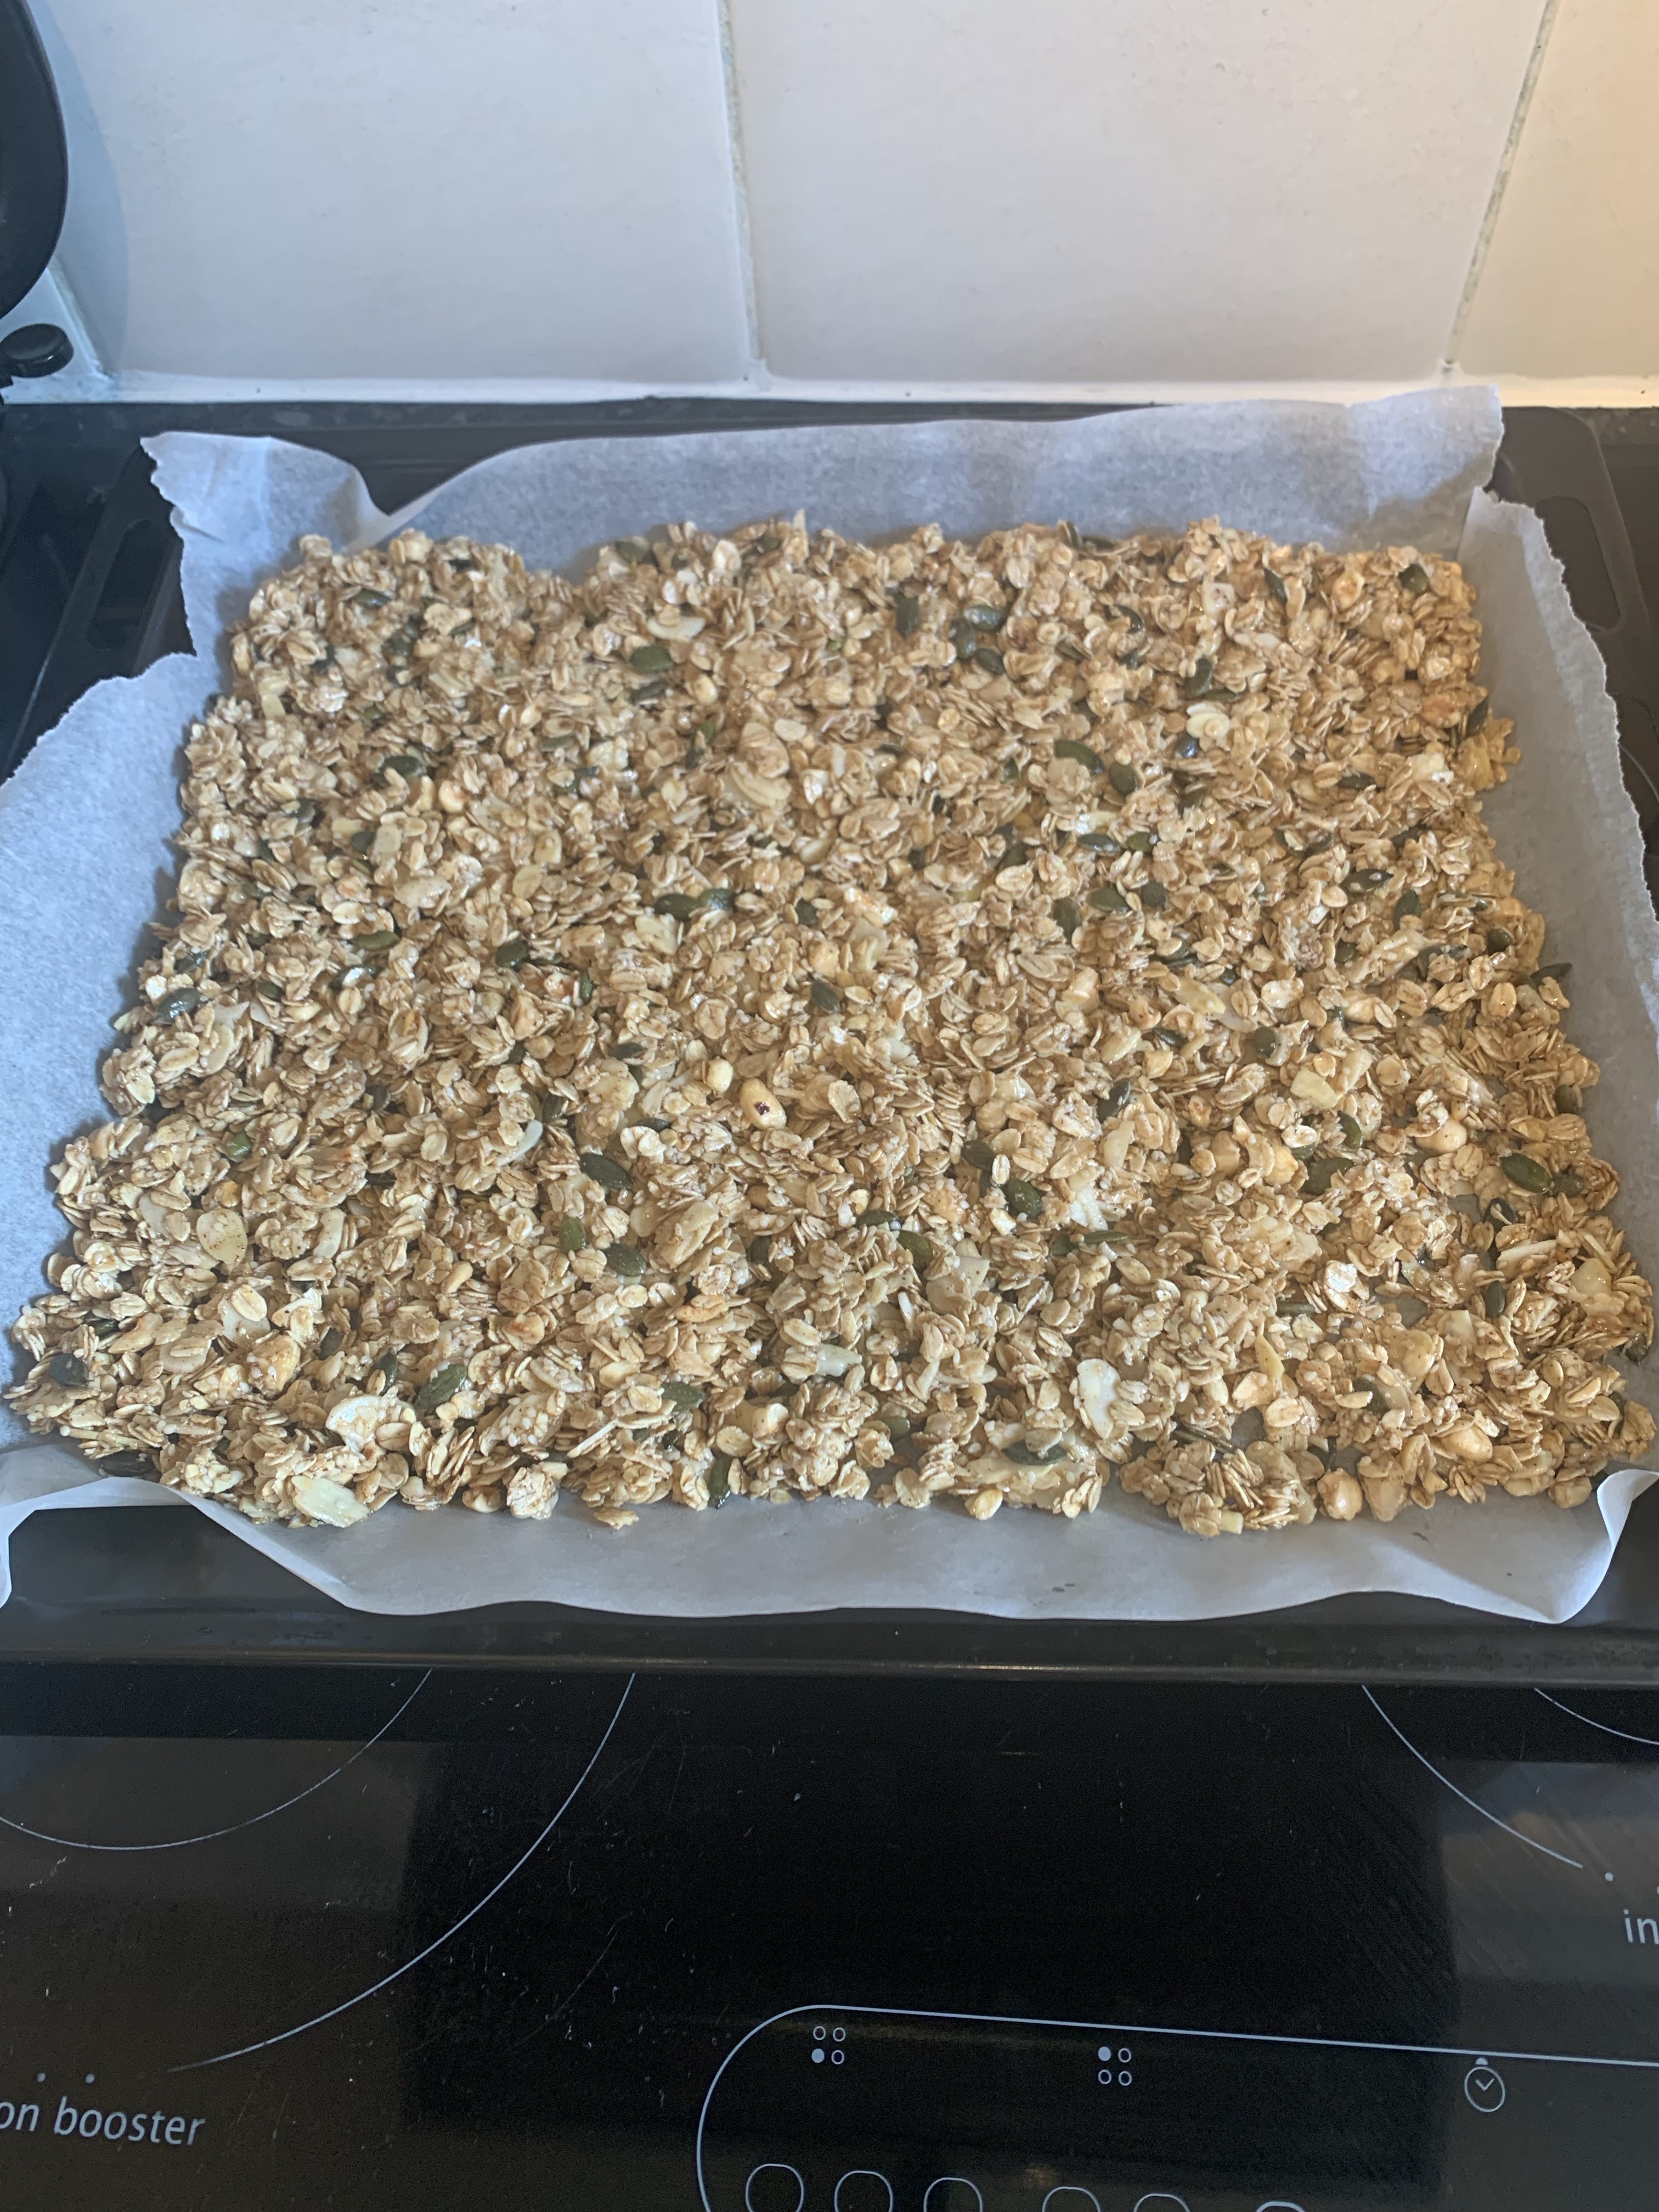
2. Mix all other ingredients together, apart from the dried fruit and coconut (and chocolate if using). I tend to put the whole hazelnuts in a little bag, and break them into smaller, but still large enough, pieces. Pour the mixture on a large oven tray, and spread equally. Bake in the preheated oven for 15 minutes.


3. Take out of the oven. Sprinkle the dried fruit and and coconut on top, then mix all together. Place back in the oven, and bake for another 15 minutes.


4. If using the chocolate, roughly chop with a knife. Remove the tray from the oven, and sprinkle the chocolate over the baked granola mixture.
5. Leave the mixture to cool completely (this stage is important). Once cooled down, break down to smaller pieces. Your granola is ready to be enjoyed!