Mocha squares

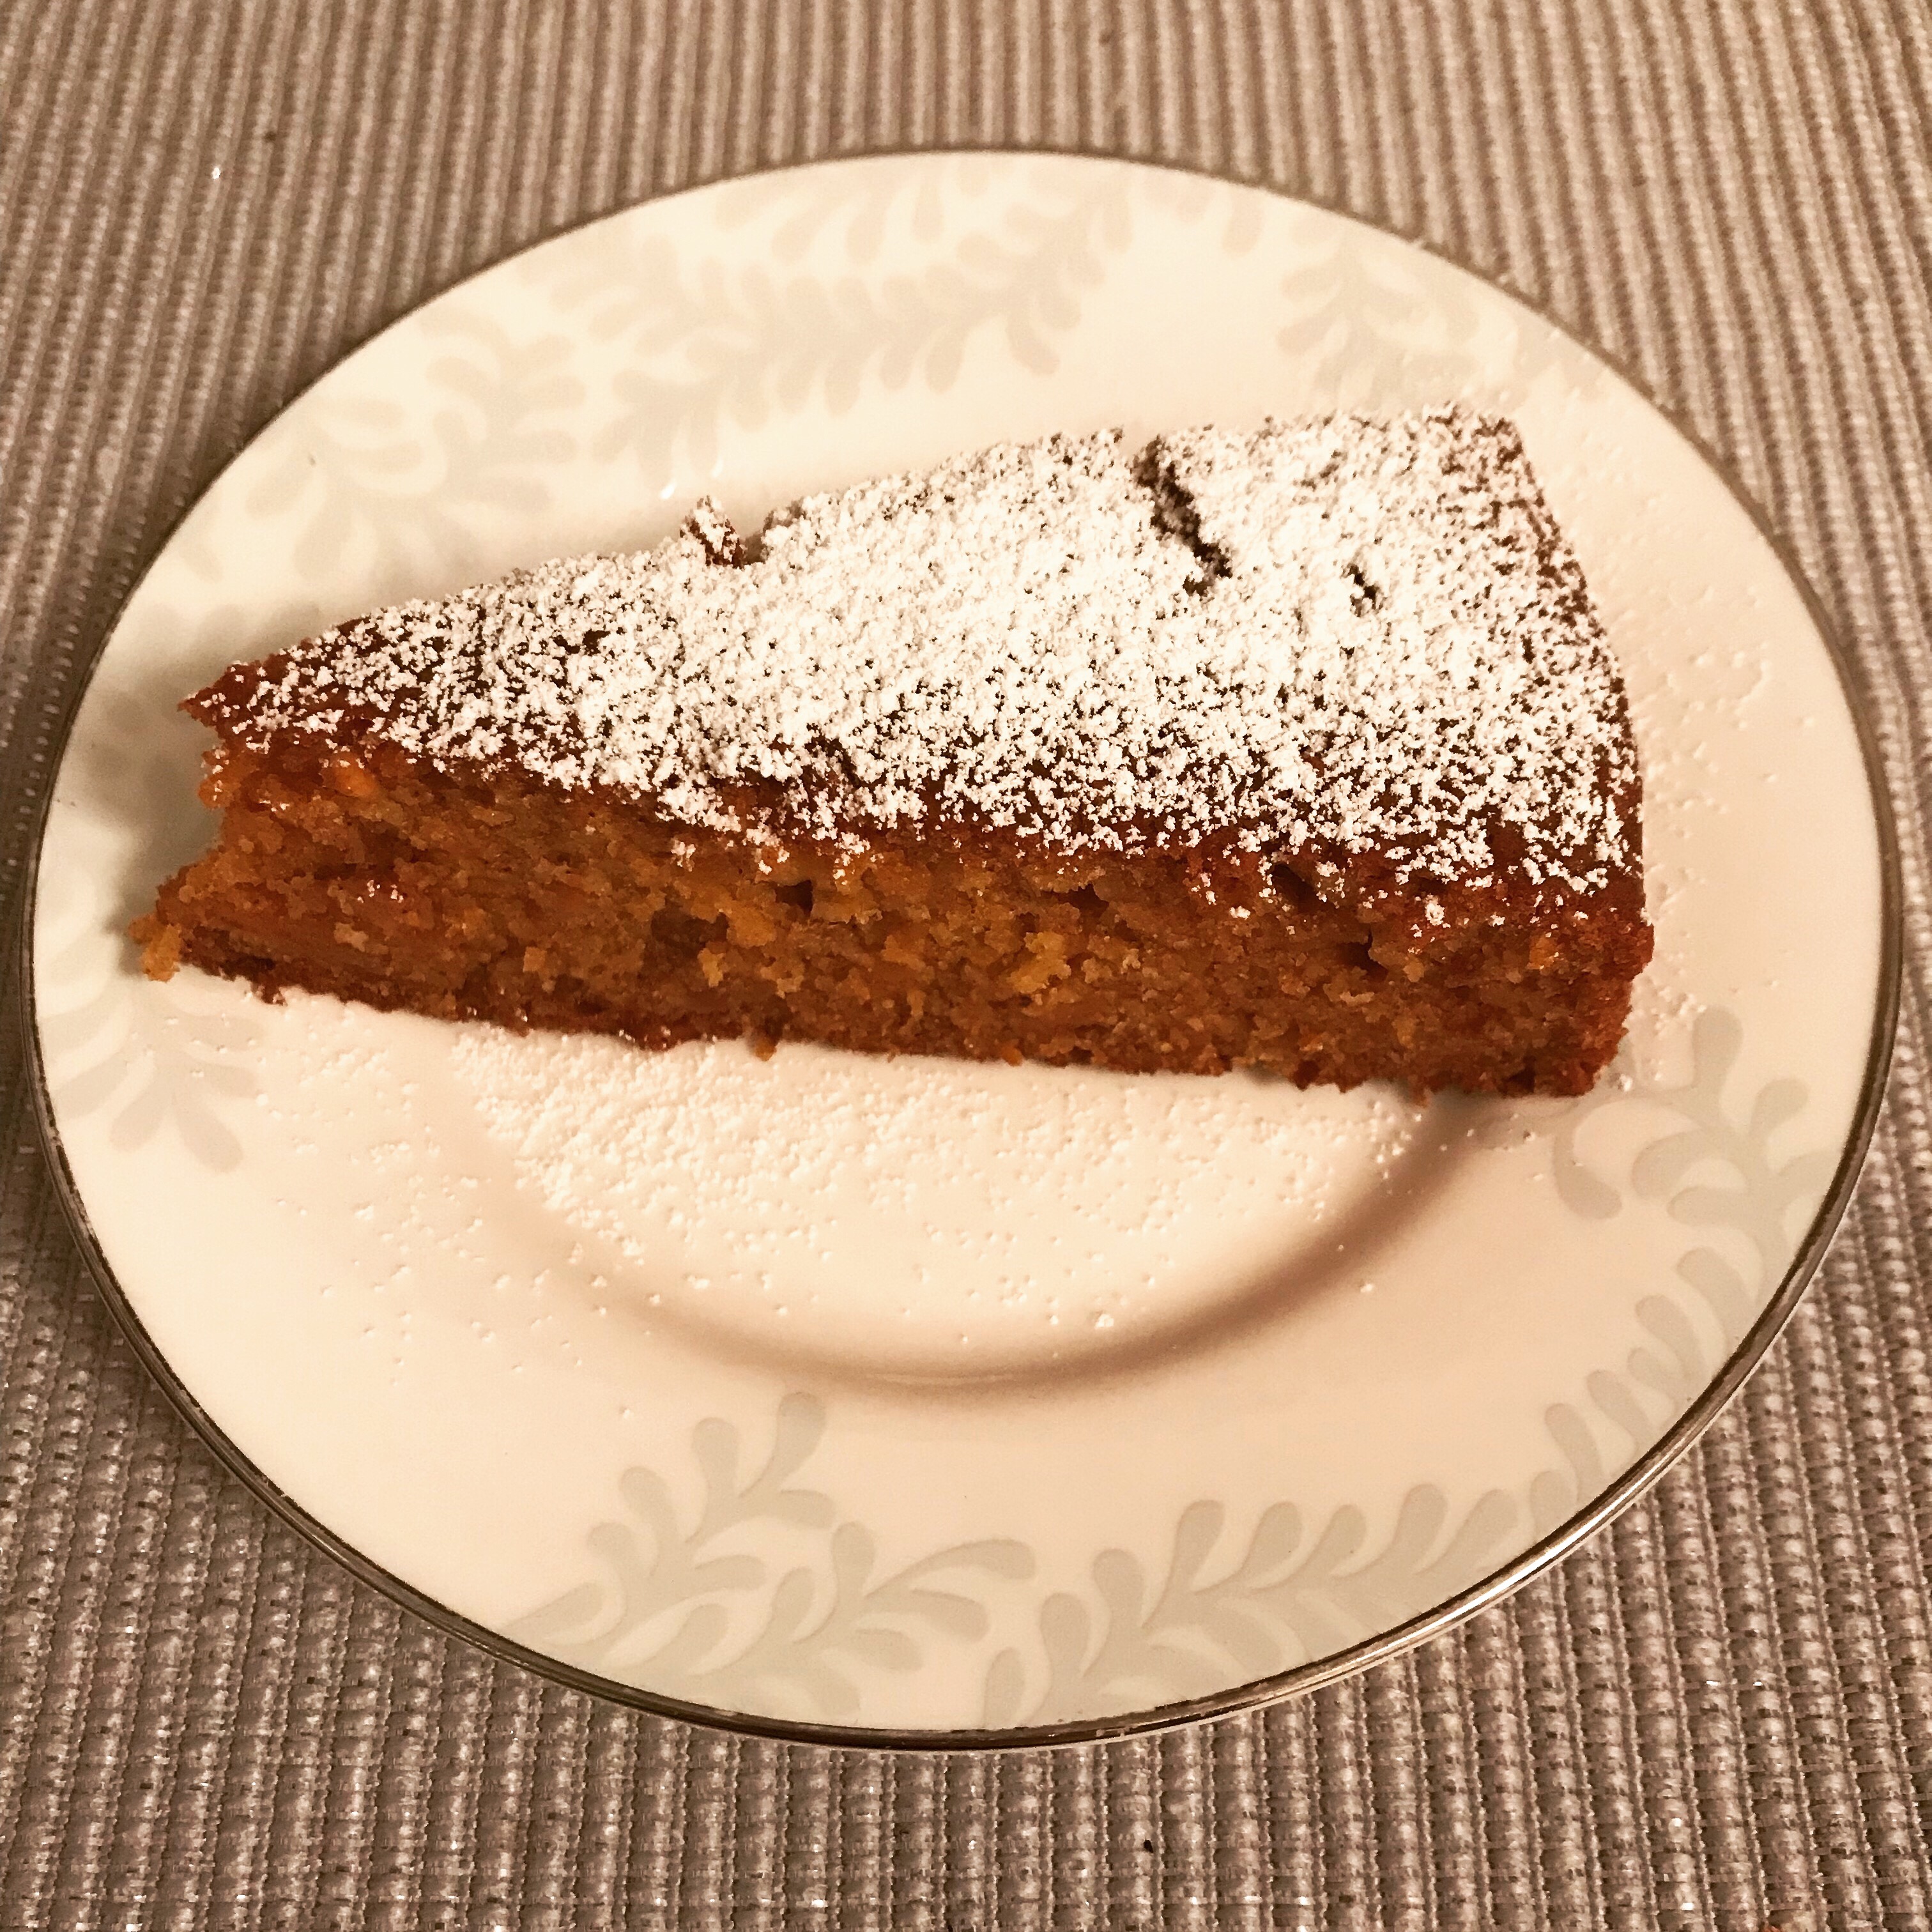
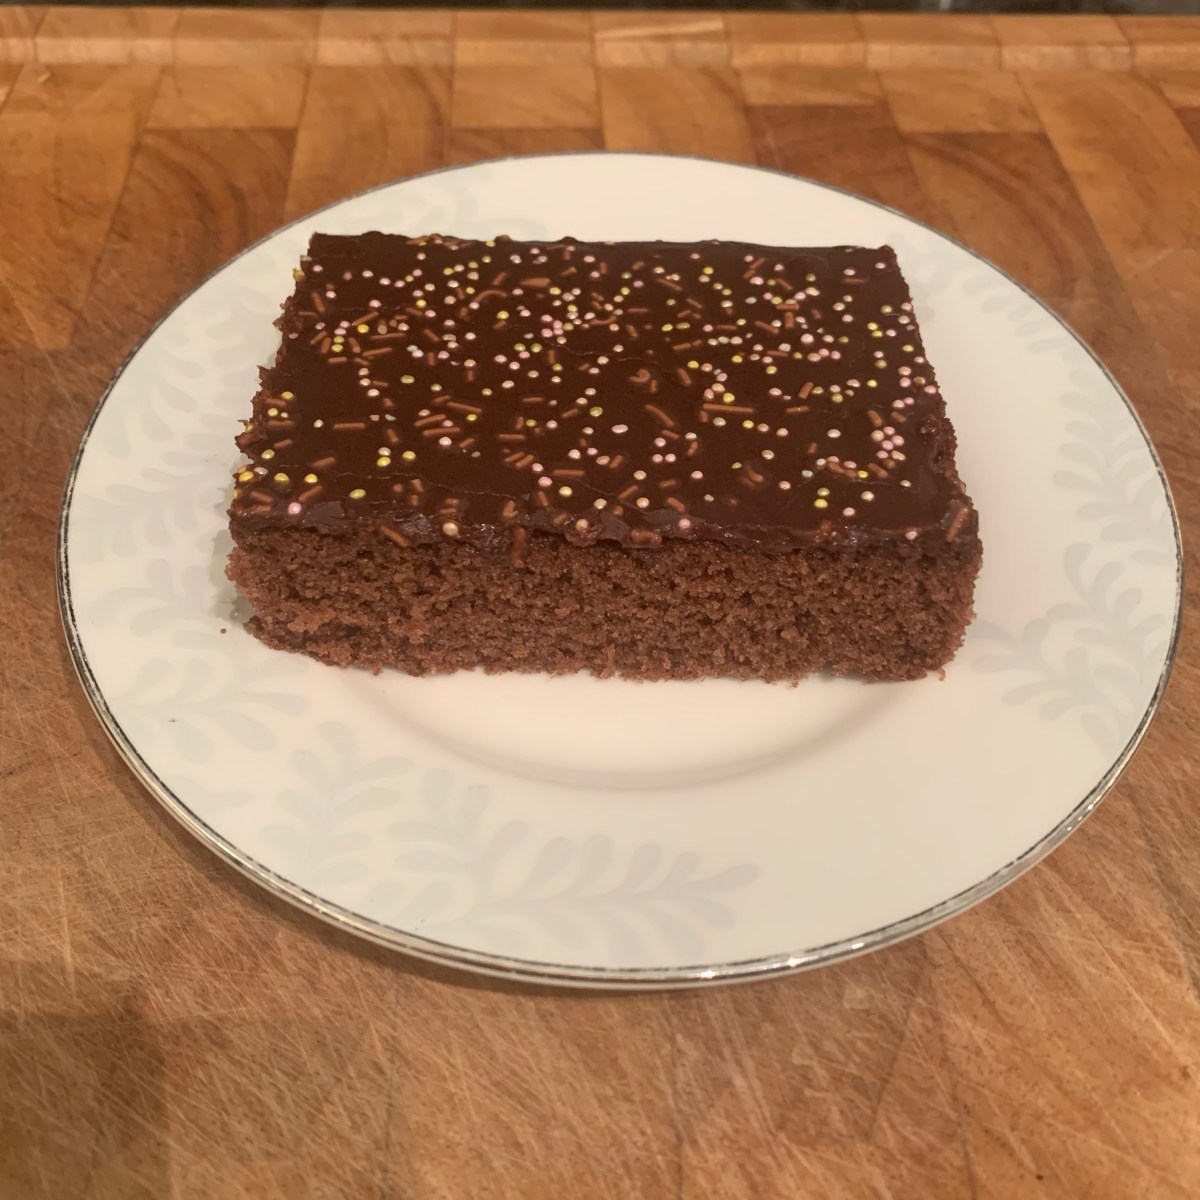
It might surprise most that the Finns are the world’s number one biggest coffee drinkers, consuming a whopping 12kg of coffee per capita a year. After knowing this fact however, it will probably not surprise anyone that these Mocha squares, chocolate cake with chocolate and coffee topping, is one of the most popular cakes almost anyone from teenagers to adults know how to make.

Sponge
500 ml plain flour
4 eggs
300 ml caster sugar
2 tsp vanilla essence
200 ml milk
200g butter, melted
3 tbsp cocoa powder
3 tsp baking powder
~~~~~
Topping
250-300g icing sugar
50g butter, melted
5 tbsp strong coffee
1 tbsp cocoa powder
2 tsp vanilla essence

1. Heat the oven to 200°C / 392°F. Melt the butter, and let it cool. 

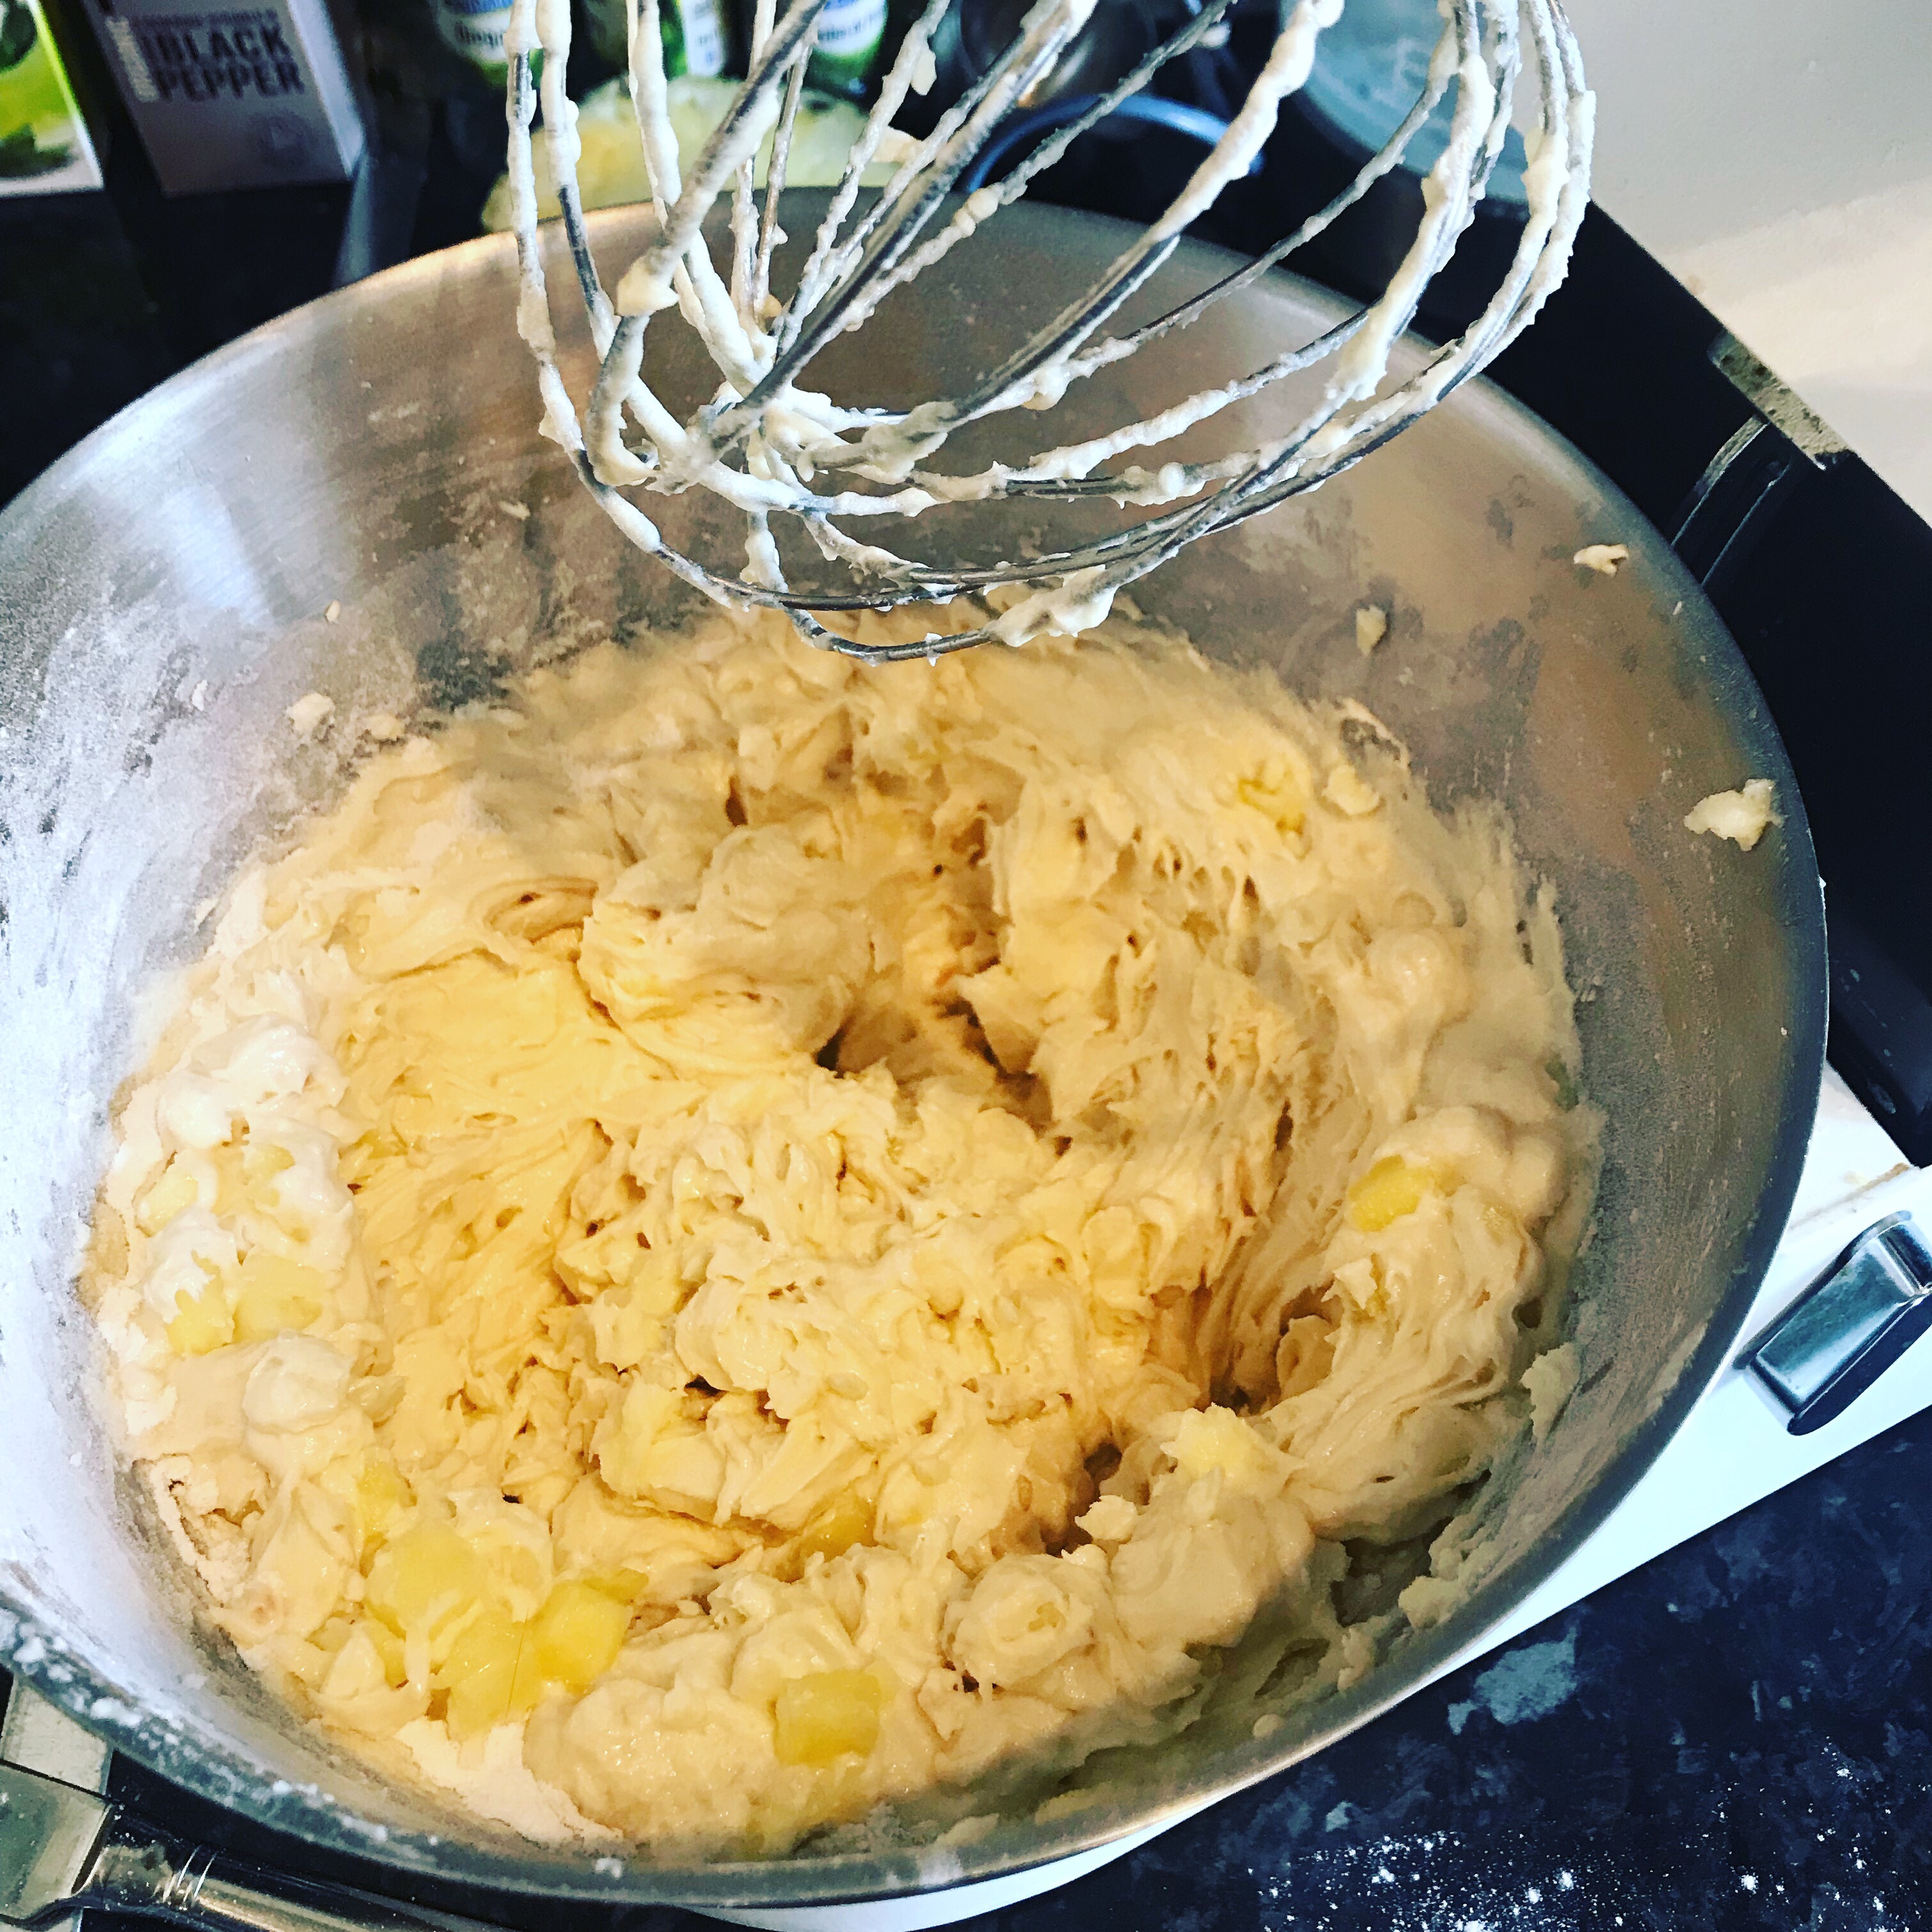
2. Whisk the eggs, sugar and vanilla essence until fluffy.

img_4437

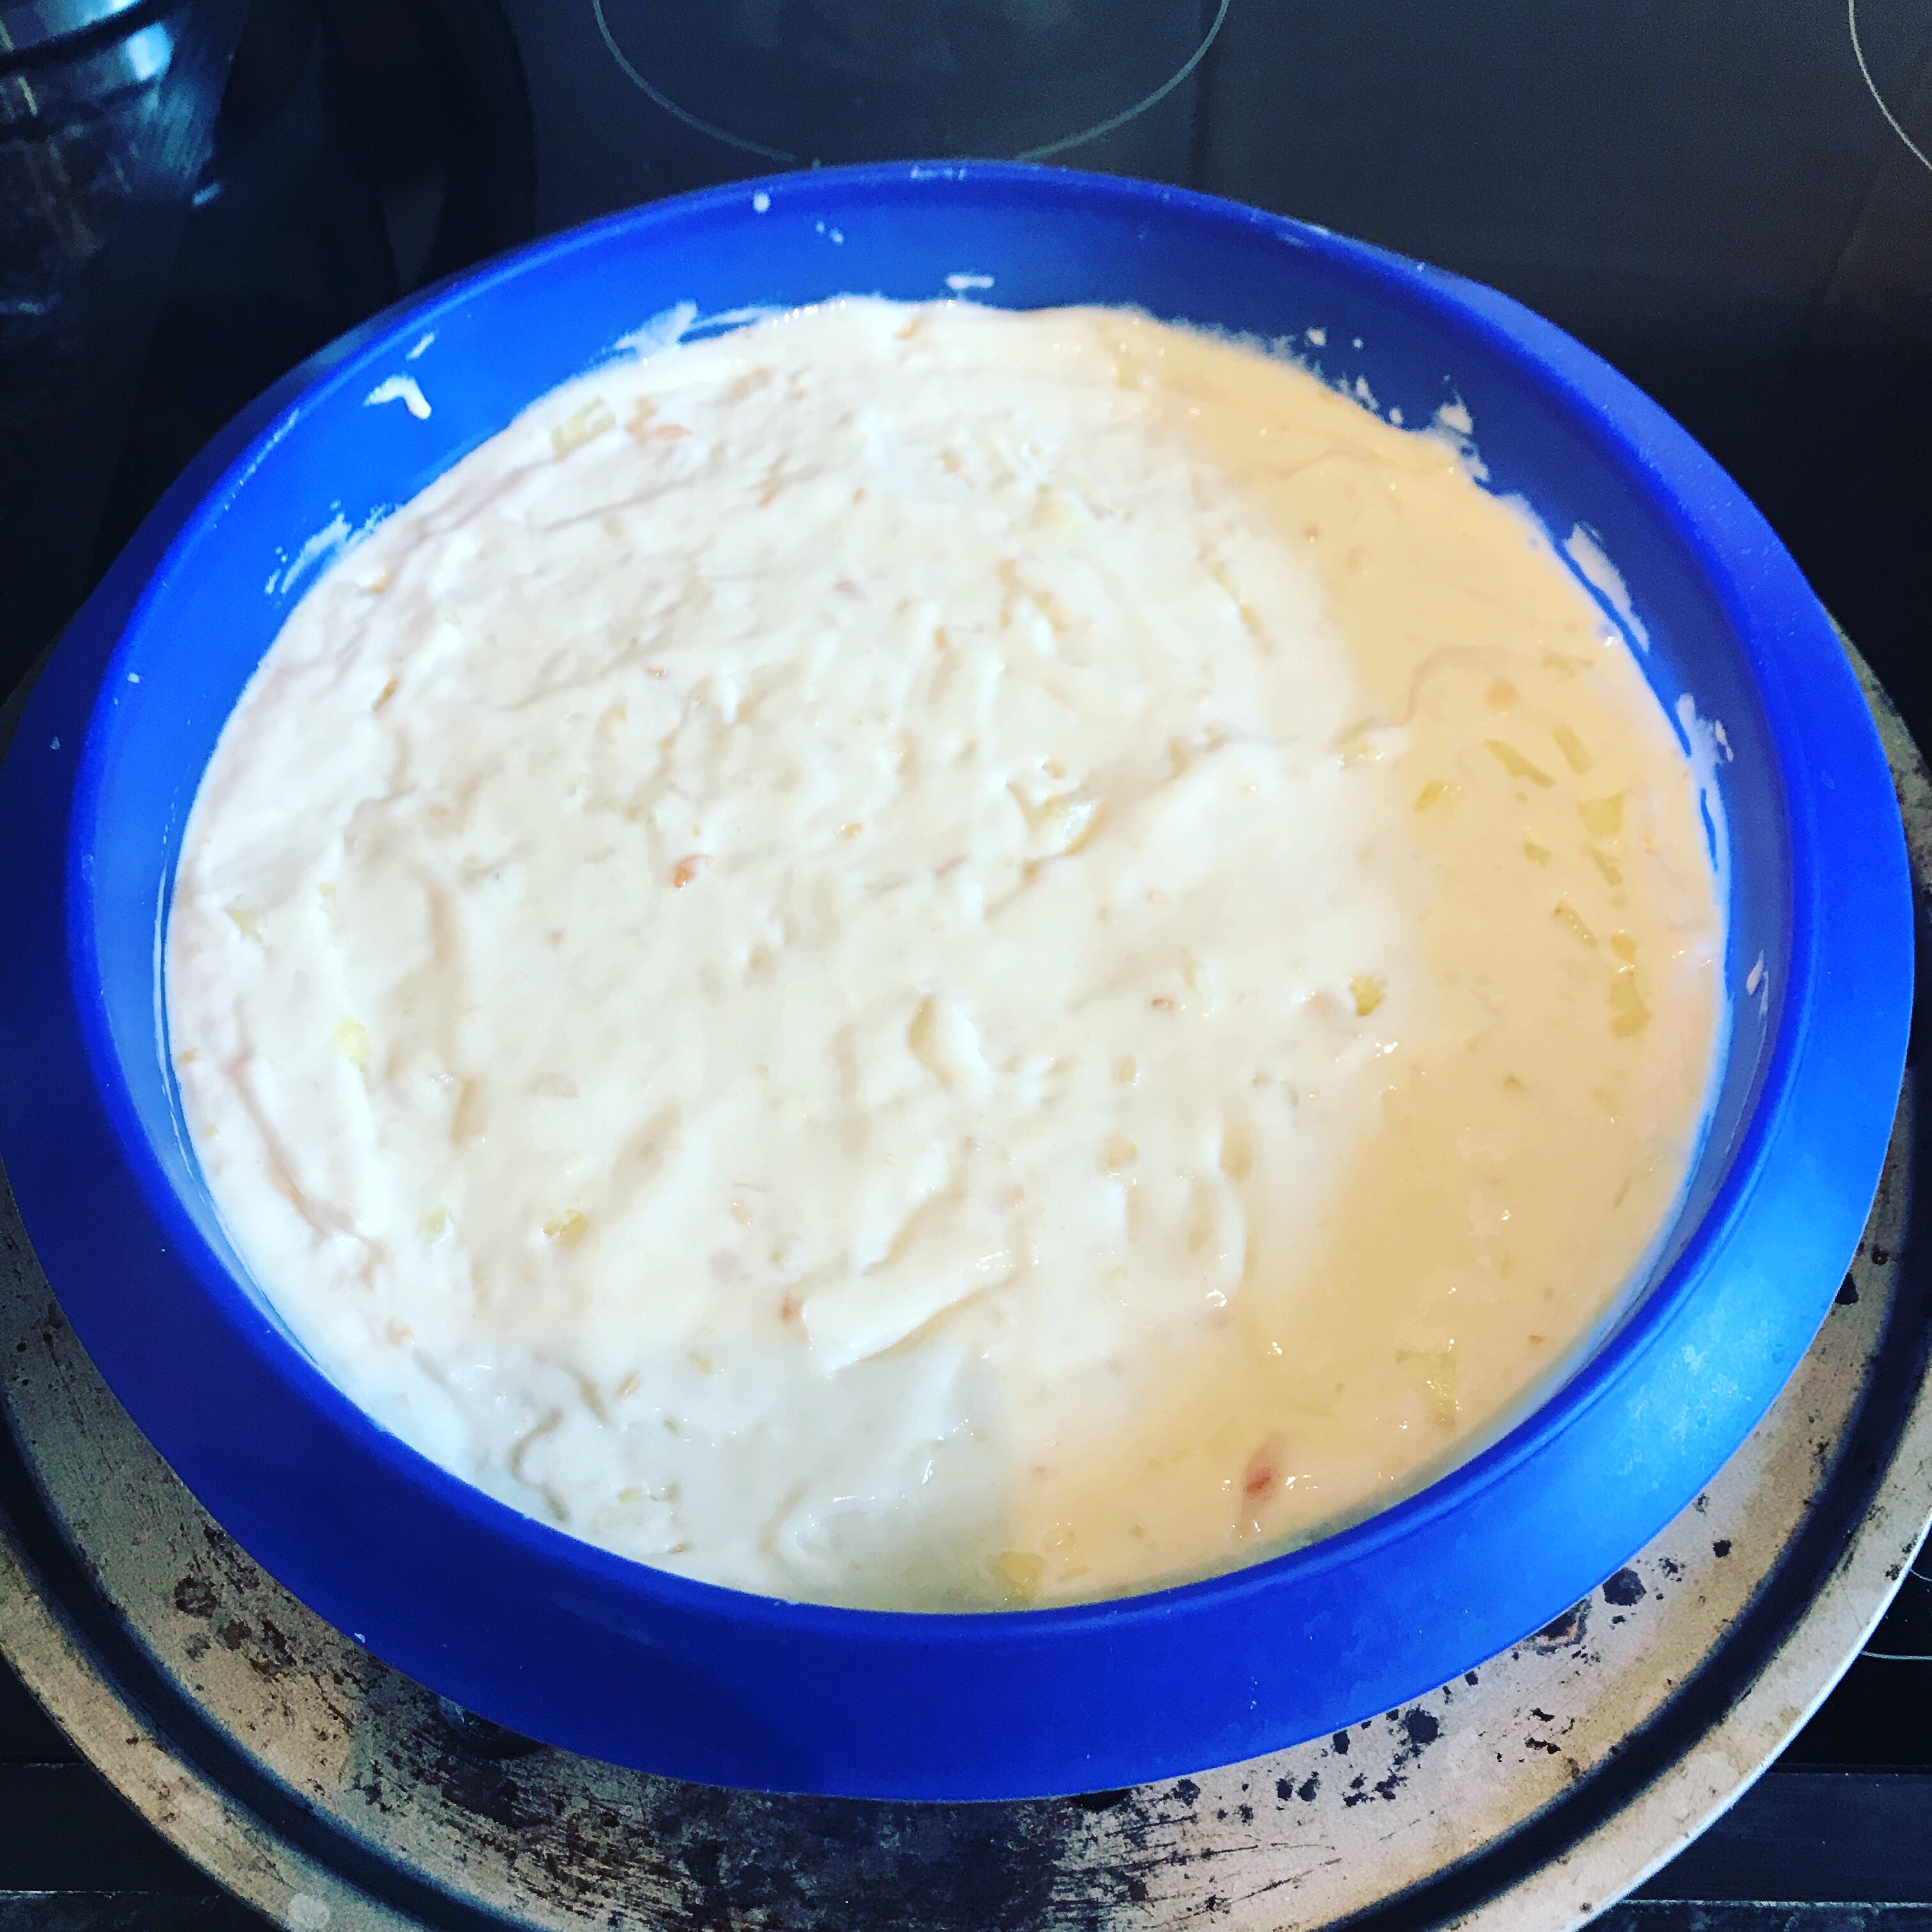
3. Mix the flour, baking powder and coco powder together. Taking turns with the milk, add to the eggs / sugar mix. 

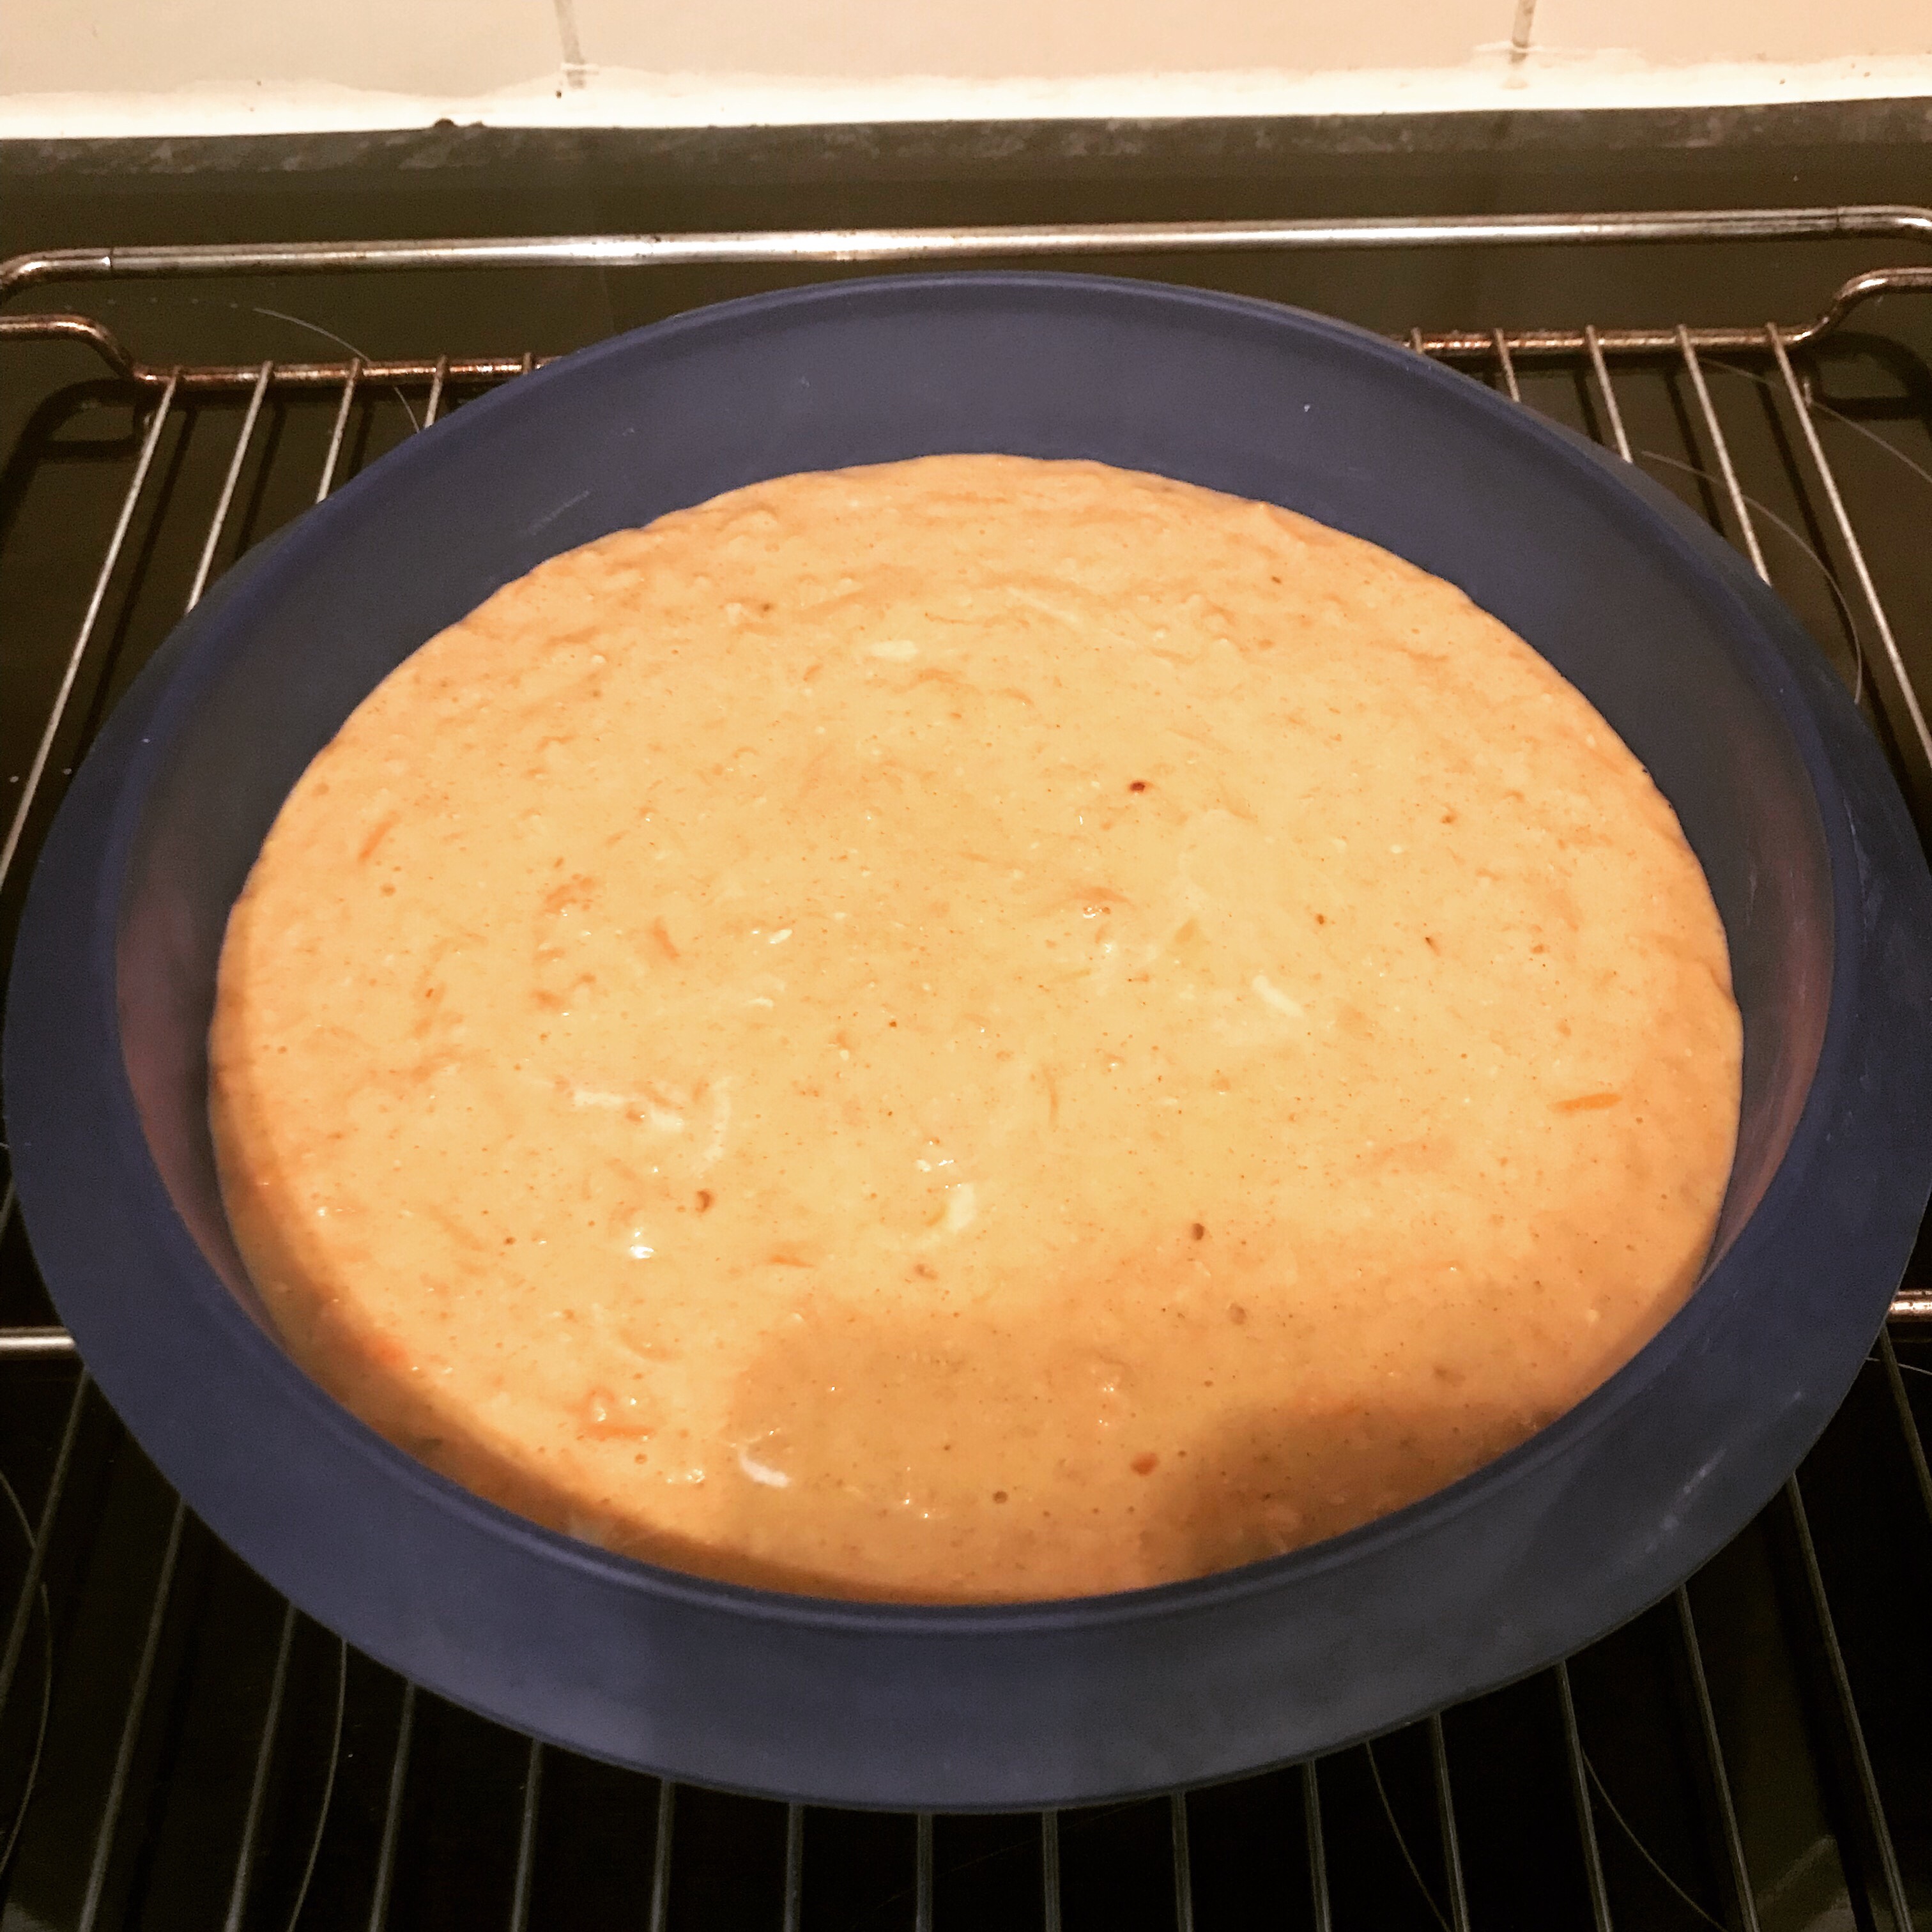
4. Pour the melted butter into the mix. Once fully incorporated, pour the mixture into an oven tray, lined with baking paper.

img_4439

5. Bake for 15 minutes. Take out of the oven, and let the cake cool fully before mixing the topping ingredients together, as they will set fairly quickly. 

6. Once the cake base has cooled, melt the butter and add the vanilla essence and coffee. 

7. Mix, or even better, shift, the icing sugar and coco powder together. Then mix together with the wet ingredients. Once smooth, pour over the cake and let it set. For visual effect, some cake decorations are often sprinkled on top.

Carrot cake II


I posted my other carrot cake recipe quite a long while ago (Click here to view), and completely forgot that I was going to put the other recipe I also use on here. But better late than never! This cake comes as an extremely fluffy, moist piece of cake, and for sure would impress even the toughest cake critics!

175g light muscovado sugar
175ml walnut oil (you can replace this with vegetable oil)
3 large eggs, beaten
175g carrots, grated (~2 large carrots)
100g raisins
grated zest of 1 orange
1 tsp ground cinnamon
175g self-raising flour
1 tsp bicarbonate of soda
1 tsp ground nutmeg

1. Preheat the oven to 160°C (fan) / 320°F.

2. I usually prepare all of the ingredients first, as the batter making steps are very quick. Put the sugar, eggs and oil in your main mixing bowl.

img_1743

3. Measure the raisins in a bowl, peel and grate the carrots, and grate the orange peel.

img_1745

4. Measure all the dry ingredients (flour and spices) in a separate bowl, and mix them together.

5. Mix the sugar, eggs and oil together lightly. I use a food processor on level 3 for 2-3 minutes. If you don’t have one, it’s fine to mix by hand.

6. Add raisins, orange peel and grated carrots, until everything are nicely mixed together.

7. Add the last remaining dry ingredients. There is no need to over mix this, just until it’s all mixed together.

8. Pour in your baking tray. I use a silicon one, so no greasing is required, however, if using a metal tin, it would be a good idea to grease your tin.

9. Bake for about 45 minutes. I use a metal knitting needle to check that the cake is fully cooked through. Stick the pin all the way through to the centre of the cake. Once you pull the pin out, if the pin is clean, the cake is cooked through. If some dough has got stuck on the pin, it will still need some more baking.

10. Once the cake is cooked through, remove from the oven to a wire rack to cool. Squeeze the juice of the orange. Prick holes onto the cake with a needle, and pour the orange juice over it. Once the cake is fully cooled, remove the cake from the tin, turning it upside down. Dust with icing sugar.

Runeberg’s tart

The name for these mini cakes is slightly misleading, because they’re called tarts even though they are cakes. Direct translation between languages can sometimes be very difficult when you want to be true to the original name, but know at the same time it will give people a wrong impression. These delightful cakes are traditionally eaten once a year, in celebration of Finland’s national poet Johan Ludvig Runeberg, on 5th of February.

makes about 8
Batter
1 egg
25 ml caster sugar
1/2 dl light muscovado sugar
100g butter, melted and cooled
1/2 dl double cream
2 dl plain flour
50g ground almonds
1 tsp baking powder
1/2 dl finely chopped hazelnuts
1 tsp vanilla sugar (or 1/2 tsp vanilla extract)
1 tbsp Amaretto
1tsp almond extract
~~~~~
Sugar syrup
1 dl sugar
1/2 dl water
2 tbsp cognac
~~~~~
rasberry jam
icing sugar
water
a dash of Amaretto

1. Beat the egg, sugars and the extracts until fluffy. Whip the cream until soft peaks are starting to form. Add the butter, cream and Amaretto to the egg and sugar mixture, and mix together.

2. Mix all the remaining dry ingredients together, and fold into the wet mixture.

img_2242

3. To make the cakes the traditional shape I had to improvise, as I don’t have the molds (will have to try to remember next time is visit Findland to buy some). I used non stick baking paper to make cylinders, which do work pretty well. This step of course isn’t necessary, and you could just use muffin cases, if you’re not too particular of the shape of the cakes.

img_2241

4. Preheat the oven to 180°C / 355° (fan). Bake the cakes for about 15-20 minutes.

5. While the cakes are cooking, prepare the syrup. Place the sugar, water and cognac in a pan, and bring to boil, cooking until all the sugar has dissolved.

6. Once the cakes have cooked, let cool for 5 minutes. Prick holes in them with a thin cocktail stick / needle. Then, brush the cakes with the syrup, using all of it. Let the cakes moisten for half an hour.

img_2240

7. Cut the tops of the cakes, to make them flat, and turn upside down. Place raspberry jam on top, leaving a space all around it. Mix the icing together, making a thick mixture, and finish the cakes with a ring of icing around the jam. Let the icing to harden, and the cakes are ready to be enjoyed!

img_2237

Scones

Scones are very British, and traditionally eaten with afternoon tea. Go anywhere for your high tea, scones will be served after your finger sandwiches, before the cakes. You will usually have a selections of ones without raisins, and ones with them. I personally tend to prefer the ones without. I’m a big fan of using buttermilk in baking, and I do use them for scones as well. Scones are traditionally served with some jam and clotted cream (I normally prefer whipped cream). There is a long standing debate about whether the jam goes on first, followed by the cream, or vice versa. One thing is for sure: they are indeed very easy to make, and you will be wondering why you never made them yourself in the past!

makes about 10-12

350g self-raising flour
100g caster sugar
100g butter, cut into small pieces
180ml buttermilk
~~~~~
clotted / whipped cream
jam

1. Preheat the oven to 180°C / 356°F (fan).

2. Measure together the flour and sugar, and mix. Add the butter pieces. Rub together, until the mixture resembles breadcrumbs. Add the buttermilk, and mix together into a dough.

3. Place the dough on a floured surface. I tend to cut the dough into half, to make it easier to handle the dough when making the scones. Shape it into a ball, and flatten with your hand. Finish flattening with a rollin pin, until about 2.5cm (1 inch) thick. Cut out the scones. I use a glass that is about the size I want the scones to be, about 5cm (2 inches) in diameter. Repeat with all the leftover dough, to use it all.

img_6320

4. Place on a non stick baking paper and baking tray, and bake for about 12 minutes. After the time has passed, you can check they are cooked through by piercing one with a metal pin. If nothing sticks to the pin, they are cooked.

img_6322

5. Let cool on a wire rack. Cut in half and fill with jam and cream.

Cappuccino cake

My husband would like me to bake more, so I’ve been making cakes a bit more than I normally do. I’ve been trying to be creative, and make a variety of styles. Last time it was fruity pineapple cake (click here for recipe), this time it’s a cappuccino cake with a mild coffee flavor.

5 tbsp strong coffee
175g butter
175g light muscovado sugar
3 eggs
175g self-raising flour
1/2 tsp baking powder
~~~~~
400g double cream
50-75g dark chocolate (I use 85%)

1. Beat the butter and sugar together until fluffy. Add the eggs one at a time, beating into the mixture. If the mixture ‘curdles’ during this process, add a spoonful of the flour.

2. Mix the flour and baking powder together. Once all the eggs have been beaten into the butter – sugar mixture and it’s again fluffy, start adding the flour. When you have only little flour left, add the coffee, followed by the remaining flour. After the flour has been added and completely mixed, you don’t want to overdo the mixing.

3. Preheat the oven to 175°C / 345°F. Line a baking tin with non-stick baking paper (unless you’re using a silicone one), and pour the cake mixture in. Bake for about 45 minutes.

4. Once baked, take out of the oven. I tend to check the cake is baked through by using a metal knitting pin. When you pull it out, if it’s clean the cake is done, if some batter has got stuck to it it’s not done yet.

5. Lift the cake and the baking paper out of the tin and let the cake cool on a rack.

6. Remove the baking paper and cut the cooled cake into three layers.

7. On each layer, put some whipped cream and grated dark chocolate. Then put another layer on and repeat.

Pineapple and almond cake

I had added a whole pineapple on our food shopping delivery, thinking I would use it for a fruit salad. My husband, however, set me on a different kind of challenge when he asked if I could make a pineapple cake, pineapple granita and a pineapple ice-cream (yes, all from the one fruit!). The juicy pineapple makes this cake very moist and wonderful, and it’s very fluffy and light. I added some Amaretto for a super moist result. The amount I’ve used only gives a slight taste, if you want to make a boozy cake add more.

250g butter
2 dl caster sugar
4 eggs
4 1/2 dl plain flour
2 tsp baking powder
1 dl chopped almond
1/2 pineapple (about 3-4 dl once chopped to small pieces)
3 tbsp Amaretto (optional)

1. Prepare the pineapple, and chop to small pieces. Measure the dry ingredients together.

2. Whisk the butter and sugar together on high speed, until fluffy.

3. Add the eggs, one by one, whisking thoroughly on high speed.

4. Add the dry ingredients, followed by the pineapple pieces.

img_3687

5. Pour the mixture into your baking tin. I use a silicone one, so I don’t need to butter it, however if you use a non-silicone one you may want to butter and coat it with flour first.

img_3688

6. Bake in a preheated oven 170°C / 340°F for 1 hour.

7. If using the Amaretto, once out of the oven let cool for 10 minutes. Prick the cake all over with a needle, and pour the liquid all over the cake. Wait for about 30-60 minutes before serving.

img_3684

Carrot cake I

I have two recipes for carrot cake that I use. As both of them are nice, my dilemma was which one to post. I’ve decided that I will post one as I, and next time I’m making carrot cake I’ll make the other recipe as II.

200g carrots
2 eggs
1 1/2 dl caster sugar
1/2 dl chopped hazelnuts
2 1/2 dl self raising flour
1 dl oat bran
1 tsp bicarbonate of soda
1 tsp cinnamon
1 tsp vanilla sugar
1 tbsp orange juice
1 dl olive oil
1 dl buttermilk

1. Peel and finely grate the carrots.

2. Mix all the dry ingredients together.

3. Whisk the eggs and sugar together until foamy, fluffy texture, then carefully add the dry ingredients.

4. Add the carrots and all the other remaining ingredients.

5. Pour the cake batter on a flat based cake tin (If you use a tin, you may want to butter it first. I use a silicon cake mold, which doesn’t require buttering). The batter will appear very runny at this stage, but will be nice and fluffy once cooked.

img_2450

6. Bake in the low part of a preheated oven 170°C / 340°F for about 50 minutes.

img_2449

Cinnamon buns

This very Finnish bake (some might say Nordic) brings back many memories of cold winter days, steaming cup of hot chocolate with a big cinnamon bun. I don’t make them very often, but have been thinking about them for a while now. I’m so glad I decided to make them, this batch is the best I’ve ever made!

5 dl milk
2 saches of quick action dried yeast or 50g fresh yeast (I used dried)
1 egg
1 1/2 tsp salt
2 dl caster sugar
1 tbsp coarsely ground cardamom
1 kg wheat flour (400g plain flour / 400g strong white bread flour / 200g self-raising flour)
200g butter, melted
~~~~~
soft butter
cinnamon
caster sugar
~~~~~
egg

1. Measure 900g of the flour in your mixing bowl. I use food processor for mixing the dough, but if you’re mixing by hand use a large wooden fork, as it’s important to get air in the dough mixture. Save the remaining flour until later. I have to confess I found the perfect mix of flours by accident. I have normally mixed plain and strong white flour half and half, but run out just a little bit, so had to finish with self raising, which turned out to be the best situation.

2. Heat the milk until lukewarm. Add the yeast, salt, sugar and cardamom, and stir until sugar has dissolved. Add slightly beaten egg.

3. Pour the liquid mixture to the mixing bowl with the flour in, whilst mixing.

4. Knead for 5 minutes, then start pouring in, little by little, the melted butter. At this stage, it’s a good idea to add spoons of the remaining flour, to help the butter to be incorporated with the rest of the dough. Knead for another 5 minutes. During this time, if the dough keeps sticking to the bowl, add some more flour until it doesn’t stick anymore.

5. Cover the bowl with cling film and a cloth,  and place the bowl in a sink with hot water in. Leave to rise for an hour.

6. I then knead the dough again in the food processor for 30 seconds (or alternatively, you can of course do this by hand too).

7. As this is quite a big dough, I then cut it in half, and do the following steps in each half. With a rolling pin, roll the dough onto a flat plate. About 5-10 mm thickness should be good.

img_1135

8. Spread on soft butter, followed by ground cinnamon, and then sugar.

9. Let rest for 15 minutes, then roll the dough, and cut into desired size pieces with a knife.

10. At the top part of the bun, using your fingers bring the edges of the outer layer of dough to the middle part of top of the bun and press down, so that they stick. Let rise for 30 minutes, covered.

img_1140

11. Heat oven to 200°C (fan) / 400°F. Just before baking the buns, brush them with slightly beaten egg. Bake for 15 minutes. Depending on your oven, keep on eye on them whether you need to turn your tray half way.

Tosca cake

I was going to say this cake is from my native Finland, but like with many things, it’s very difficult to say whether something originated from Finland, Sweden or Norway (each country would always like to claim the ownership, take sauna for example), so I’ll expand a little bit and say this is Nordic baking.

200g butter
2 dl sugar
3 eggs (large)
4 dl flour (I use half plain, half self raising)
2 tsp baking powder
2 tsp vanilla sugar
1/2 lemon skin, grated
~~~~~
75g butter
3/4 dl sugar
1 1/2 tbsp flour
2 tbsp milk
70g almond flakes

1. Heat oven to 175°C / 345°F.

2. Whisk butter and sugar together, until light fluffy texture. You may find this easier if the butter has been sitting in the room temperature for a while prior to this, and is soft.  Add eggs one at a time, whisking as you go. If you find it difficult to incorporate the eggs to the butter/sugar mixture, you might want to add a small spoonful of  the flour as you go.

3. Mix all dry ingredients of flour, baking powder, vanilla sugar and lemon skin together. Add to the butter, sugar and egg mixture, and mix together. Keep in mind that you should not be mixing it vigorously or for a long time after adding the flour, as this will make your cake to fail.

4. Pour the mixture to your cake tin. I these days use silicon ones, so I don’t need to butter them, but if you are using the older style tins, you would like to butter them, and then add some fine breadcrumbs until all of the inside of the tin is covered. This will prevent the cake from sticking to the tin. Bake on the lowest shelf of the oven for 20 minutes.

img_0988

5. Whilst the cake is cooking, add all remaining ingredients of butter, sugar, flour, milk and almond flakes to a pan, to make the topping. Heat, and stir everything together until sugar has melted and all ingredients are mixed together.

img_0992

6. After the cake has been cooking for 20 minutes, pour the topping over it, and bake in the oven for another 20 minutes.