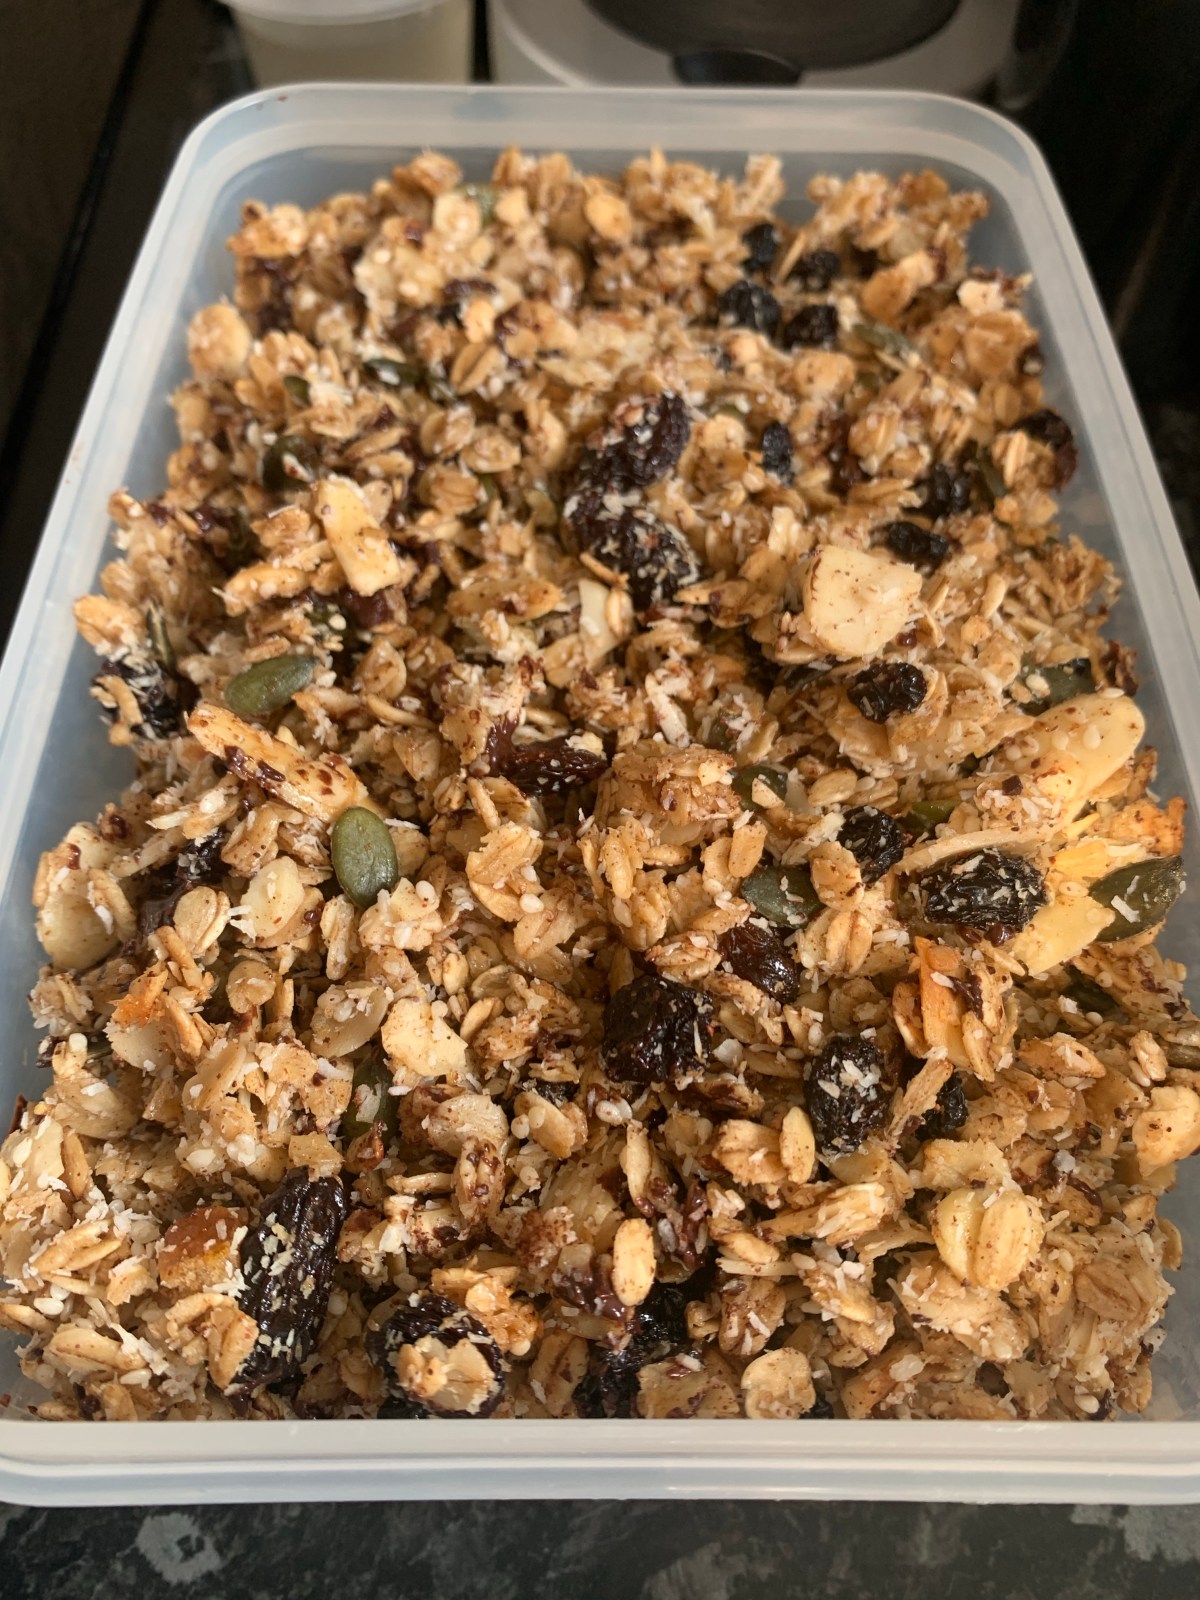
Homemade granola

Since I tried making my own granola for the first time some time ago, I’ve never bought it again! It requires pretty little effort, and doesn’t take long to make – and you can select the ingredients you want.

Ingredients
300g rolled oats
4 tbsp sesame seeds
200g nuts and seeds (I usually use ~100g flaked almonds, ~50g whole hazelnuts and ~50g pumpkin seeds)
2 tsp ground cinnamon
2 tbsp vegetable oil
125ml maple syrup
2 tbsp clear runny honey
2tsp vanilla extract
~~~~~
100g dried fruit (I usually use mix of currants, raisins, sultanas and mixed fruit – my husband likes the bitter citrus pieces)
50g desiccated coconut

~~~
optional: ~45g dark chocolate (70%)

1. Heat the oven to 130°C (265°F).

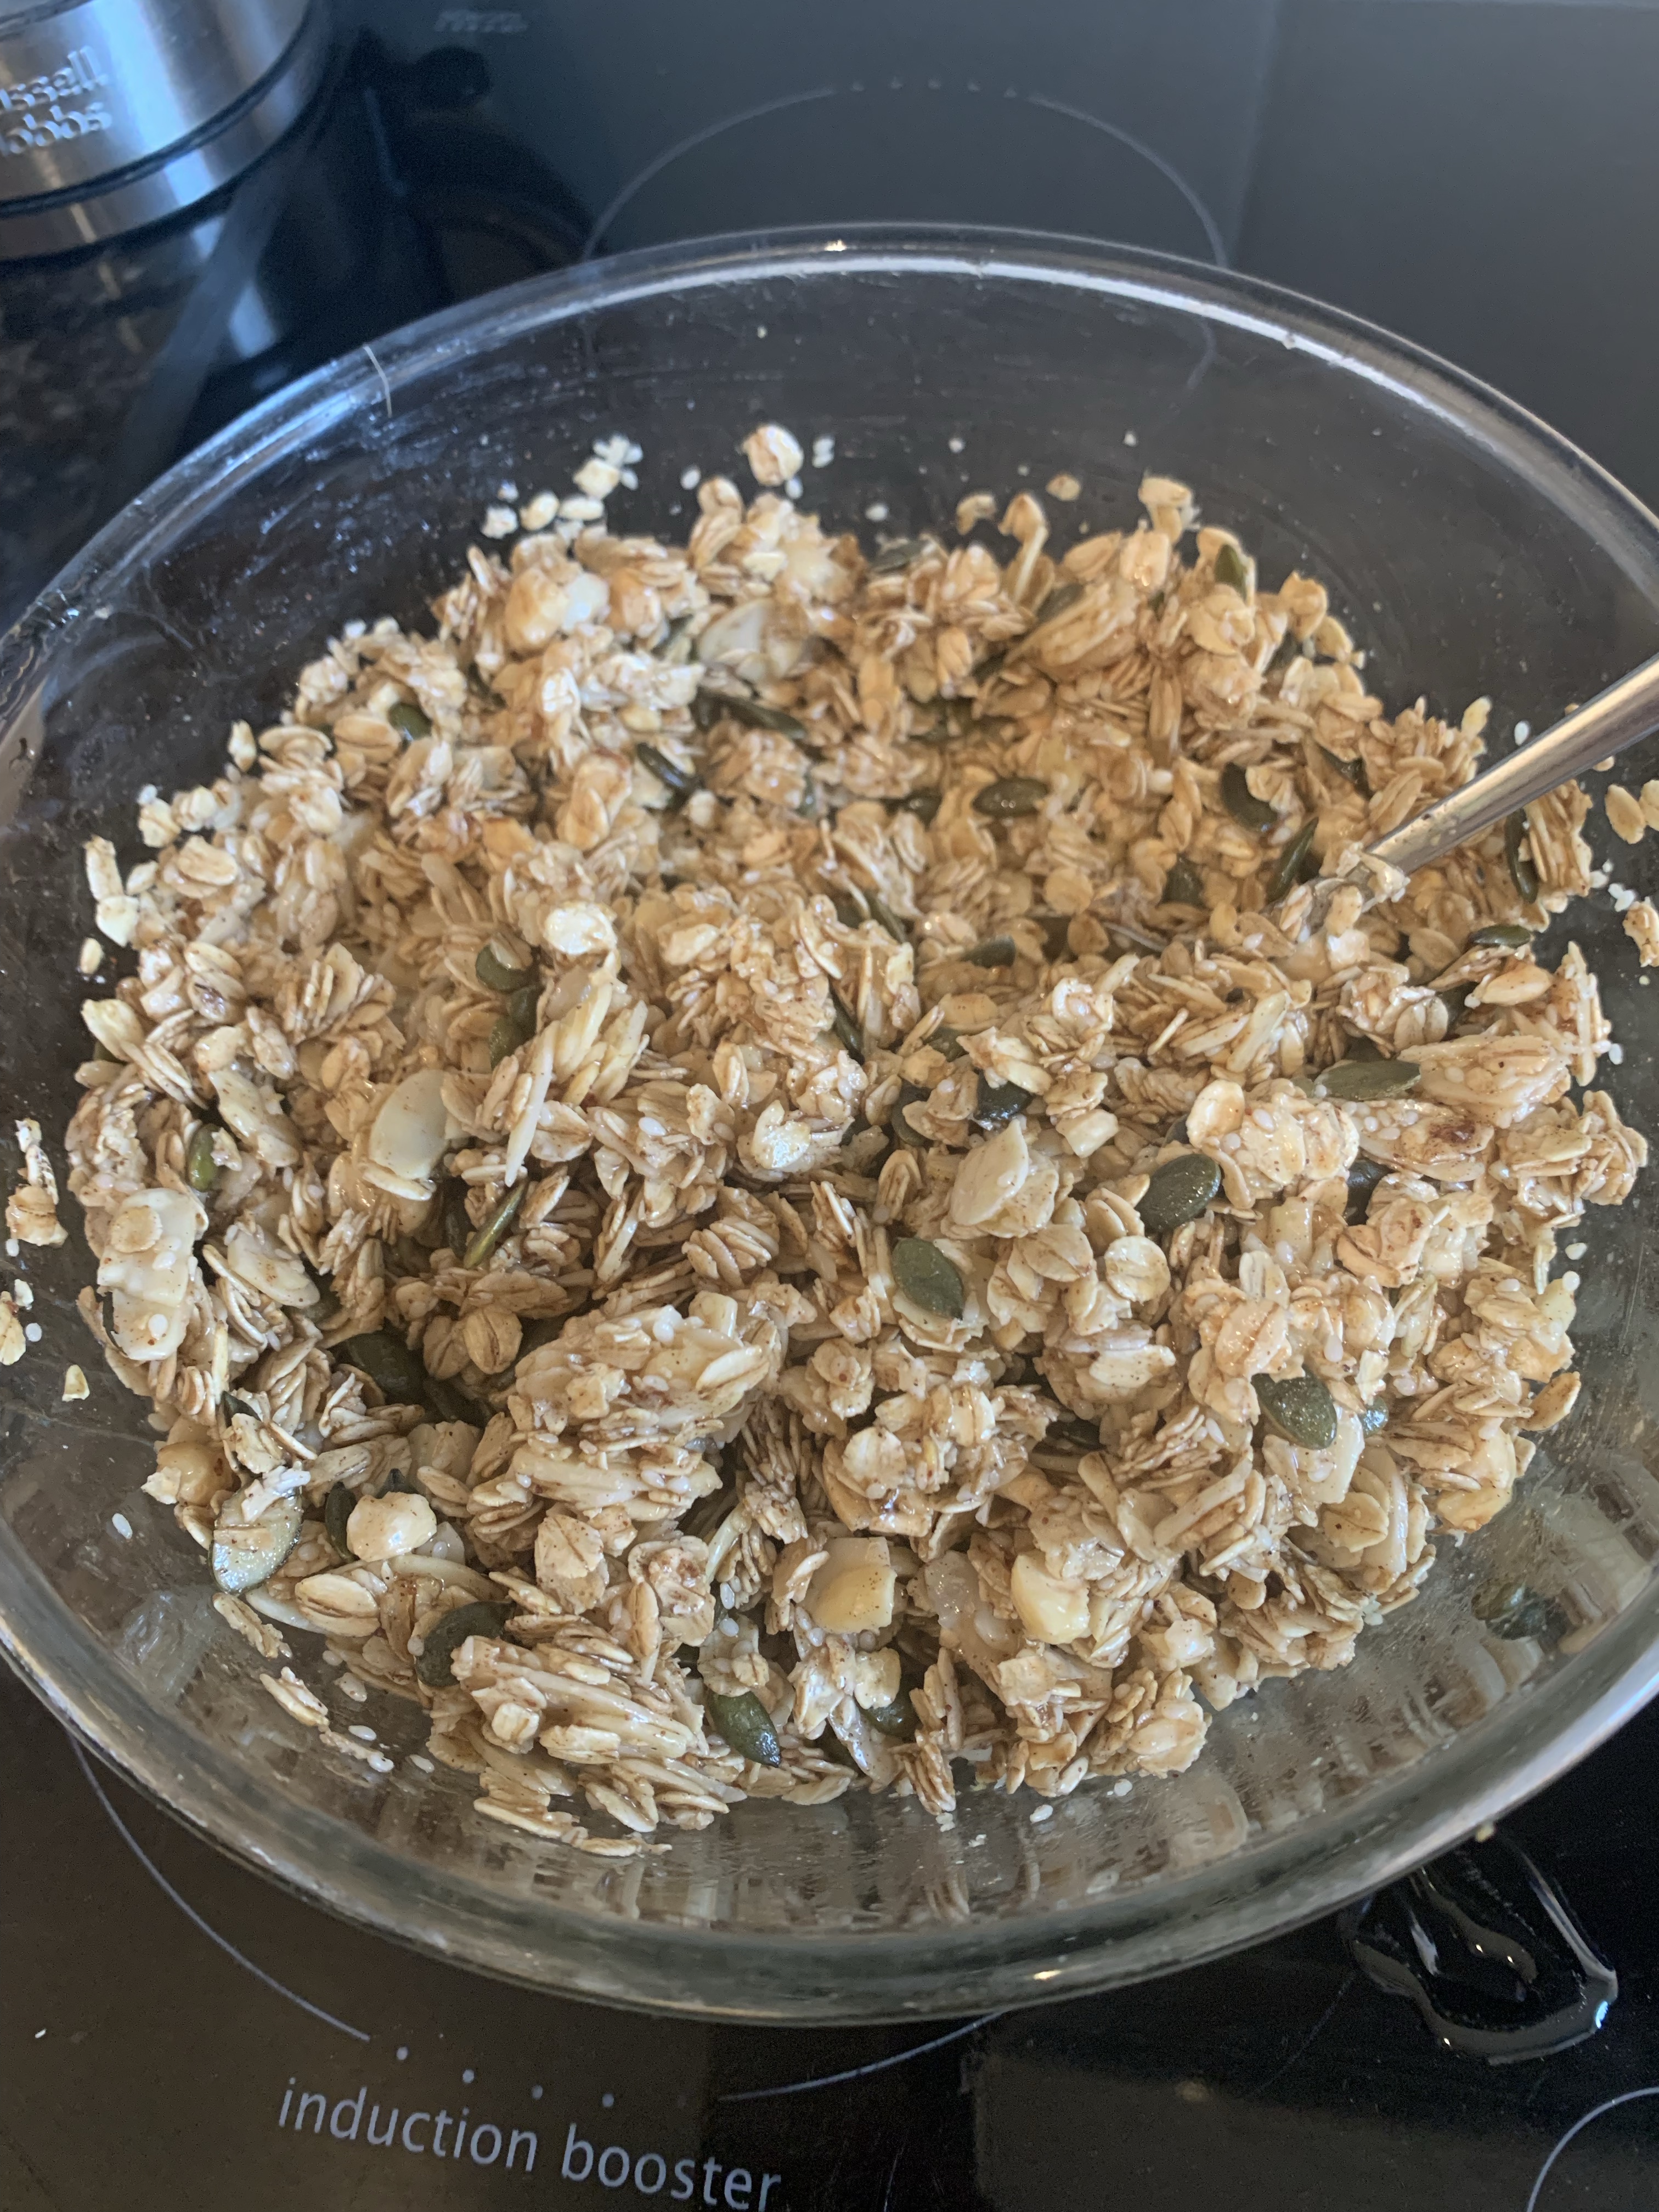
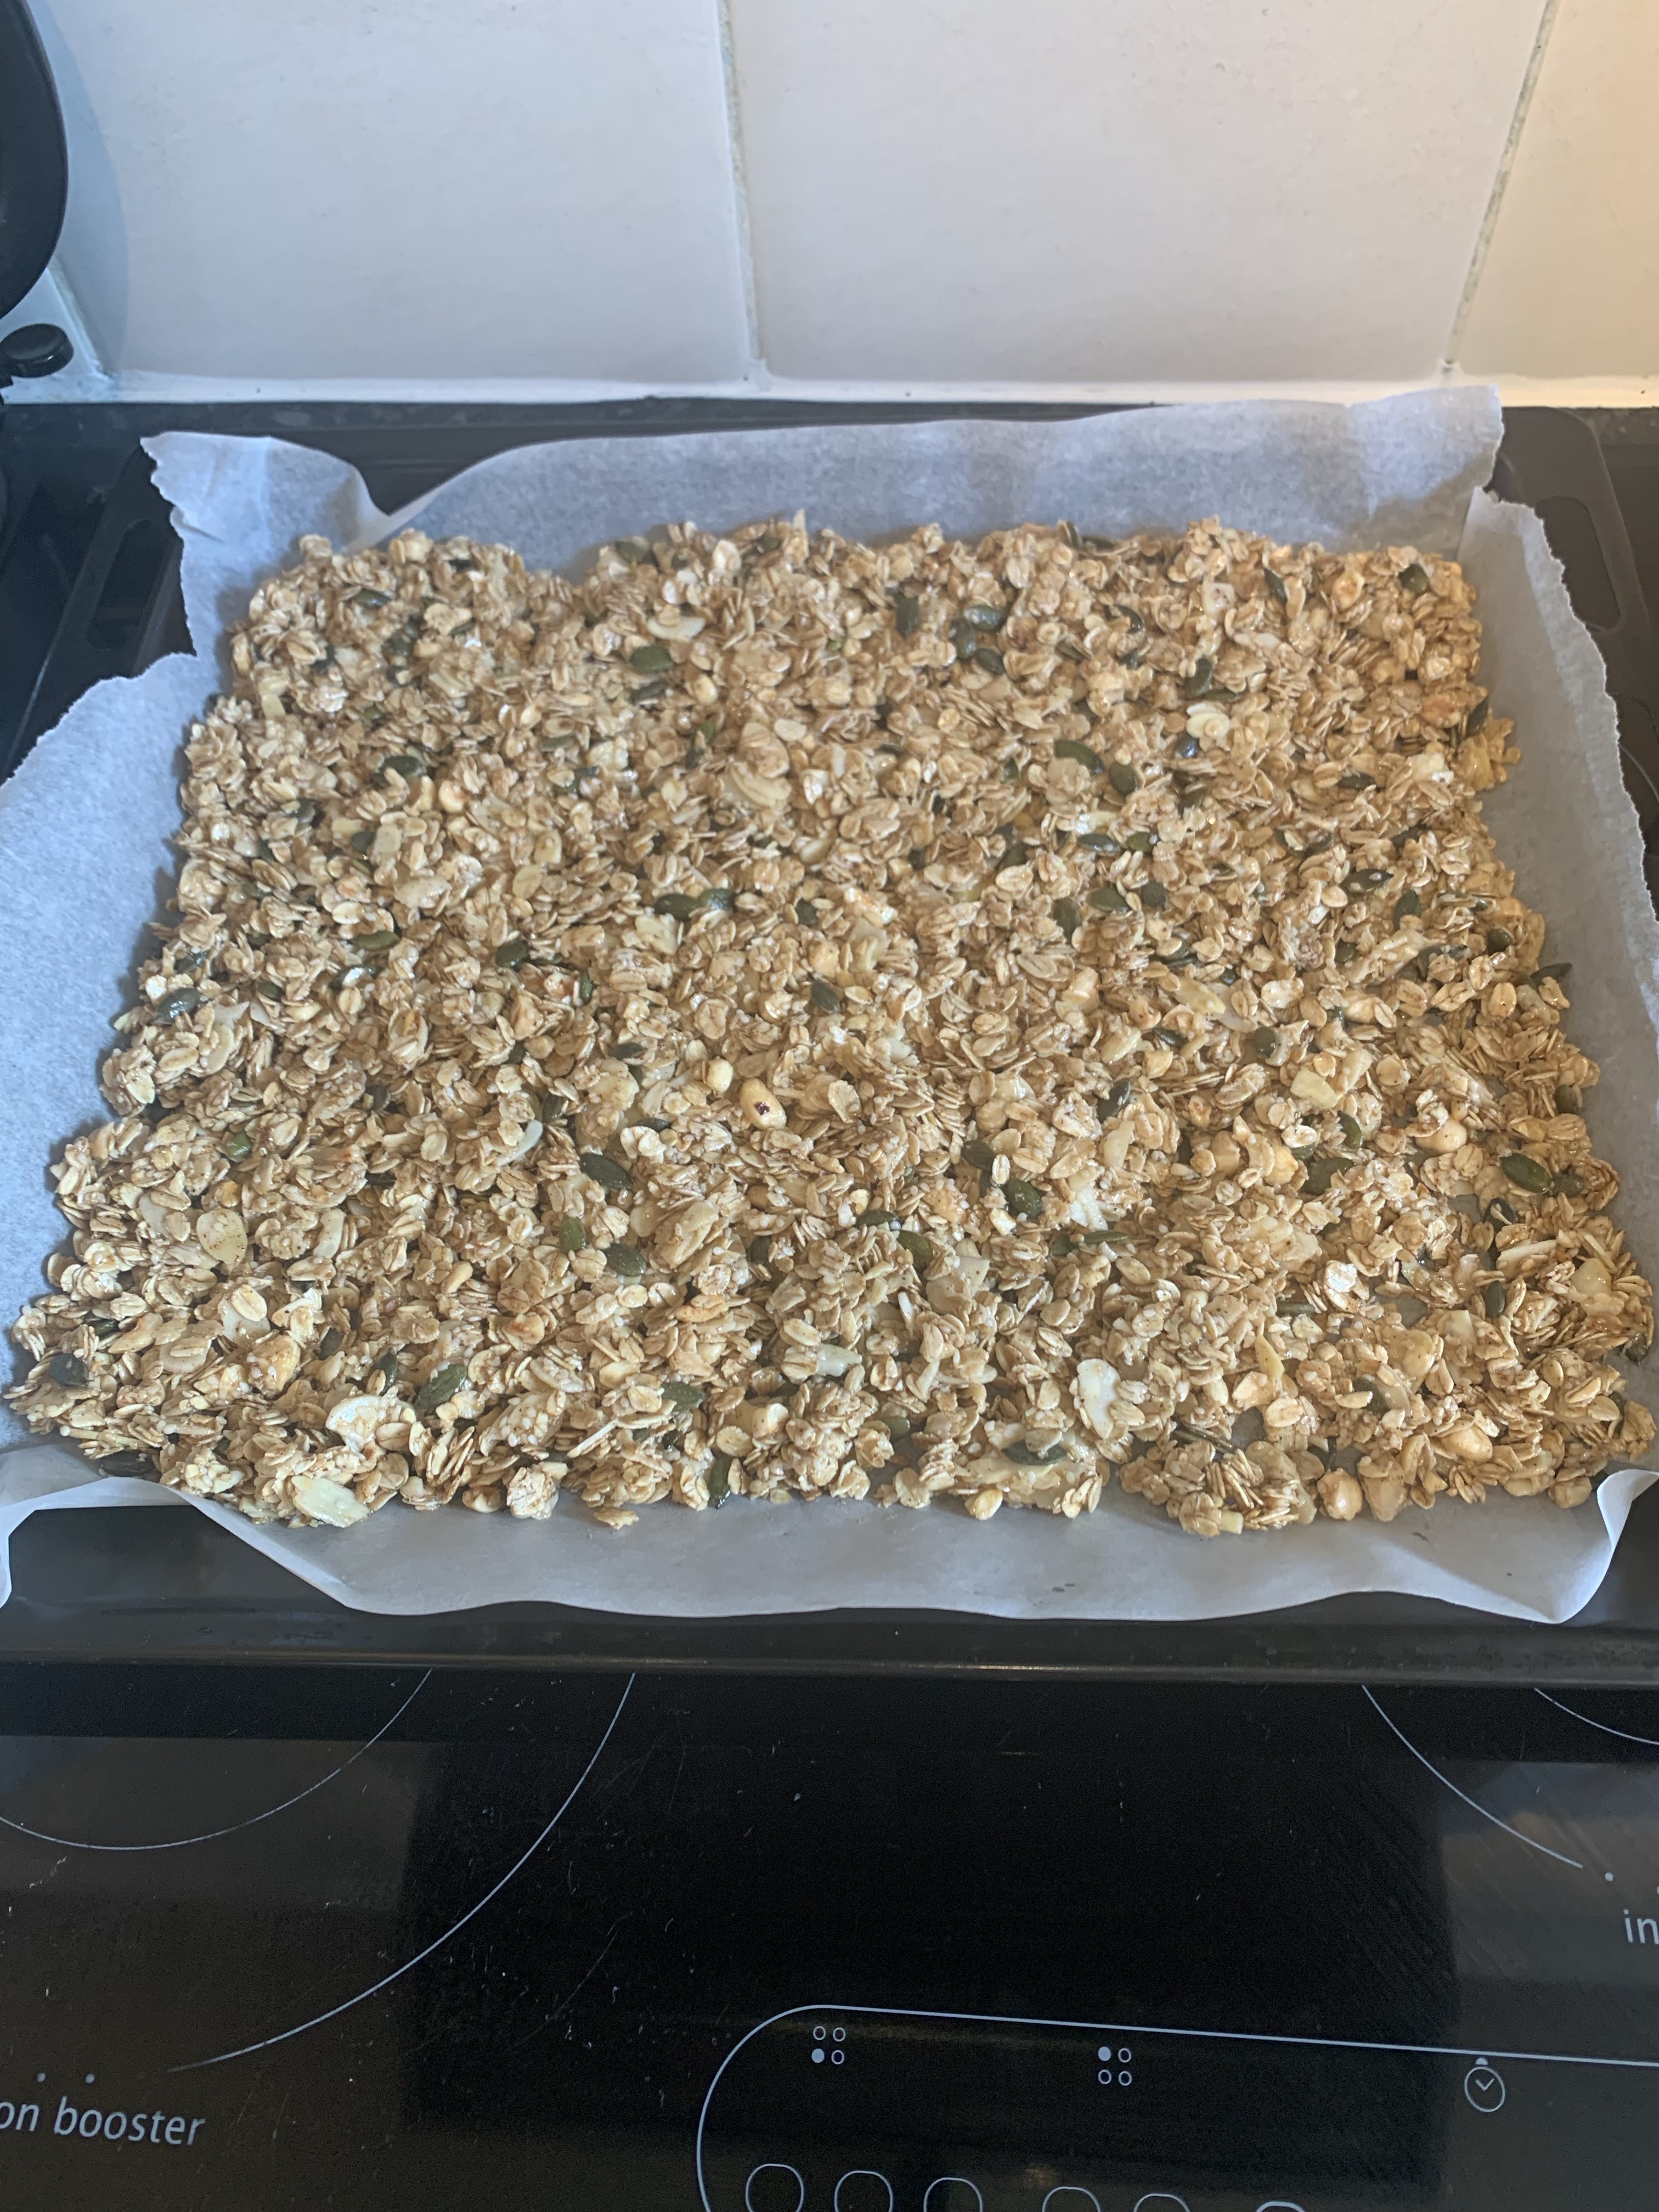
2. Mix all other ingredients together, apart from the dried fruit and coconut (and chocolate if using). I tend to put the whole hazelnuts in a little bag, and break them into smaller, but still large enough, pieces. Pour the mixture on a large oven tray, and spread equally. Bake in the preheated oven for 15 minutes.


3. Take out of the oven. Sprinkle the dried fruit and and coconut on top, then mix all together. Place back in the oven, and bake for another 15 minutes.

4. If using the chocolate, roughly chop with a knife. Remove the tray from the oven, and sprinkle the chocolate over the baked granola mixture.
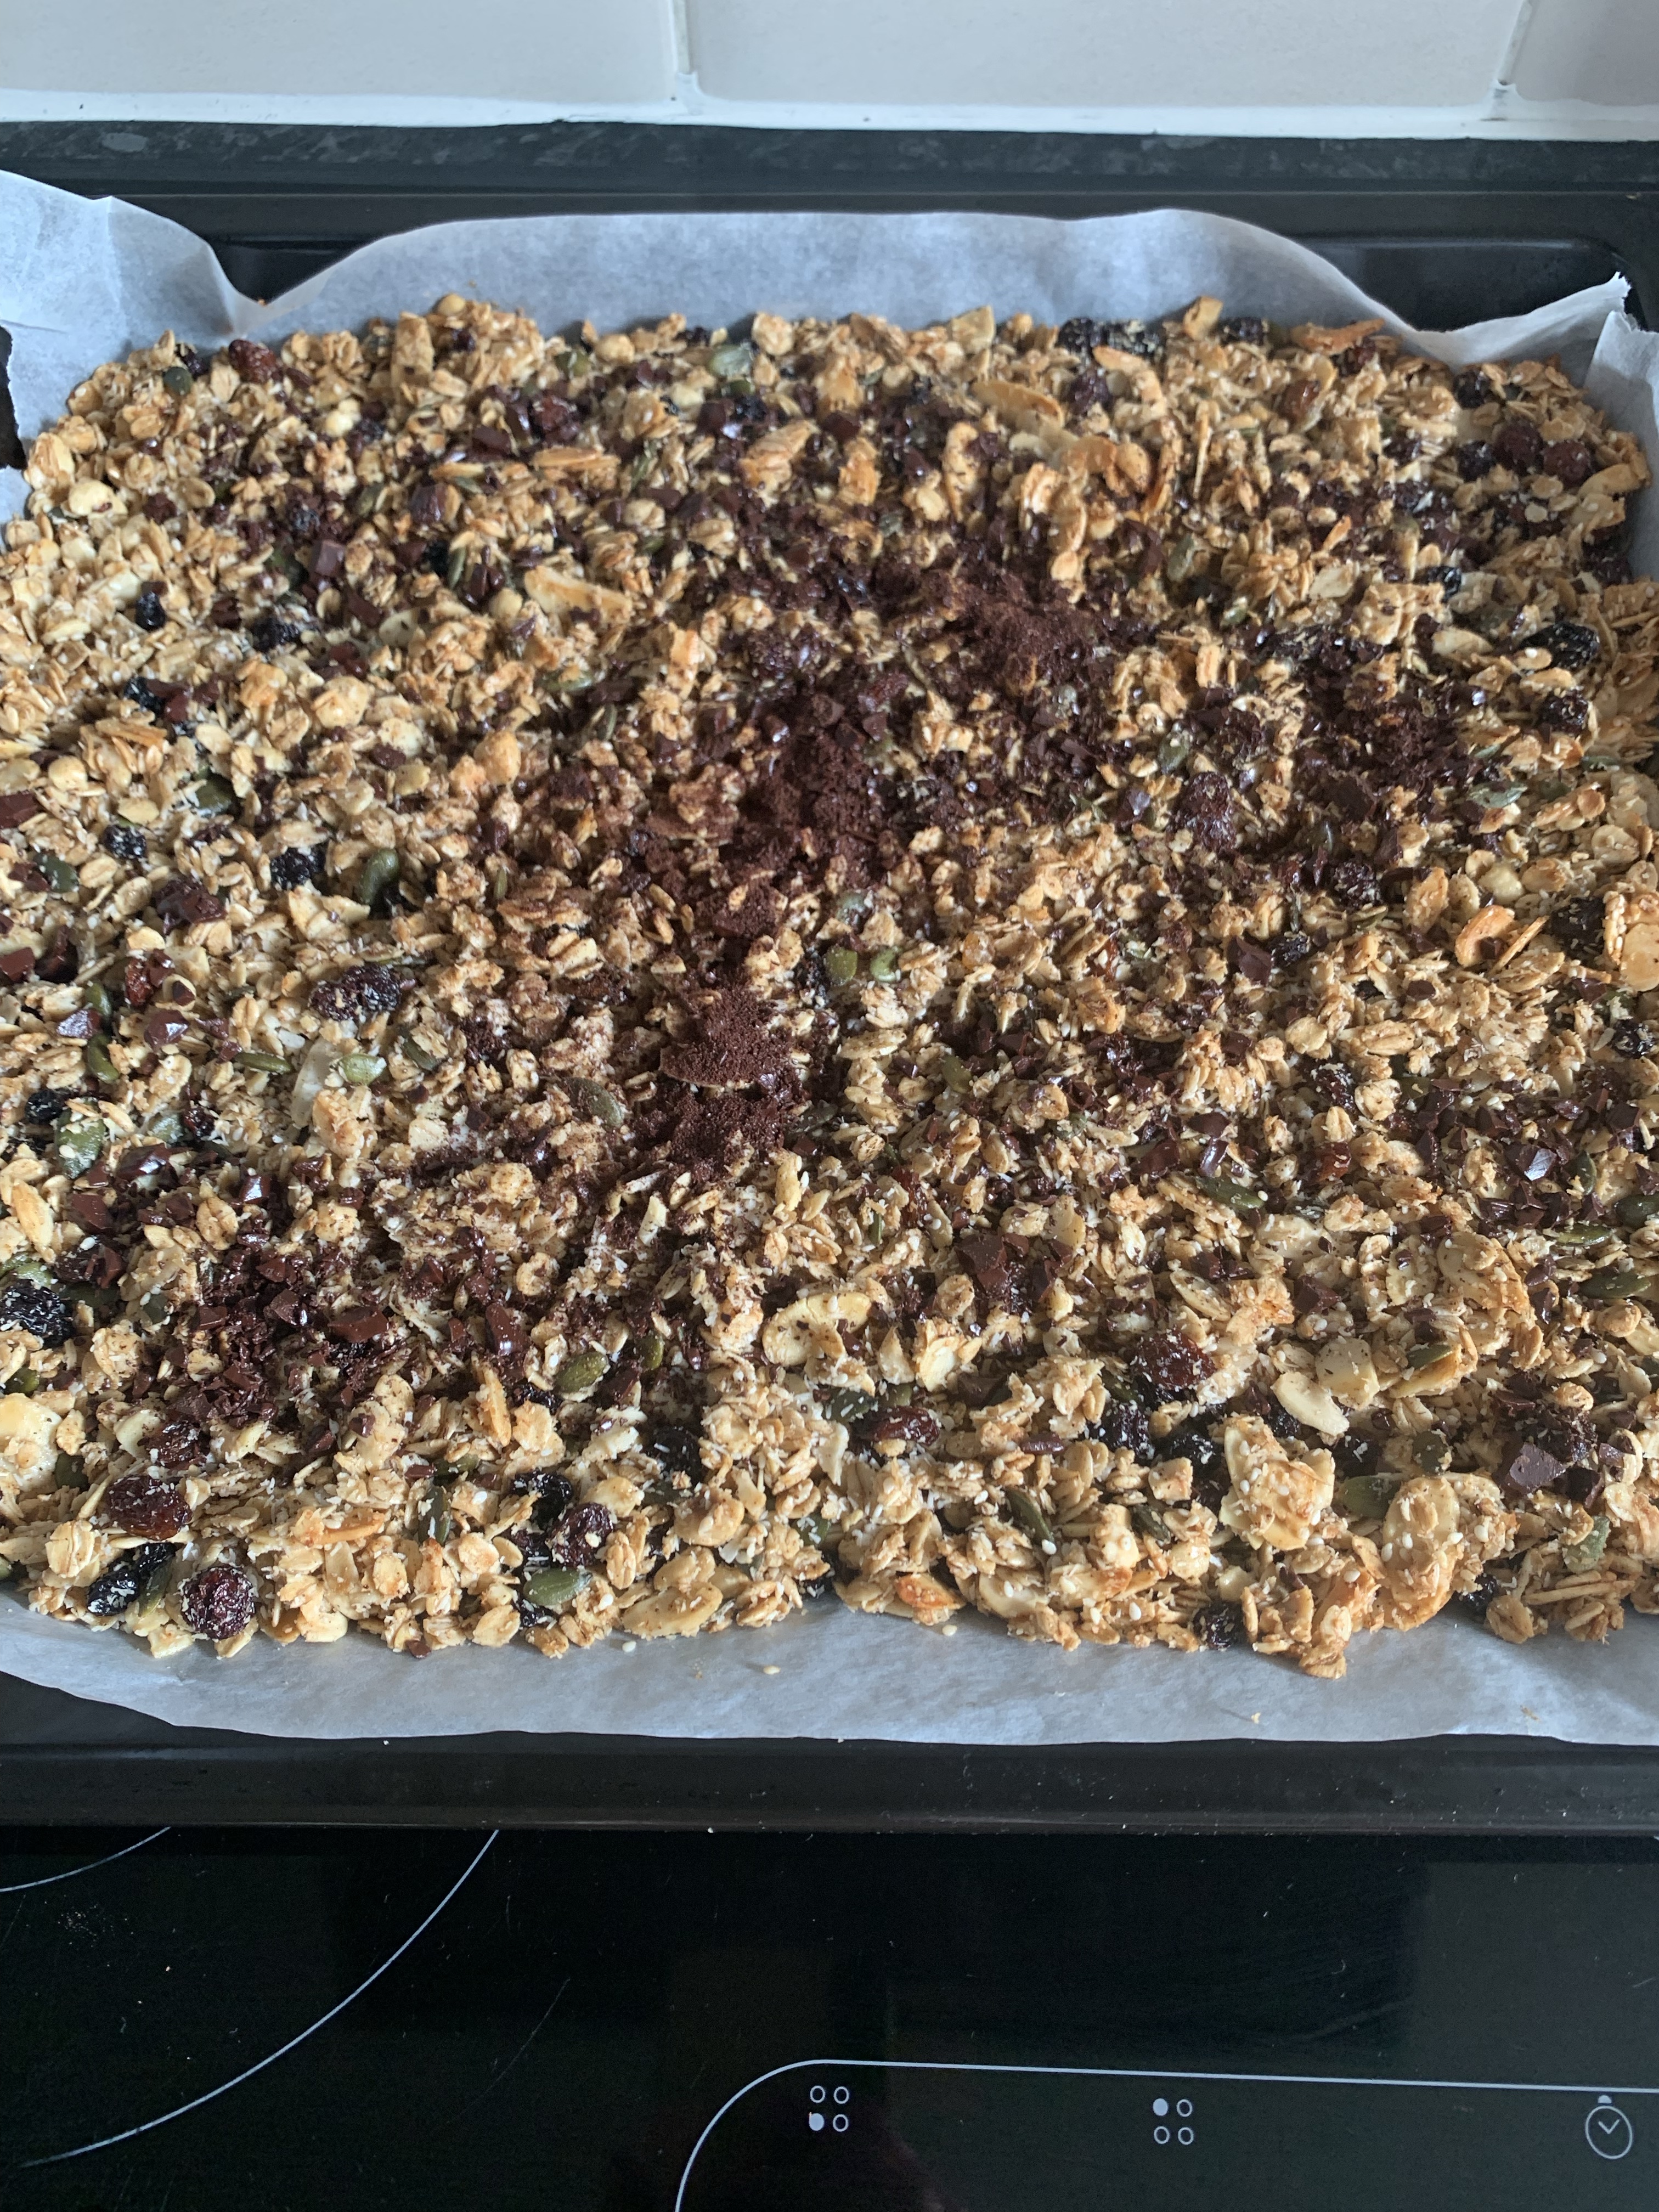
5. Leave the mixture to cool completely (this stage is important). Once cooled down, break down to smaller pieces. Your granola is ready to be enjoyed!

Sausage meat

Those who have been reading my recipes before know that I like making everything myself as much as possible. Firstly, I find cooking quite therapeutic, and a great escape from a high paced and pressured work life. It also makes me feel proud to know I made things most people just buy from the shop, myself. Last but not least, when making things yourself you know exactly what’s gone into making it. There are no artificial preservatives (yes, they may not last as long as shop bought, but I use the freezer quite a bit) – this must count for something, right?

So let’s get to the sausage meat – I’m quite new to making it, but I think I’ve managed to create a very nice basic recipe. Next step from that is to create different variations according to taste: I’ve not steered off my basic recipe yet. The main important things when making sausage meat is that it must have a fairly high fat and salt content. The mince pork that is readily available in the supermarket for me is usually 12% so I add some fat – pork would of course be good, but I just use beef lard as I always have that in the fridge. If you can get mince pork with fat content 20%-30% you might not need to add the fat. You need some liquid (I use an egg) and some breadcrumbs to combine the mixture. These days, I’m a really big fan of Panko breadcrumbs, and use these pretty much every time breadcrumbs are required.

Ingredients
500g mince pork – 12% fat content
1 1/2 tsp salt
1 1/2 tsp white pepper

1 tsp fresh thyme leaves, finely chopped
1 tsp fresh rosemary leaves, finely chopped

1 tbsp fresh sage leaves, finely chopped
1 large egg

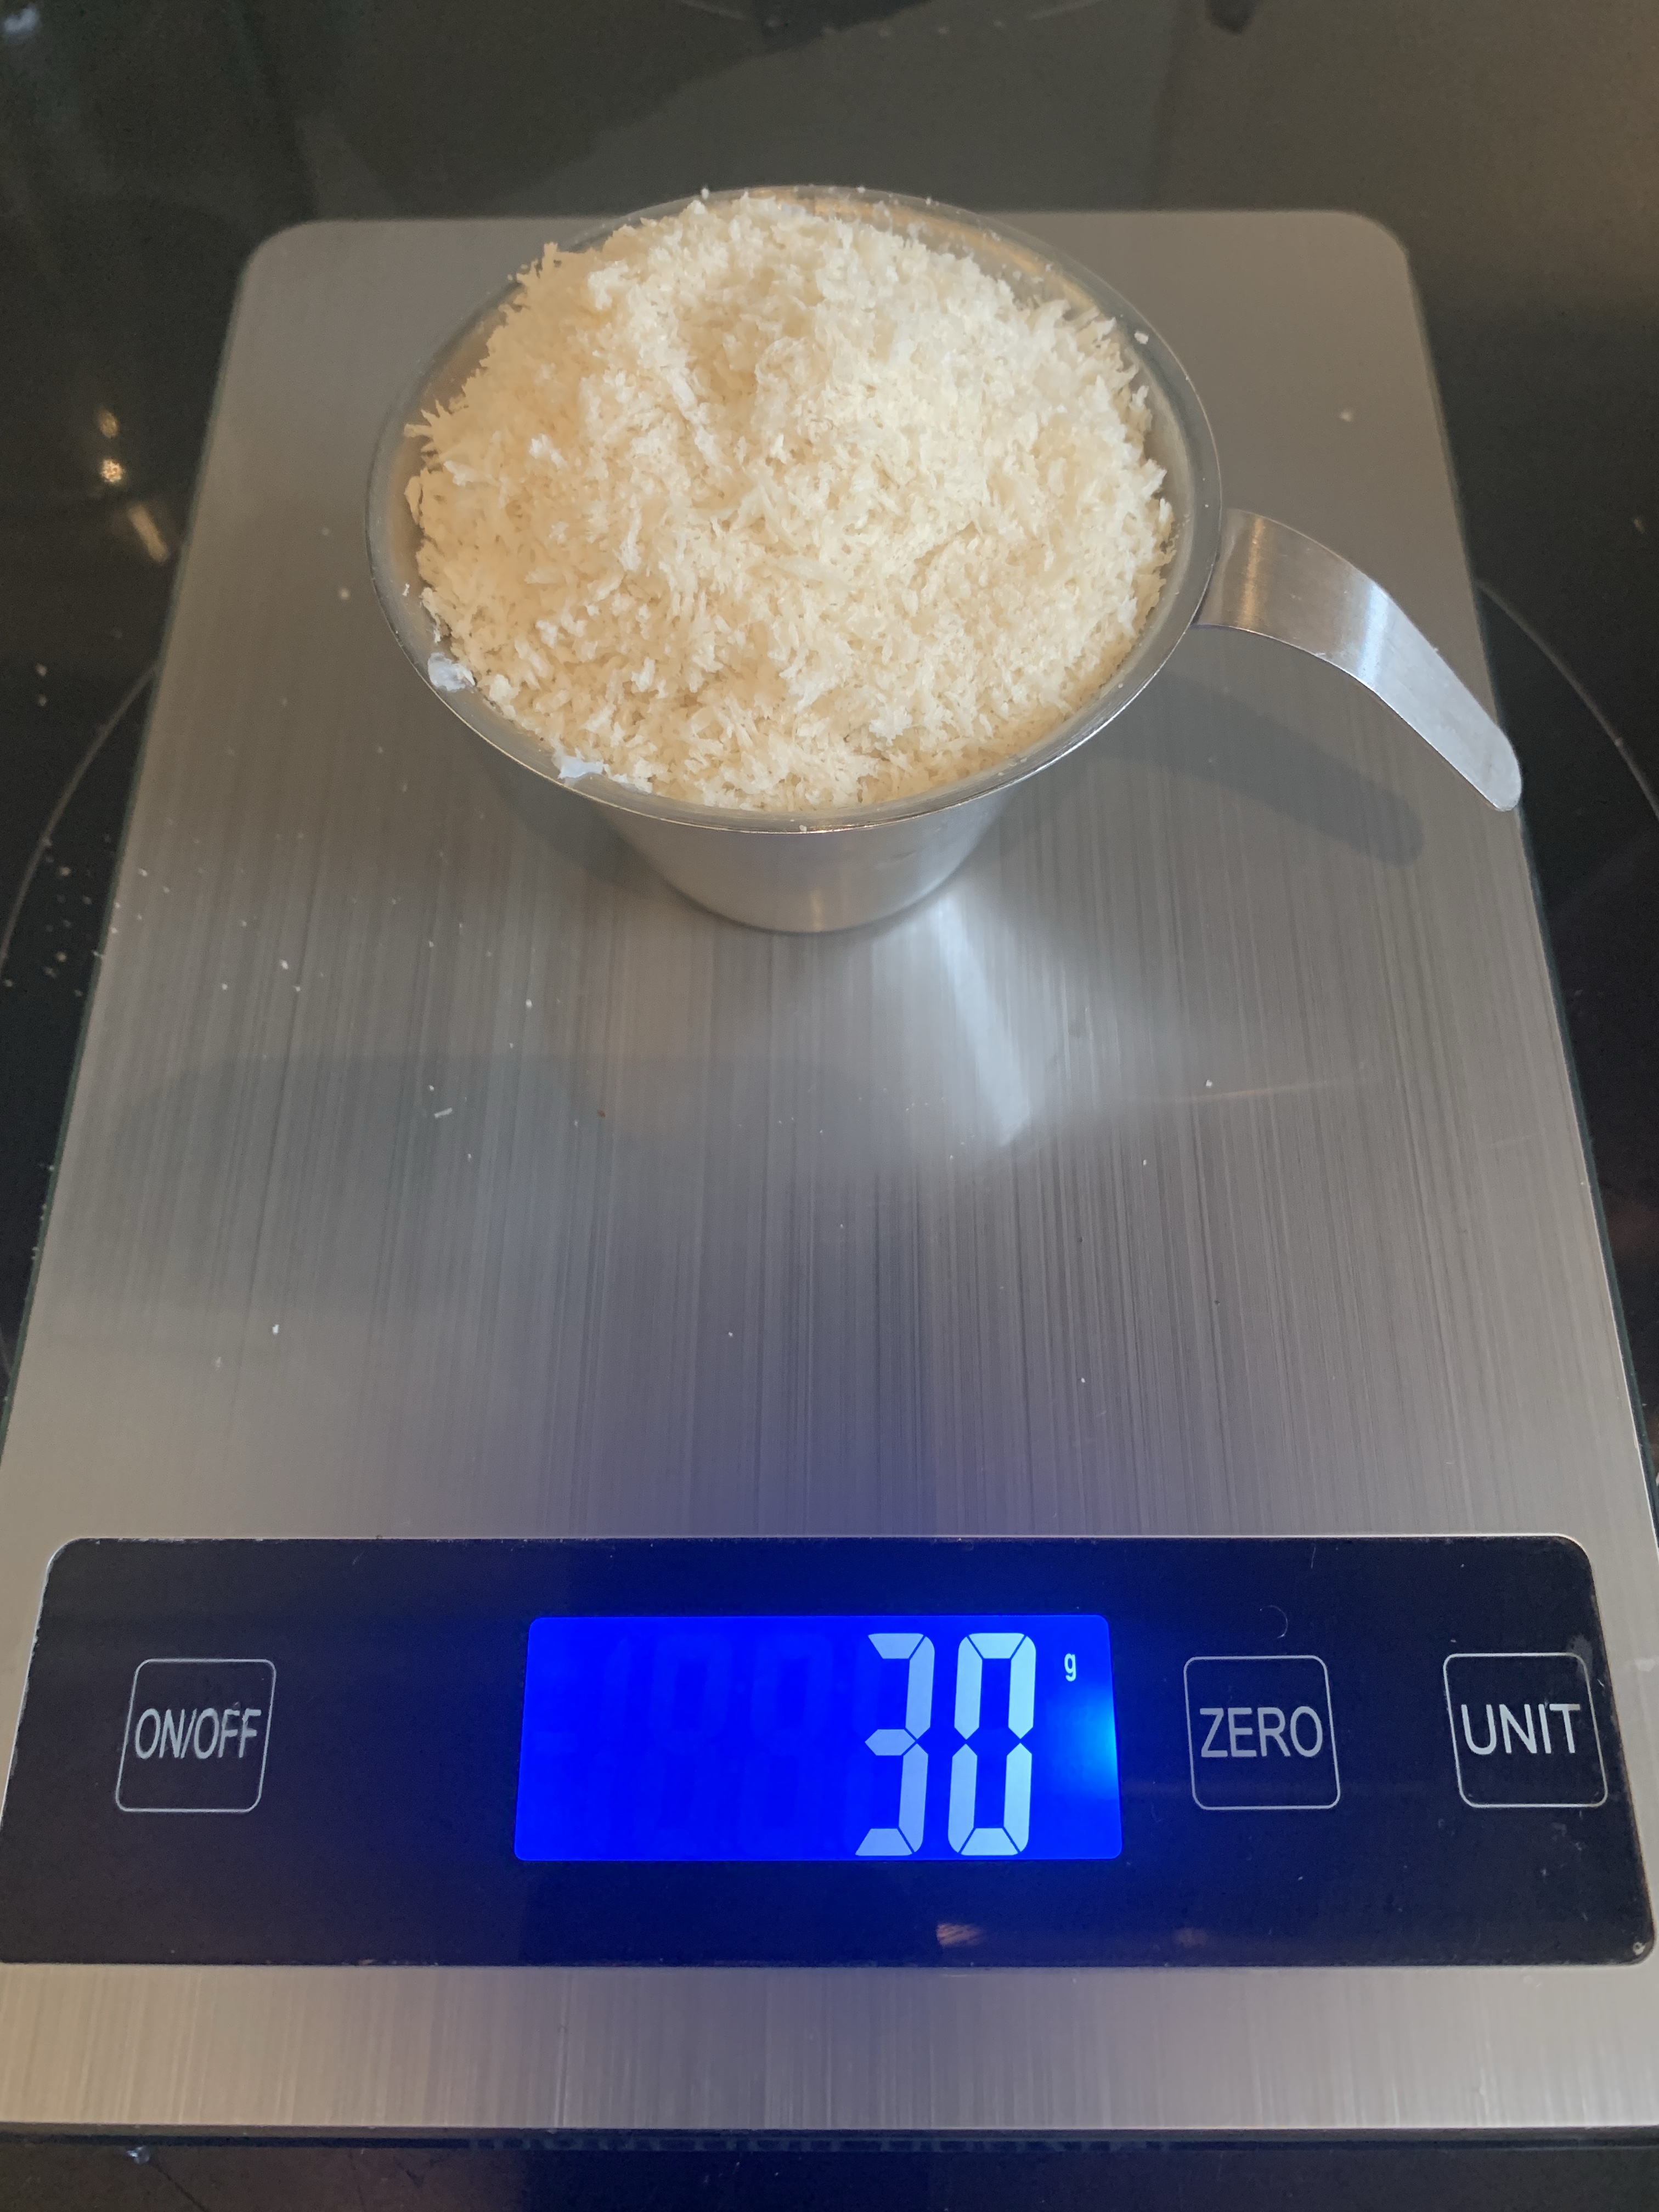
30g breadcrumbs (I use Panko)
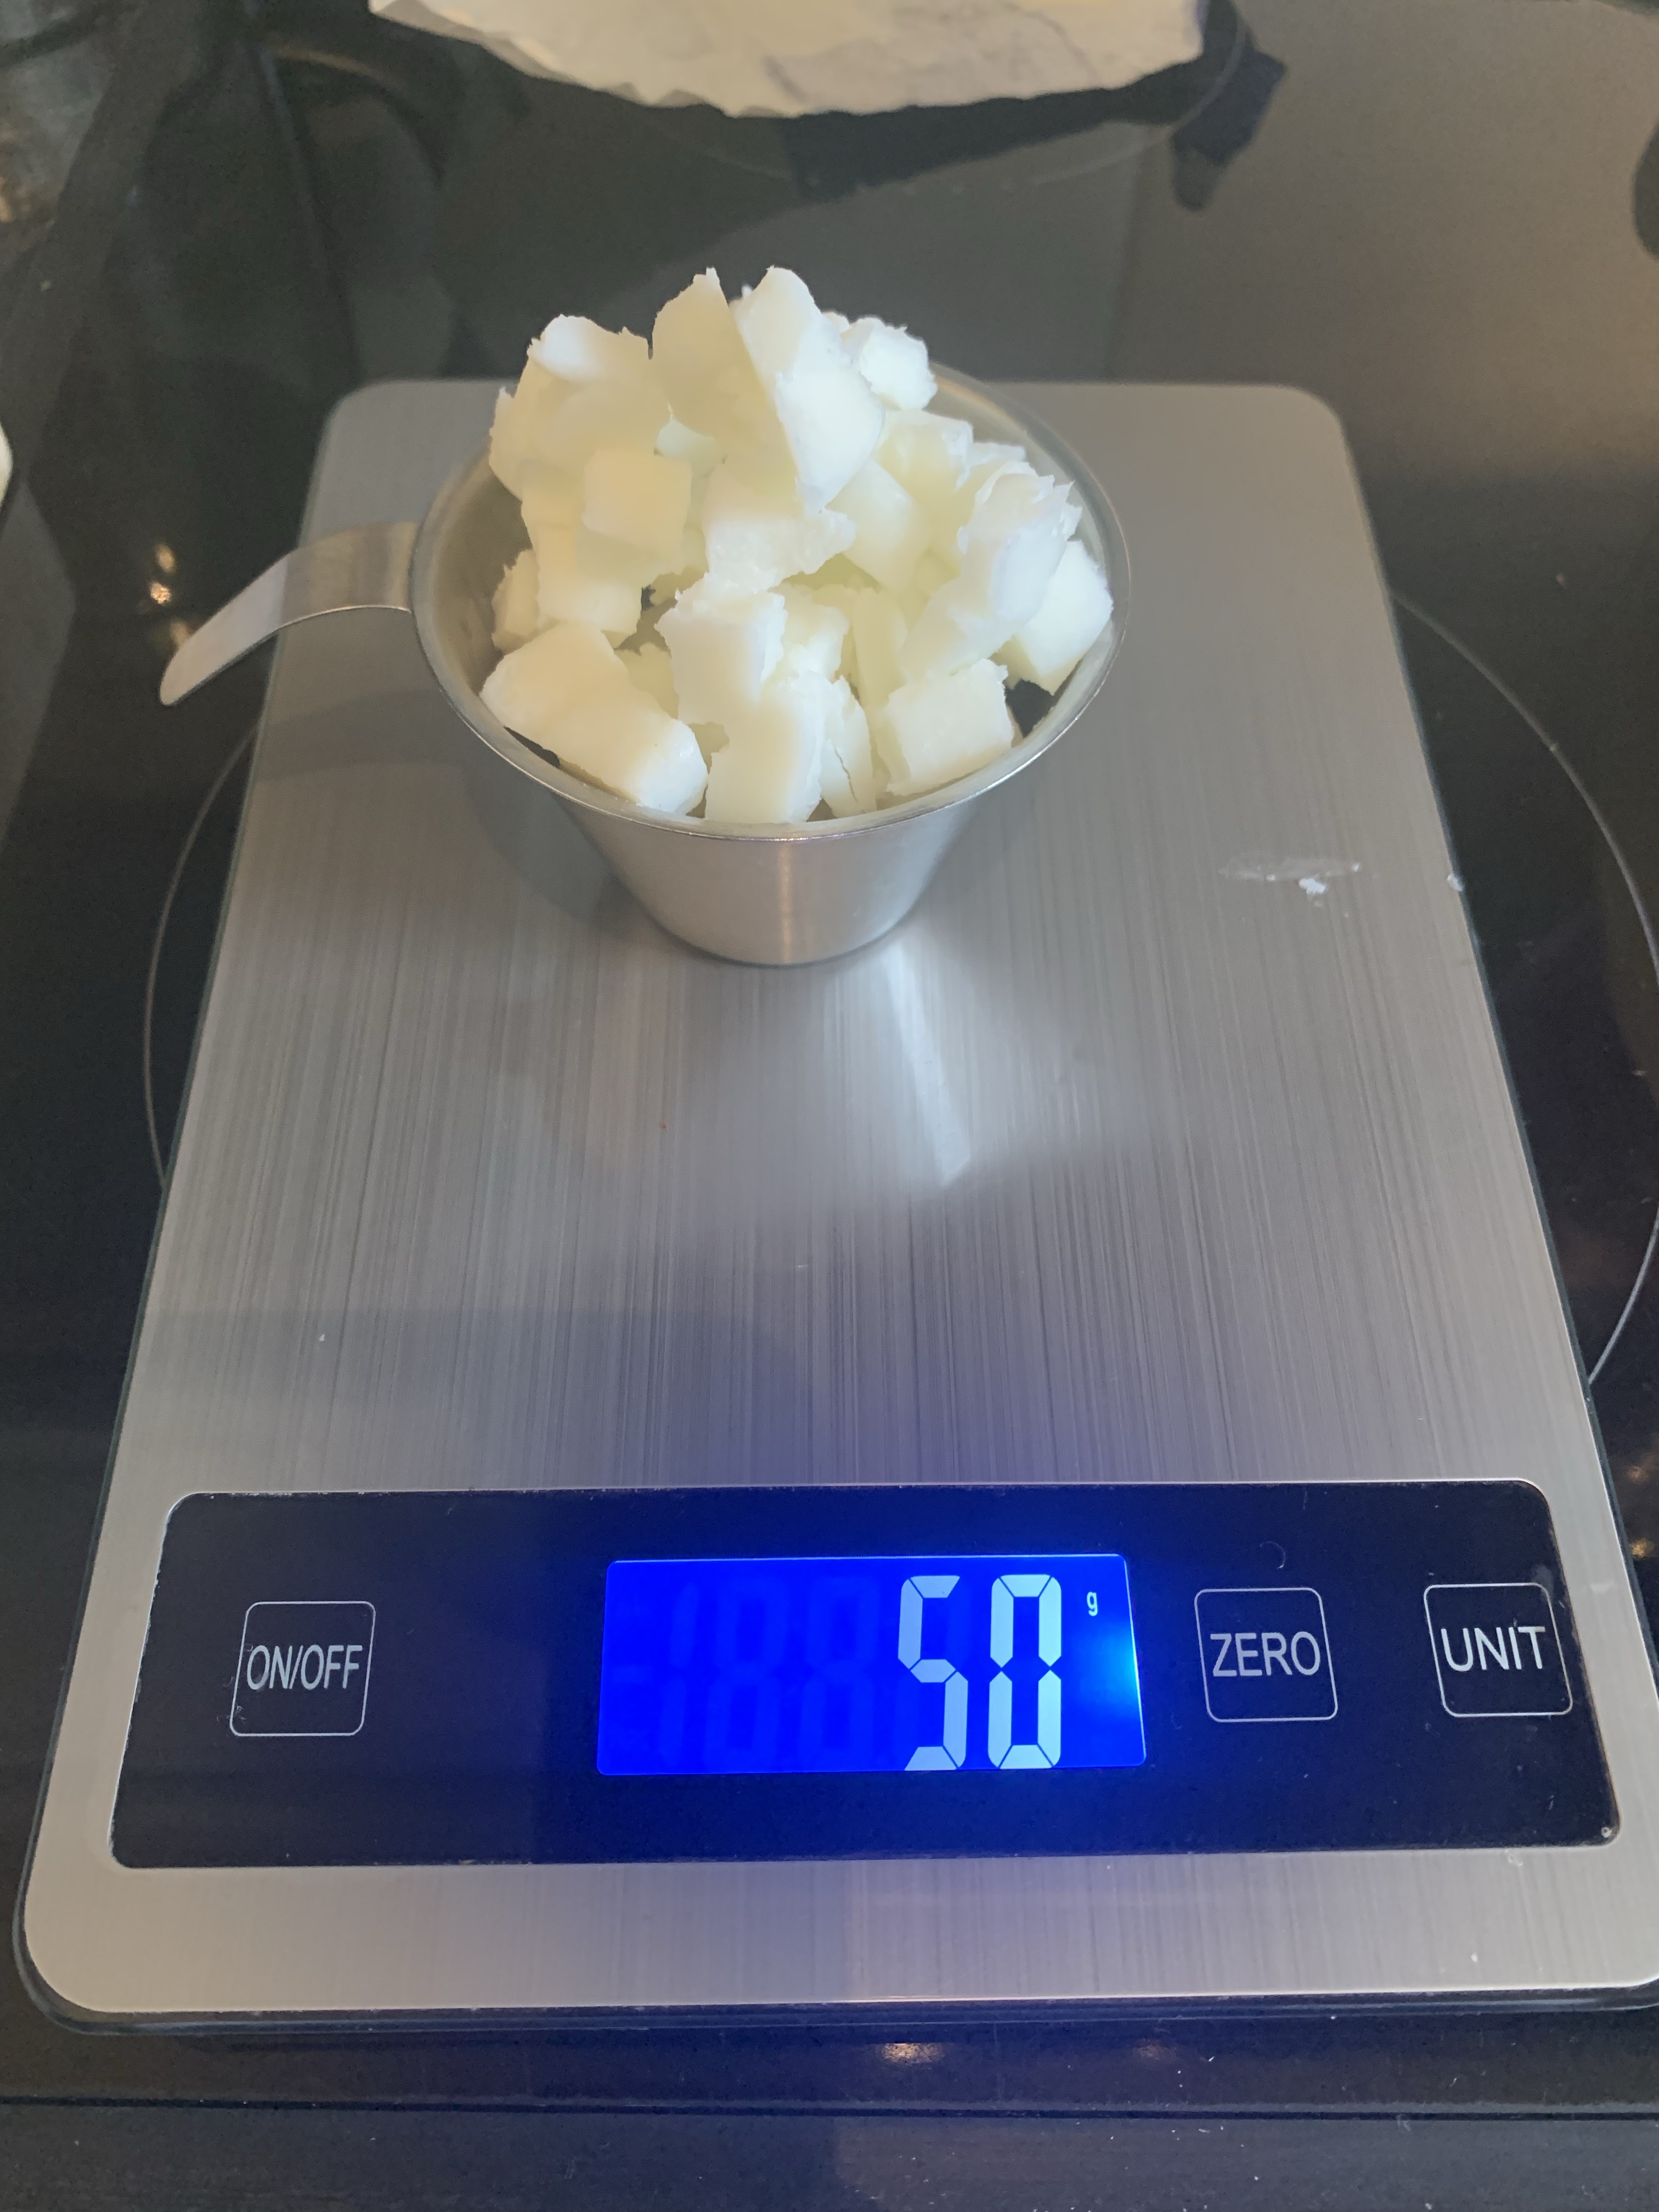
50g fat (I use beef lard, but pork fat is ideal too), cut into small cubes

1. Prepare and measure your ingredients.


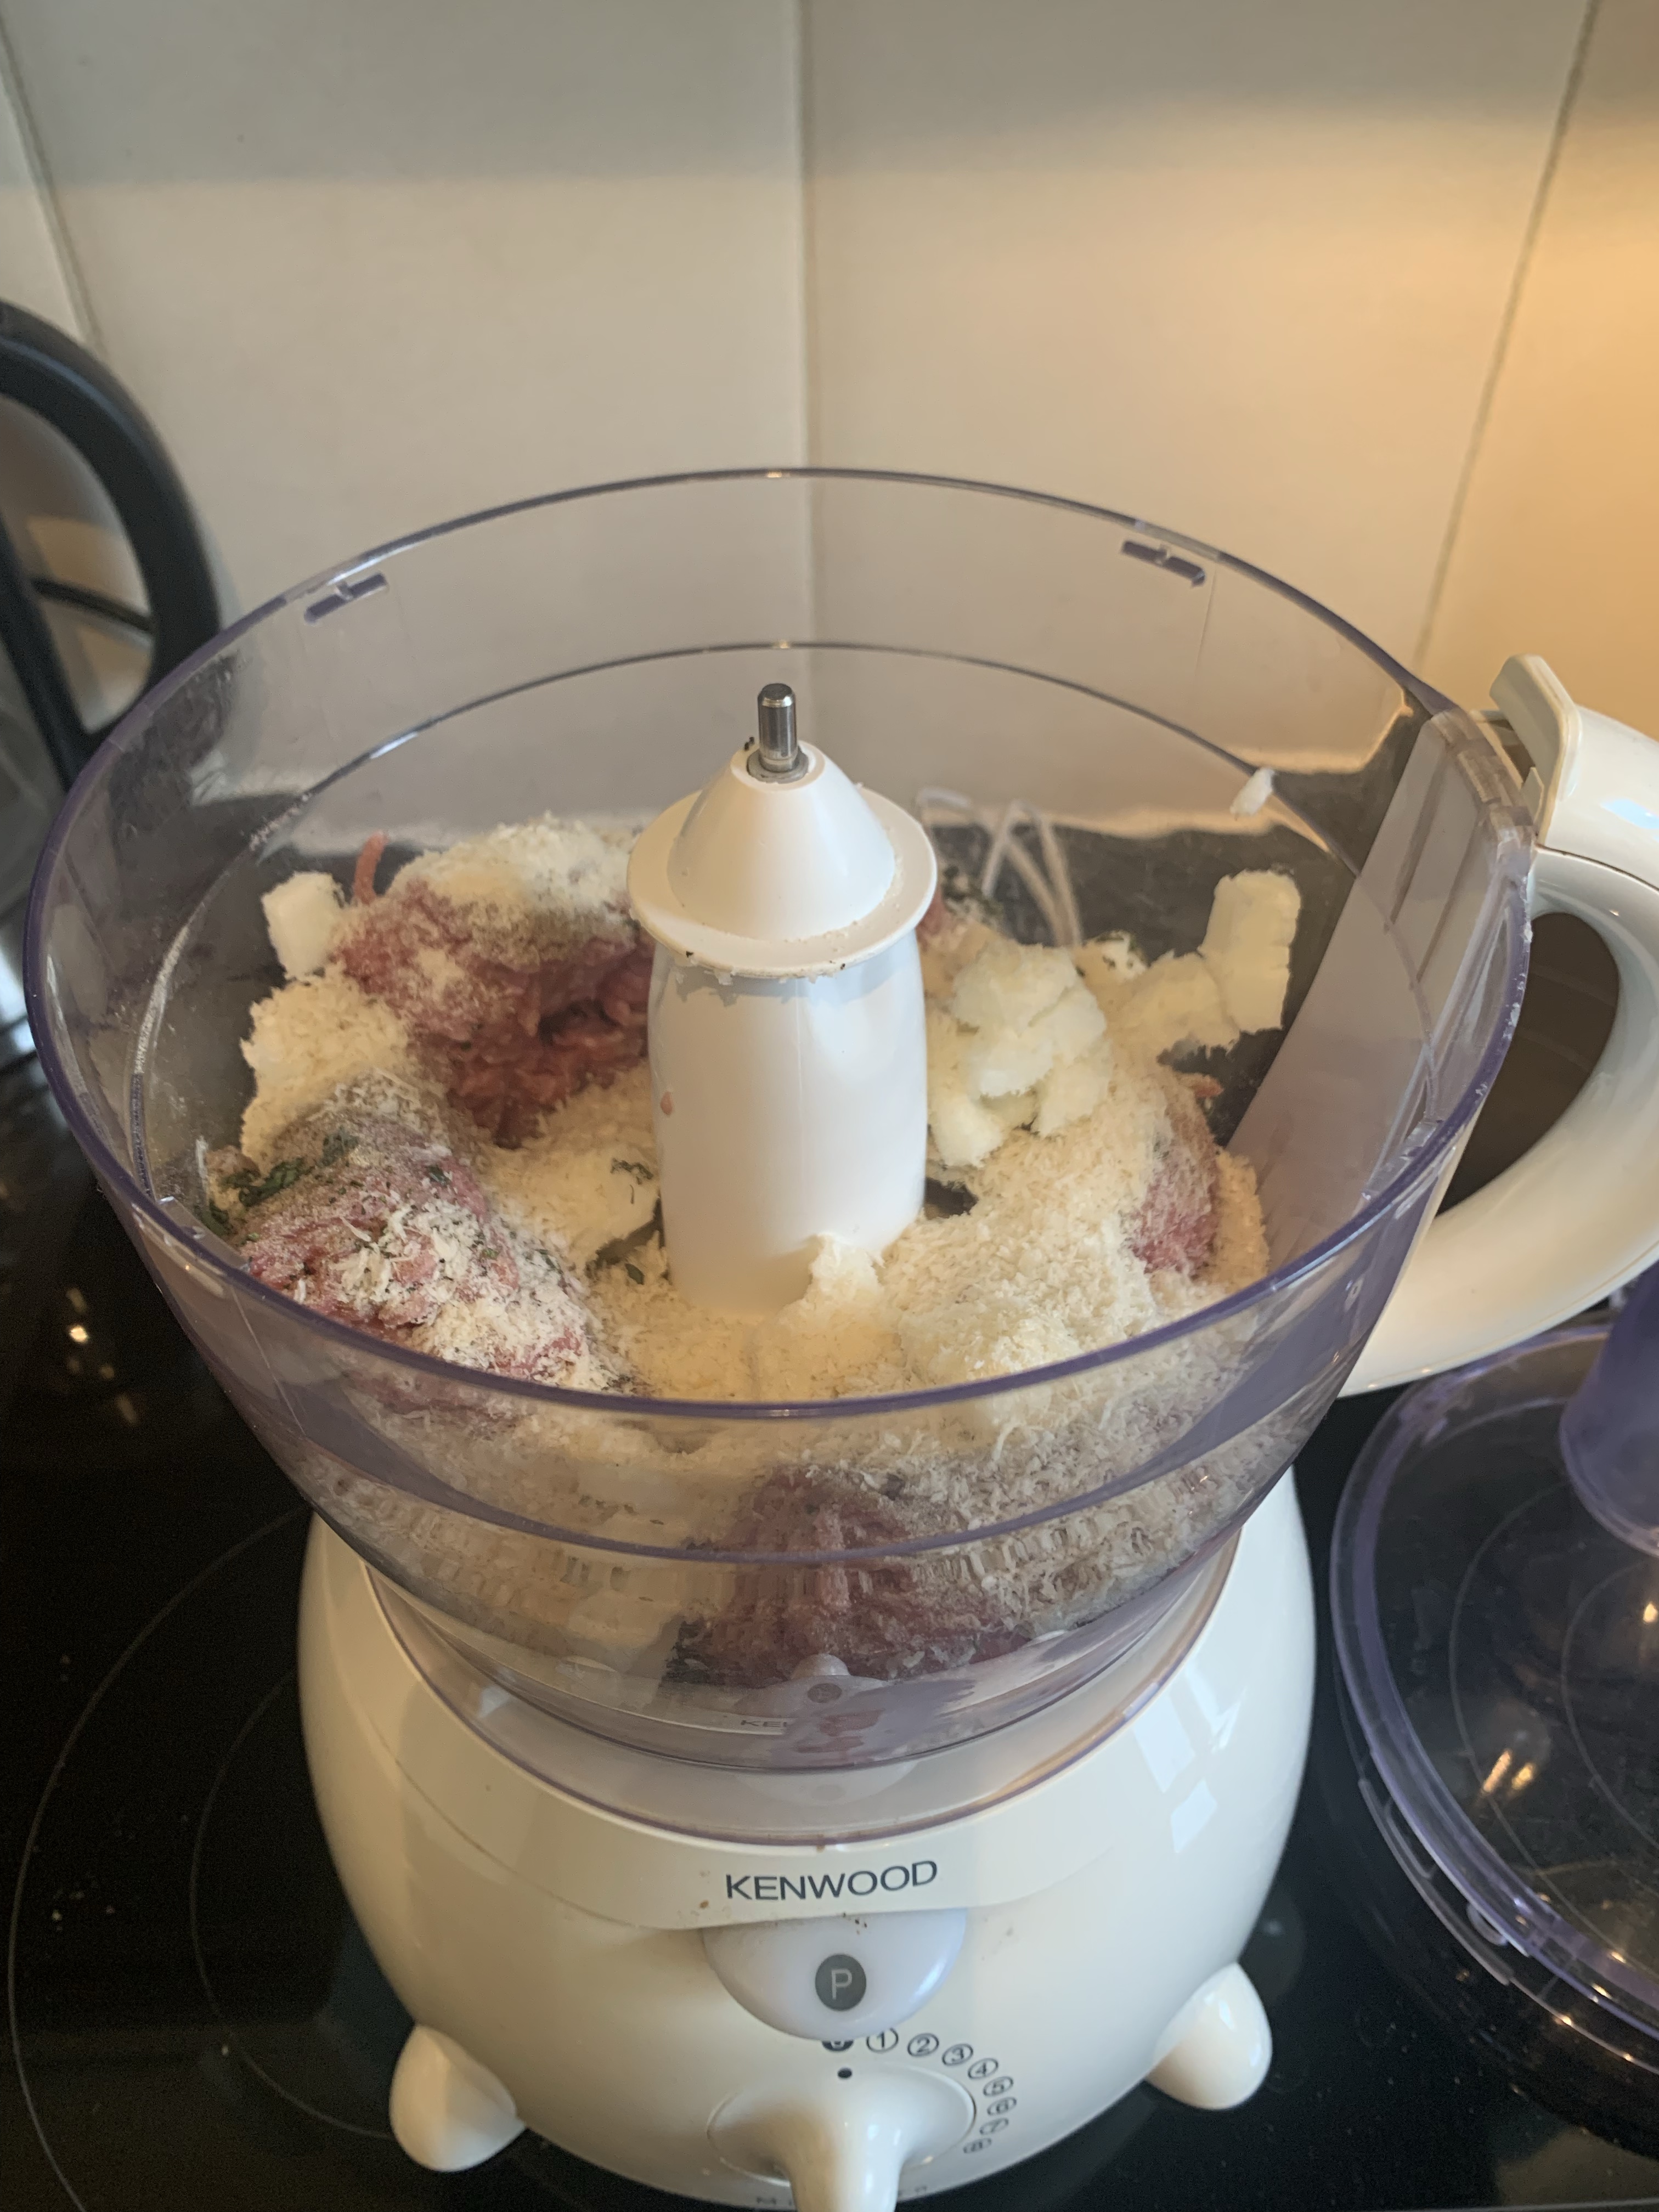
2. Put all ingredients in a food processor, and mix together until the texture is smooth.


3. The sausage meat mixture is now ready to be used for your recipes.

Lamb samosas

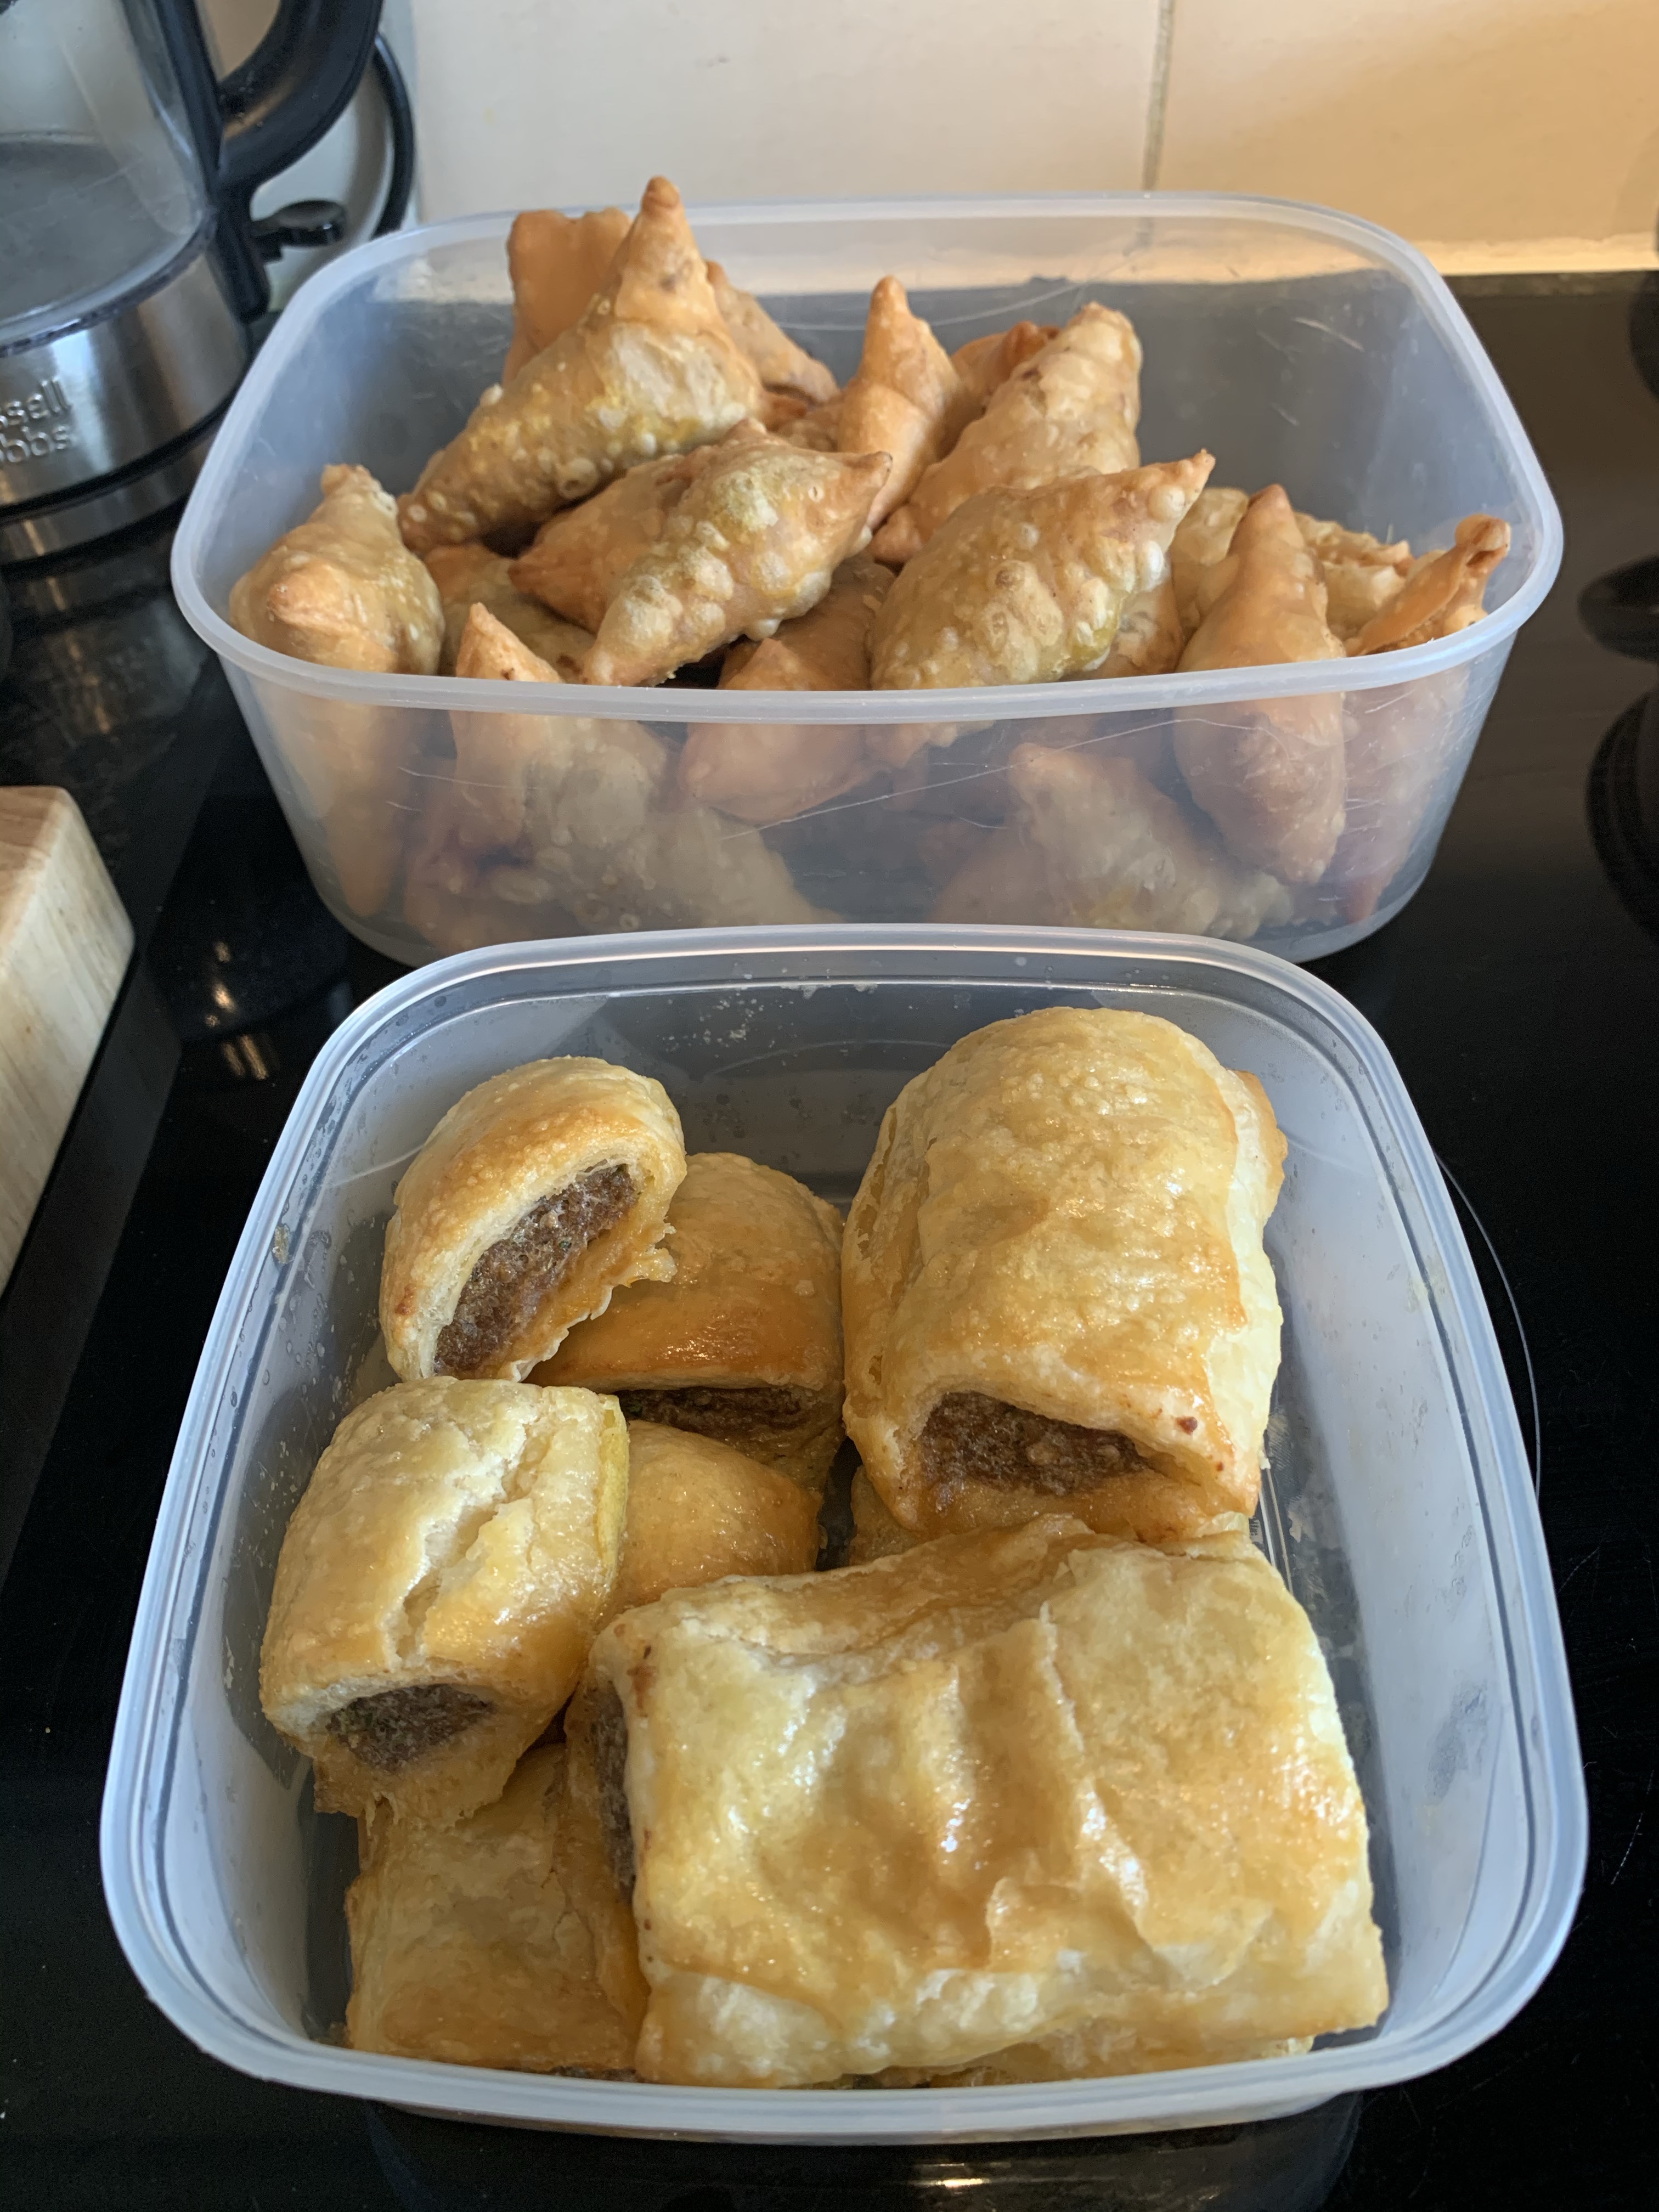
Samosas are great for finger food at parties, or just for snacking at home. I usually make a big batch and put some in the freezer. You’ll be delighted when you feel like snacking, and have these easily available! Even though they are at their best when they’ve just been cooked, they are still fine other times too, they just don’t have that crispy skin anymore. I’d say the most common filling for these would be mince lamb, but I know a few people who are not too keen on lamb, so you could also substitute with beef, or even make the filling vegetarian!

Pastry
225g plain flour
2 tsp salt
2 tbsp vegetable oil
80ml warm water


Filling
500g minced lamb
2 tbsp vegetable oil
1 medium onion, finely chopped
3 large cloves of garlic, crushed
2 tsb finely chopped root ginger
1 tsp dried chilli flakes
2 tsp ground coriander
2 tsp garam masala
1 tsp ground turmeric
1 tsp paprika powder
2 tbsp lemon juice
handful of fresh chopped mint leaves


extra vegetable oil for deep-frying

1. Measure the flour and salt into a bowl. Add the oil and water, then knead to a firm, smooth dough.

2. Cover the dough ball with cling film, and rest in the room temperature for about 30 minutes.


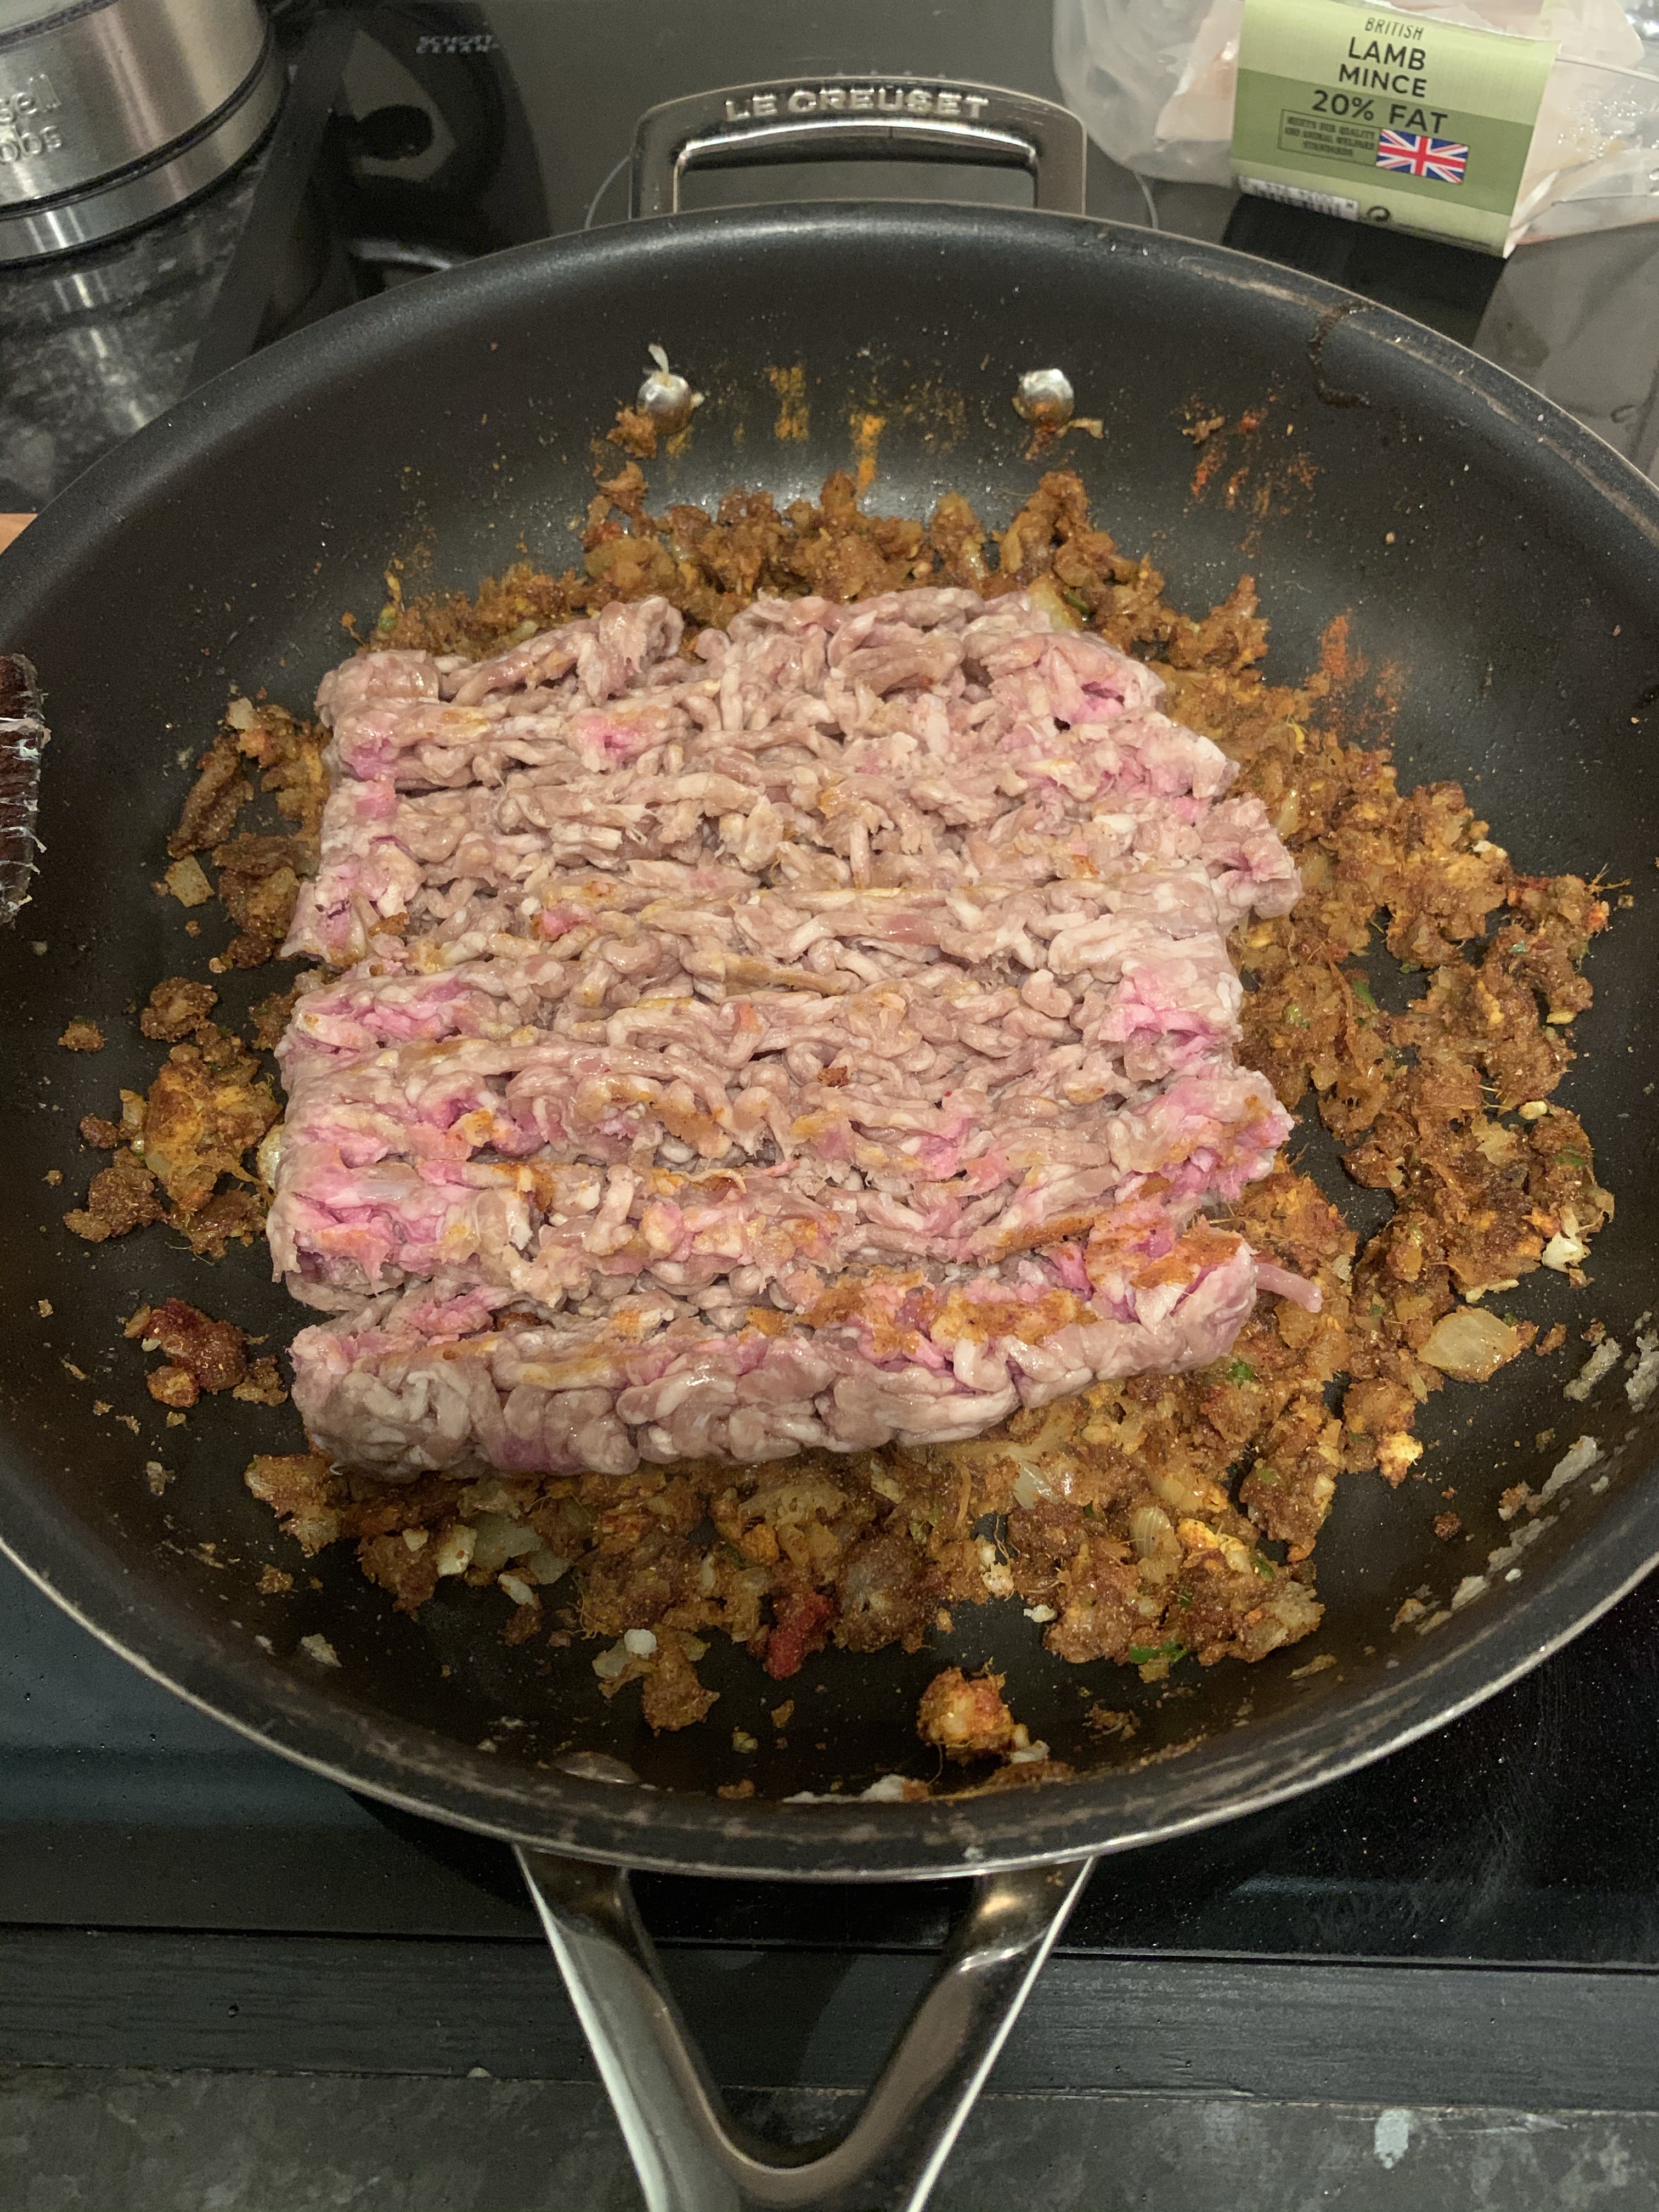
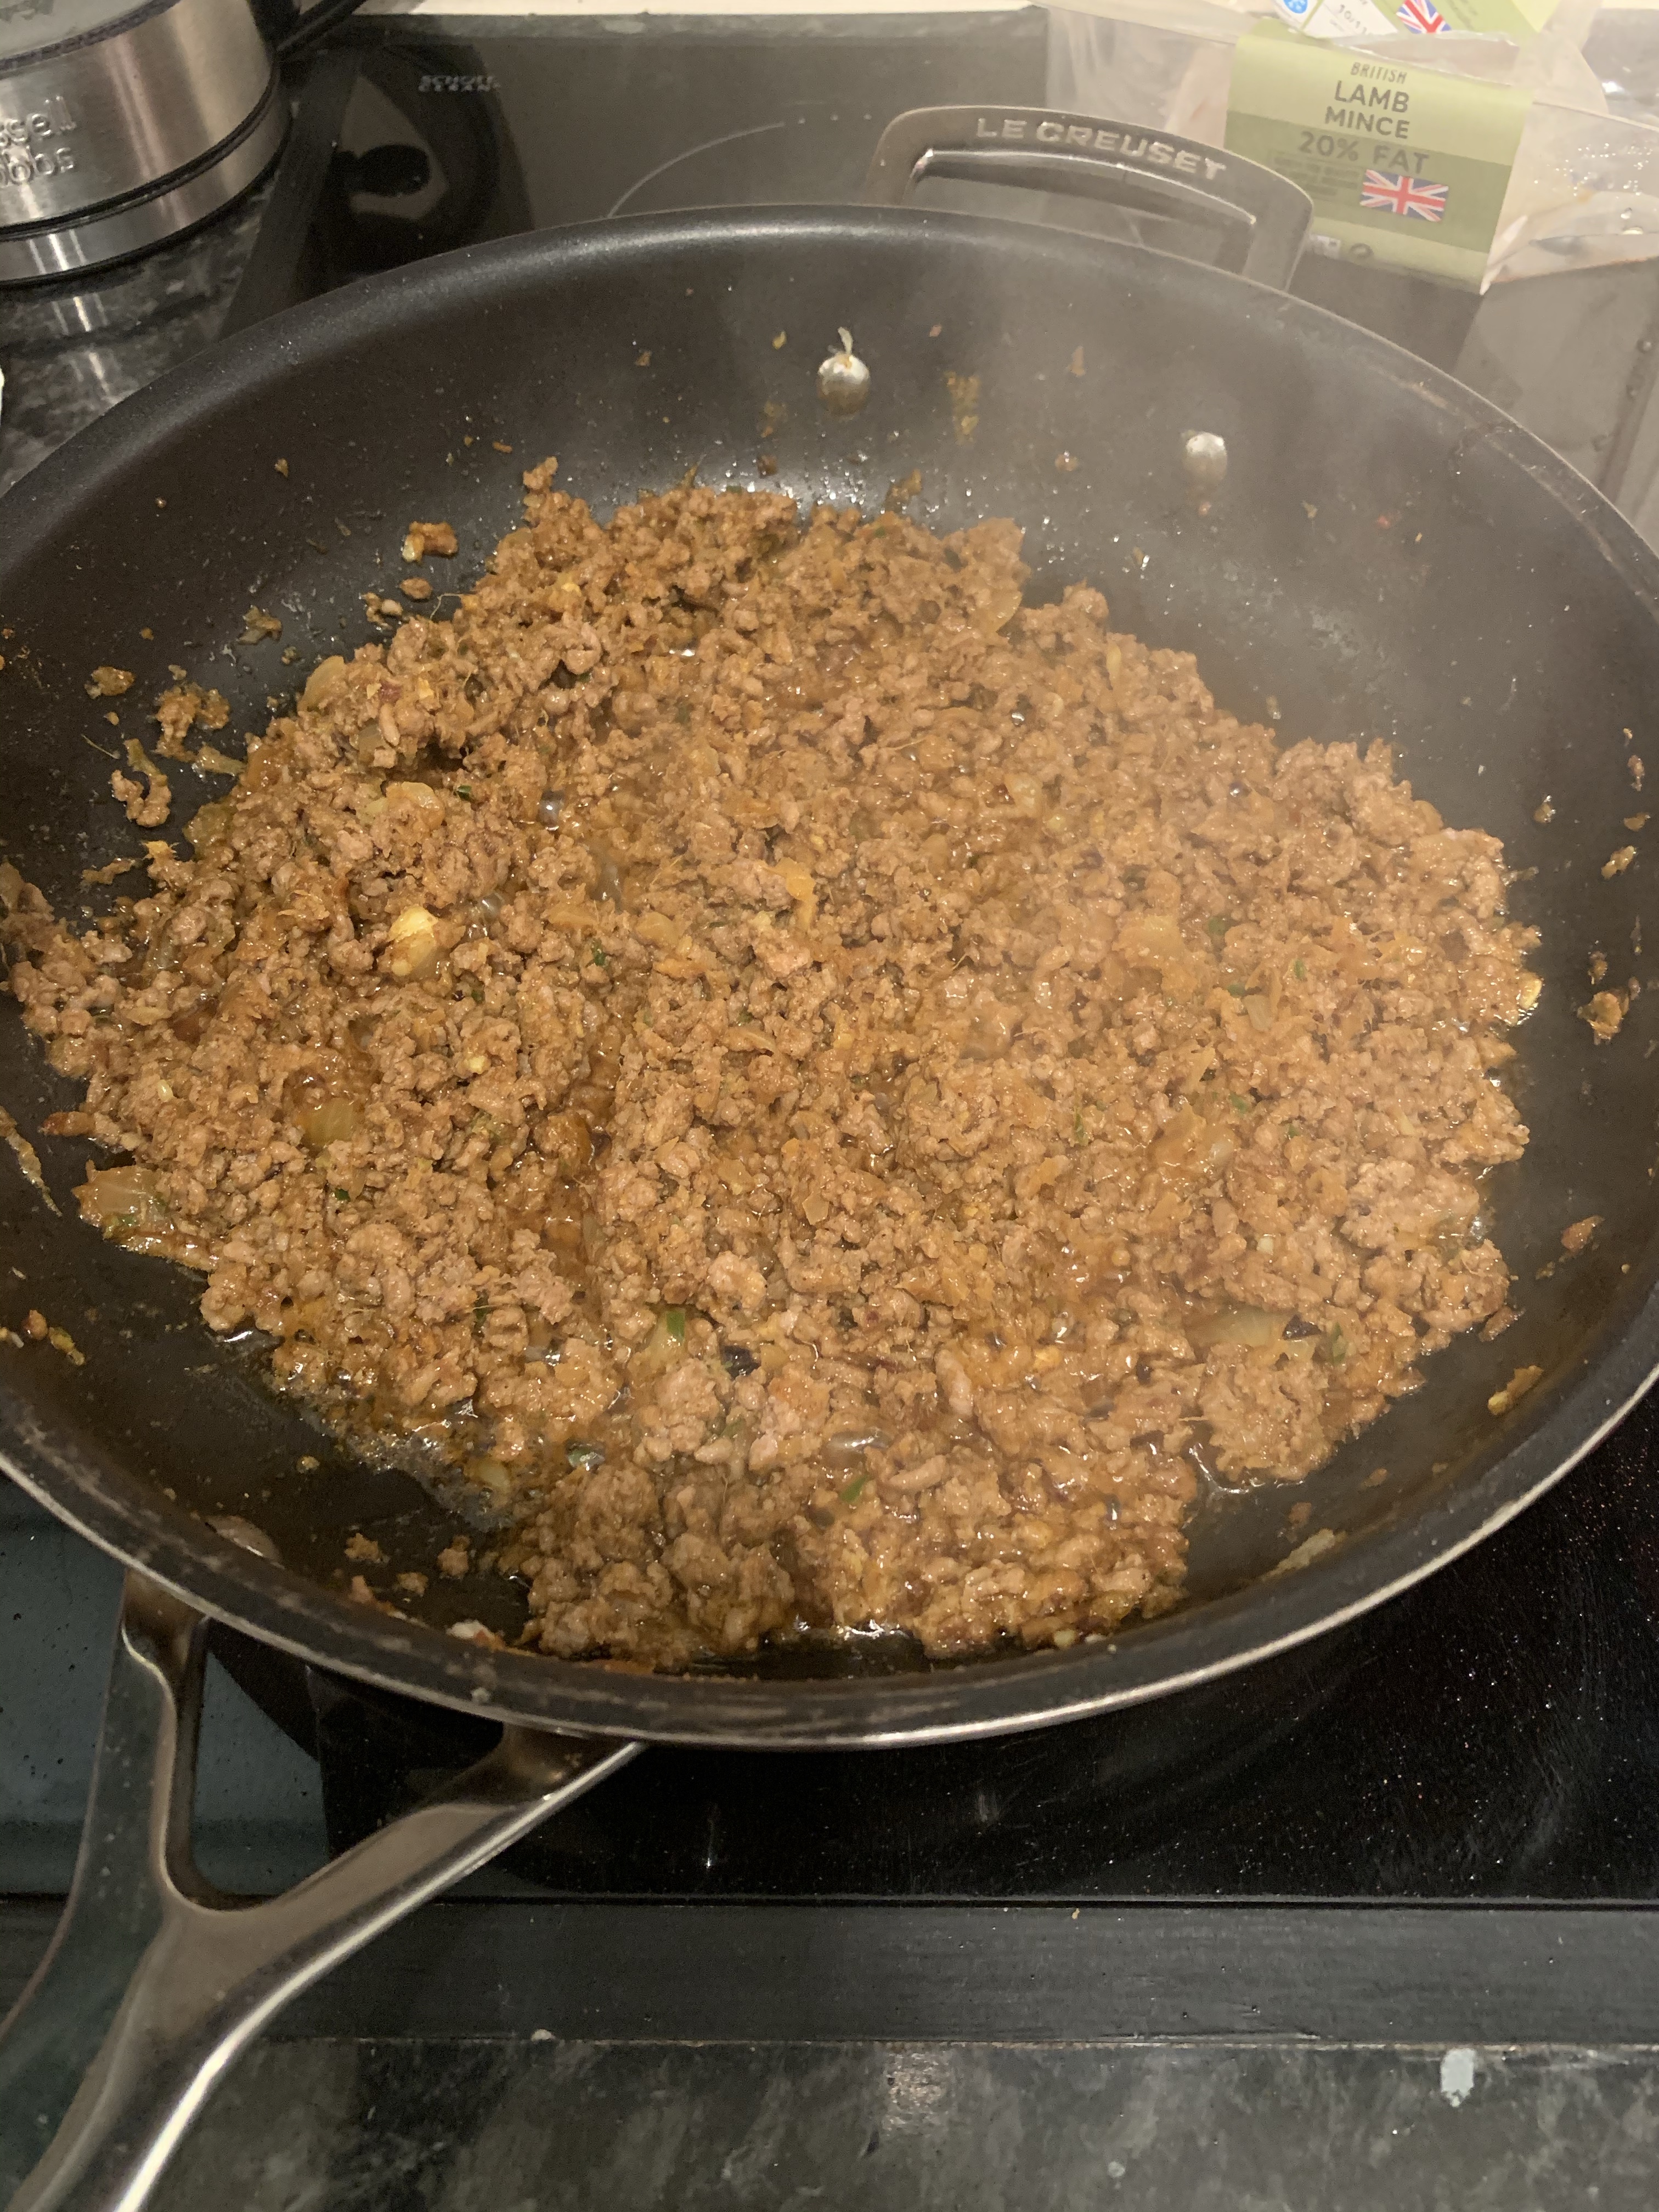
3. Whilst the dough is resting, prepare the filling. Heat the oil in a frying pan, then cook the onion, stirring, until browned lightly. Add the garlic, ginger, chilli and all the spices. Cook, stirring, until the mixture is fragrant. Add the lamb, cook, stirring. Break the pieces with your cooking utensil into small pieces as they are cooking. Once the lamb is cooked, remove the pan from the heat. Stir the lemon juice and mint in. Taste to check you are happy with the amount of lemon and mint, and add more if required. Let the mixture cool.


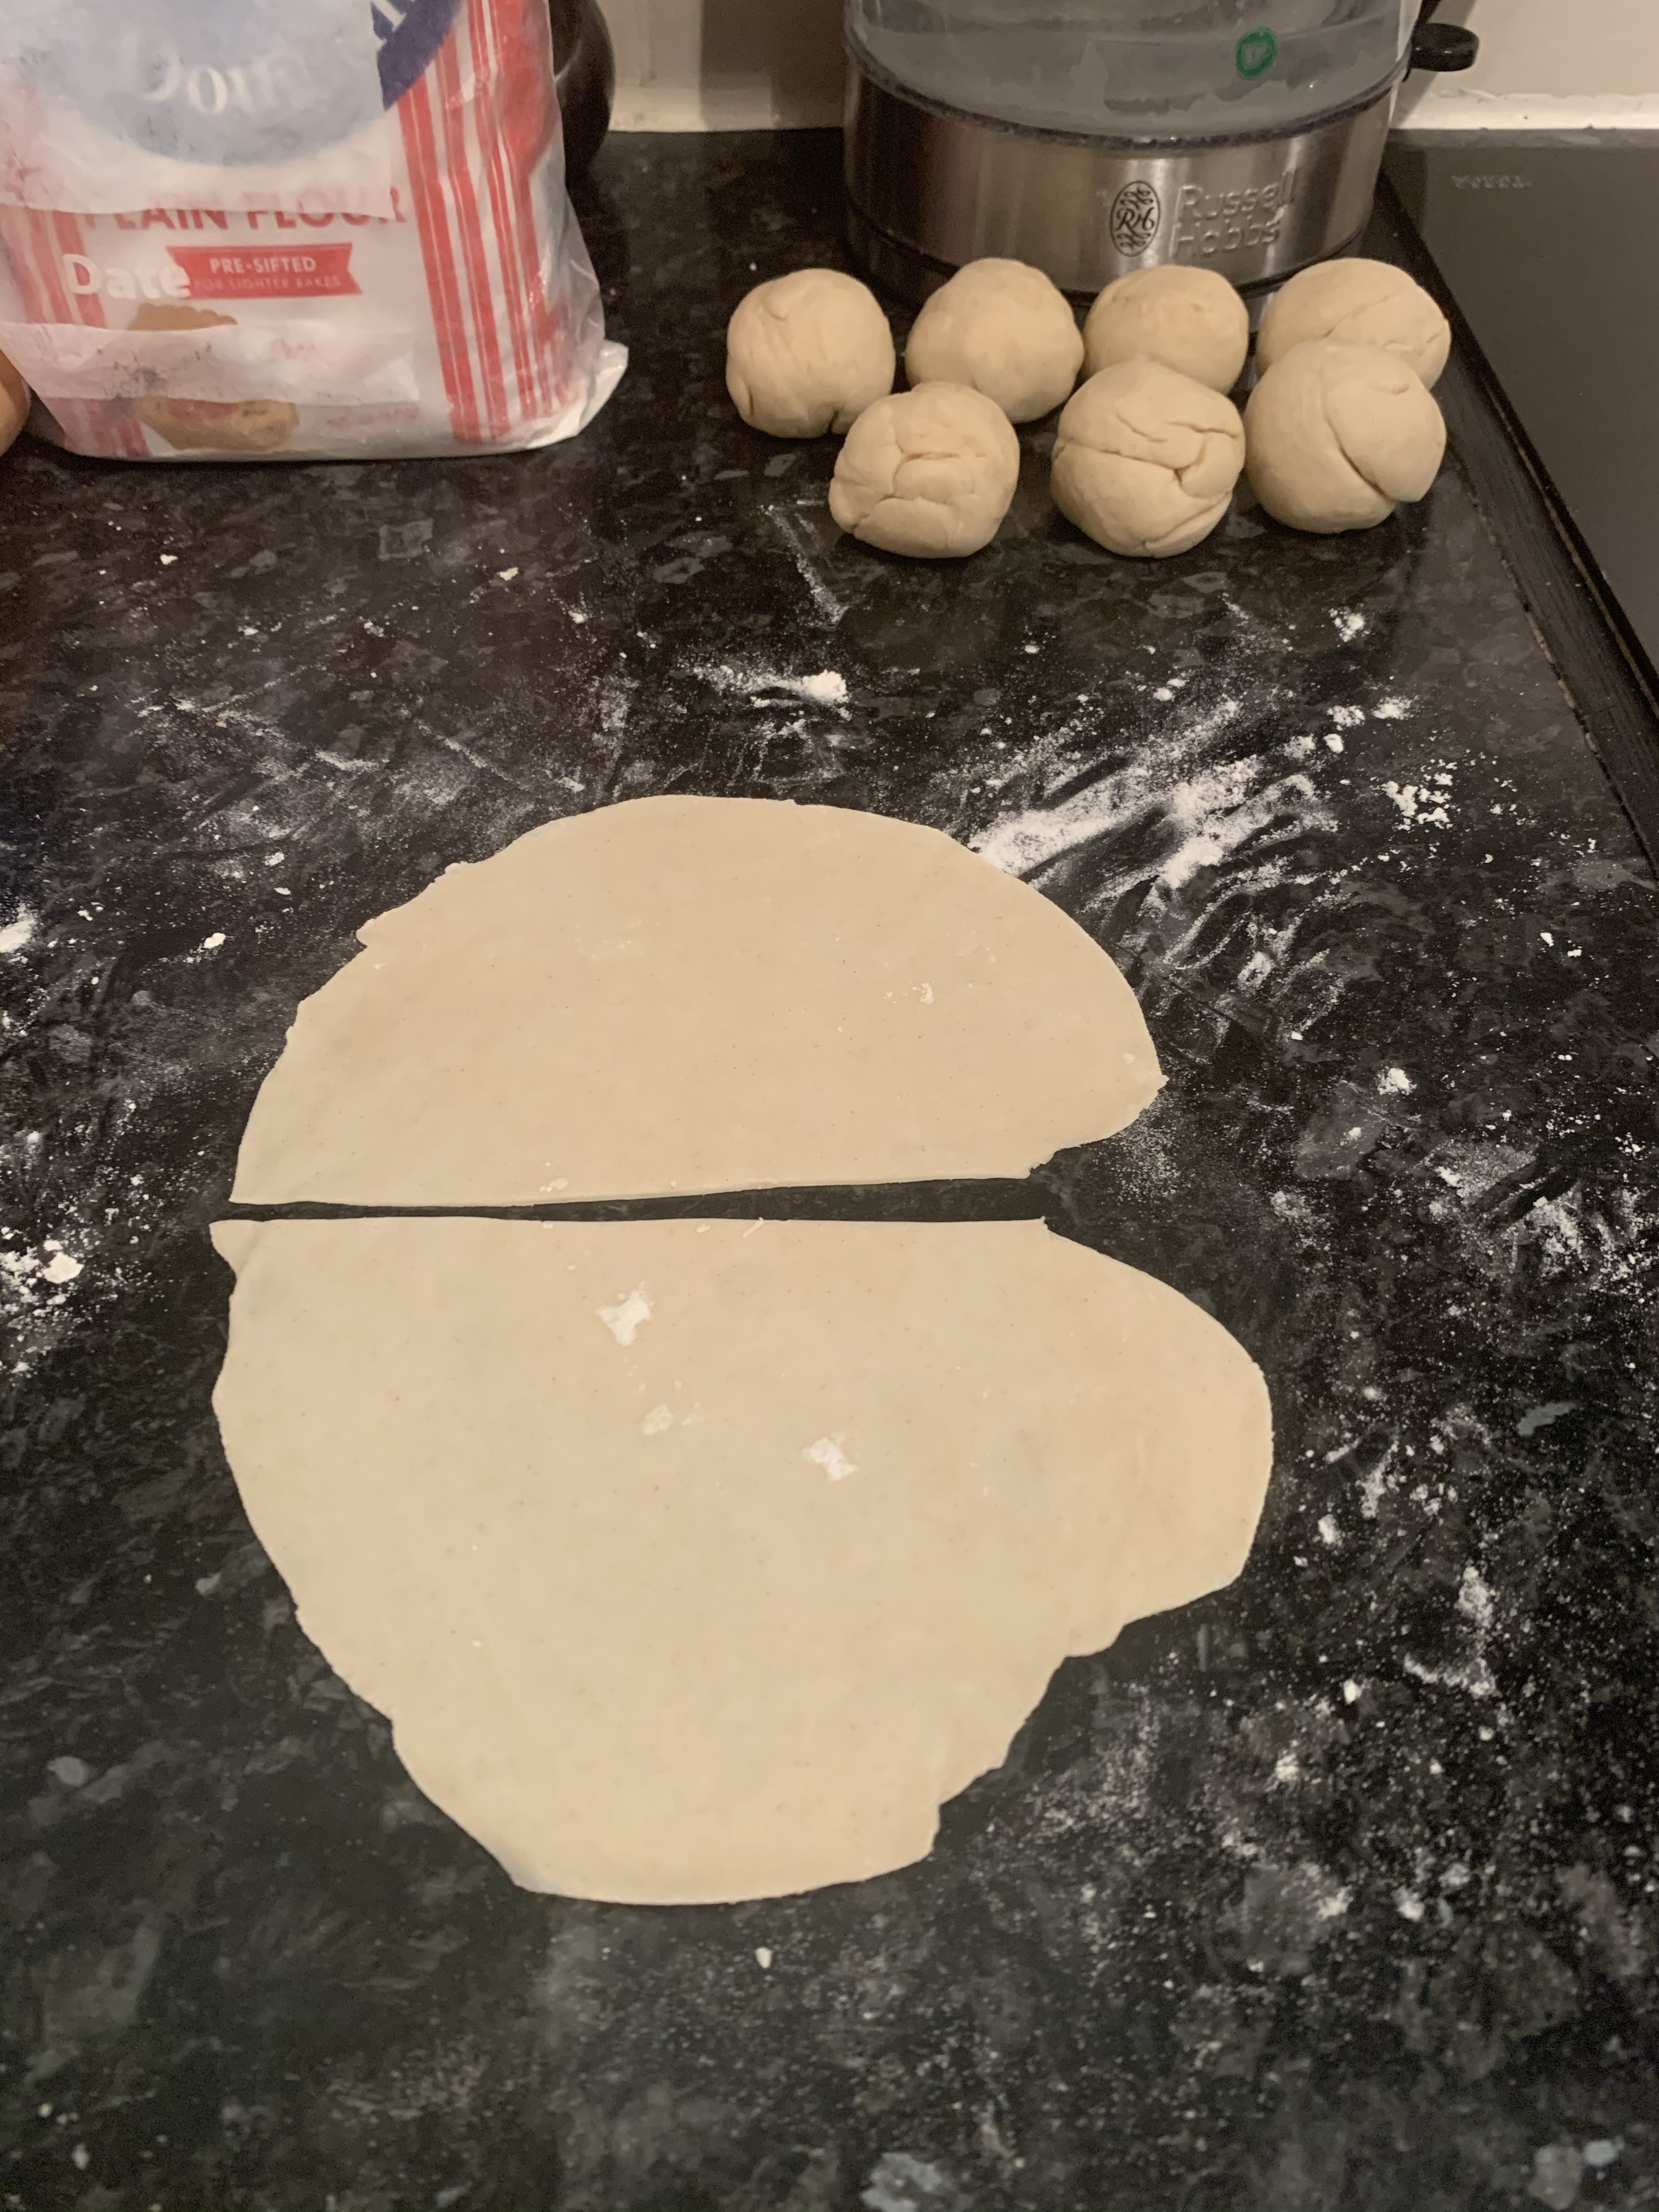
4. After the resting time, divide the dough into 12-14 pieces. Roll each piece into thin oval shapes, then cut in halves. Using flour and little flour and water, make slightly thick paste – this will be used as ‘glue’ when building the samosa together.


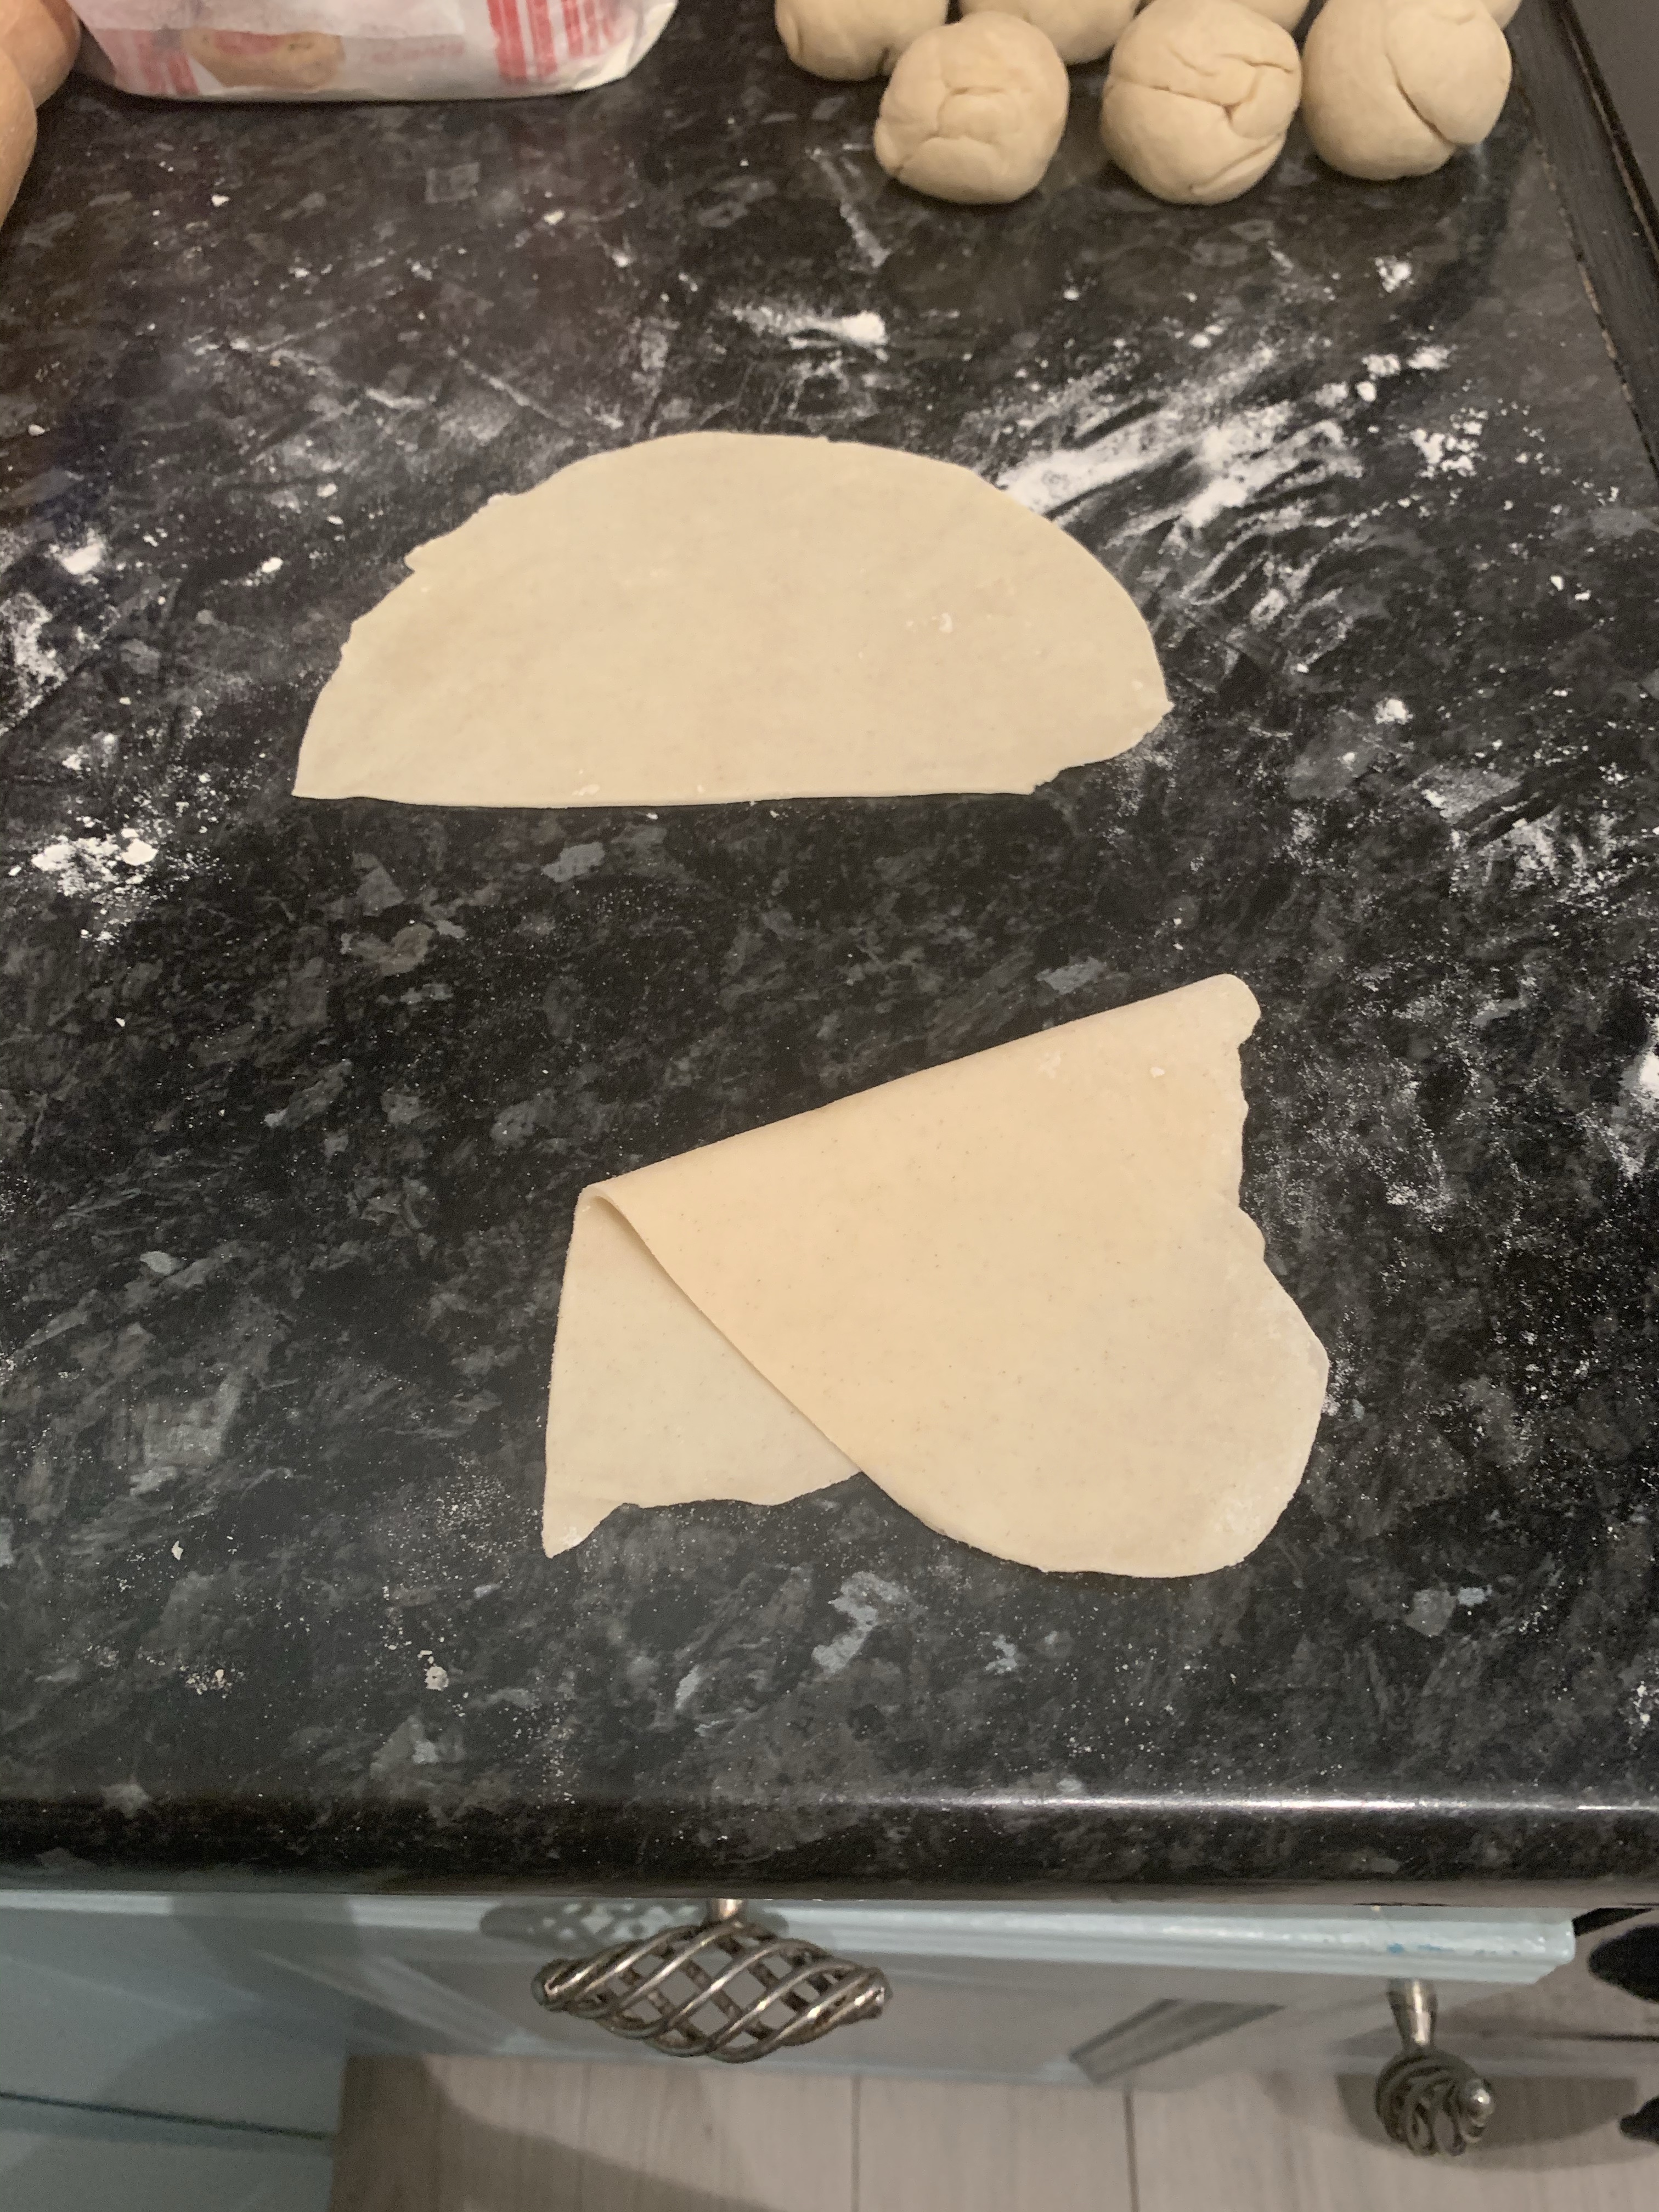
5. With the round side facing you, flick the right hand side edge of the thin dough so that it overhangs on the left side – but leaving a corner of the dough exposed at the top left hand corner.


6. Coat the exposed little flap with the flour / water paste, then fold it over the main part of the samosa.


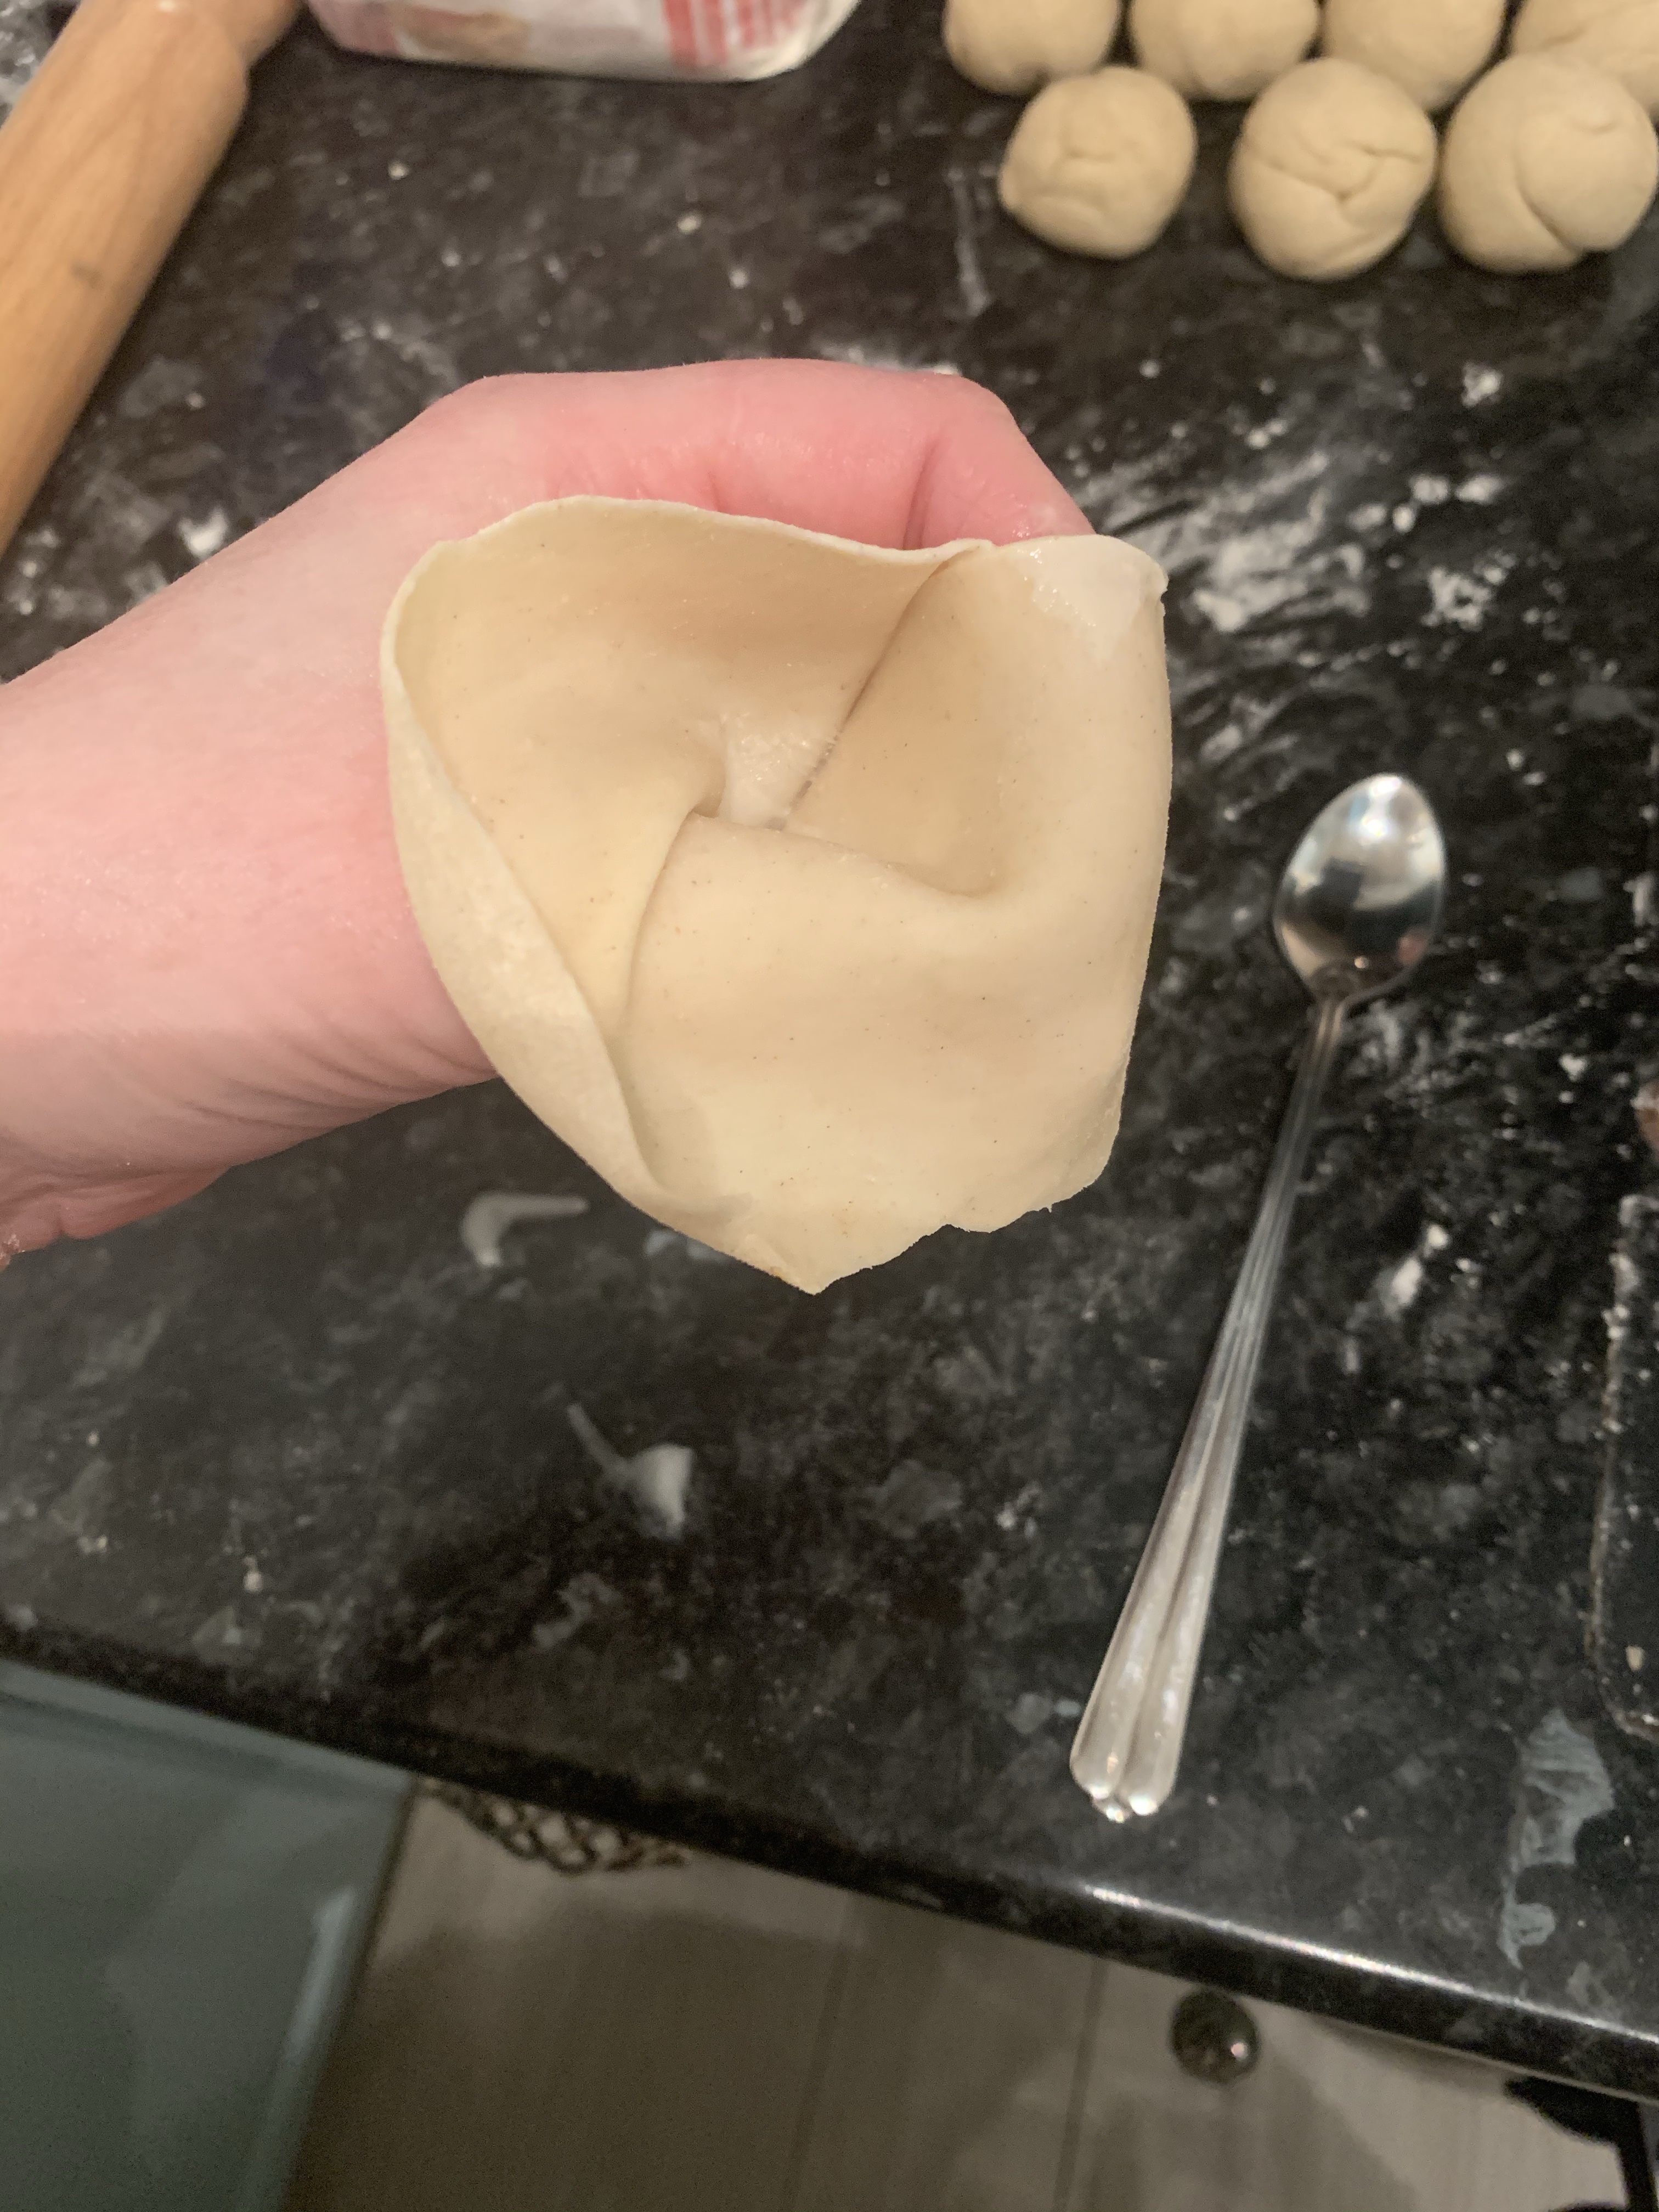
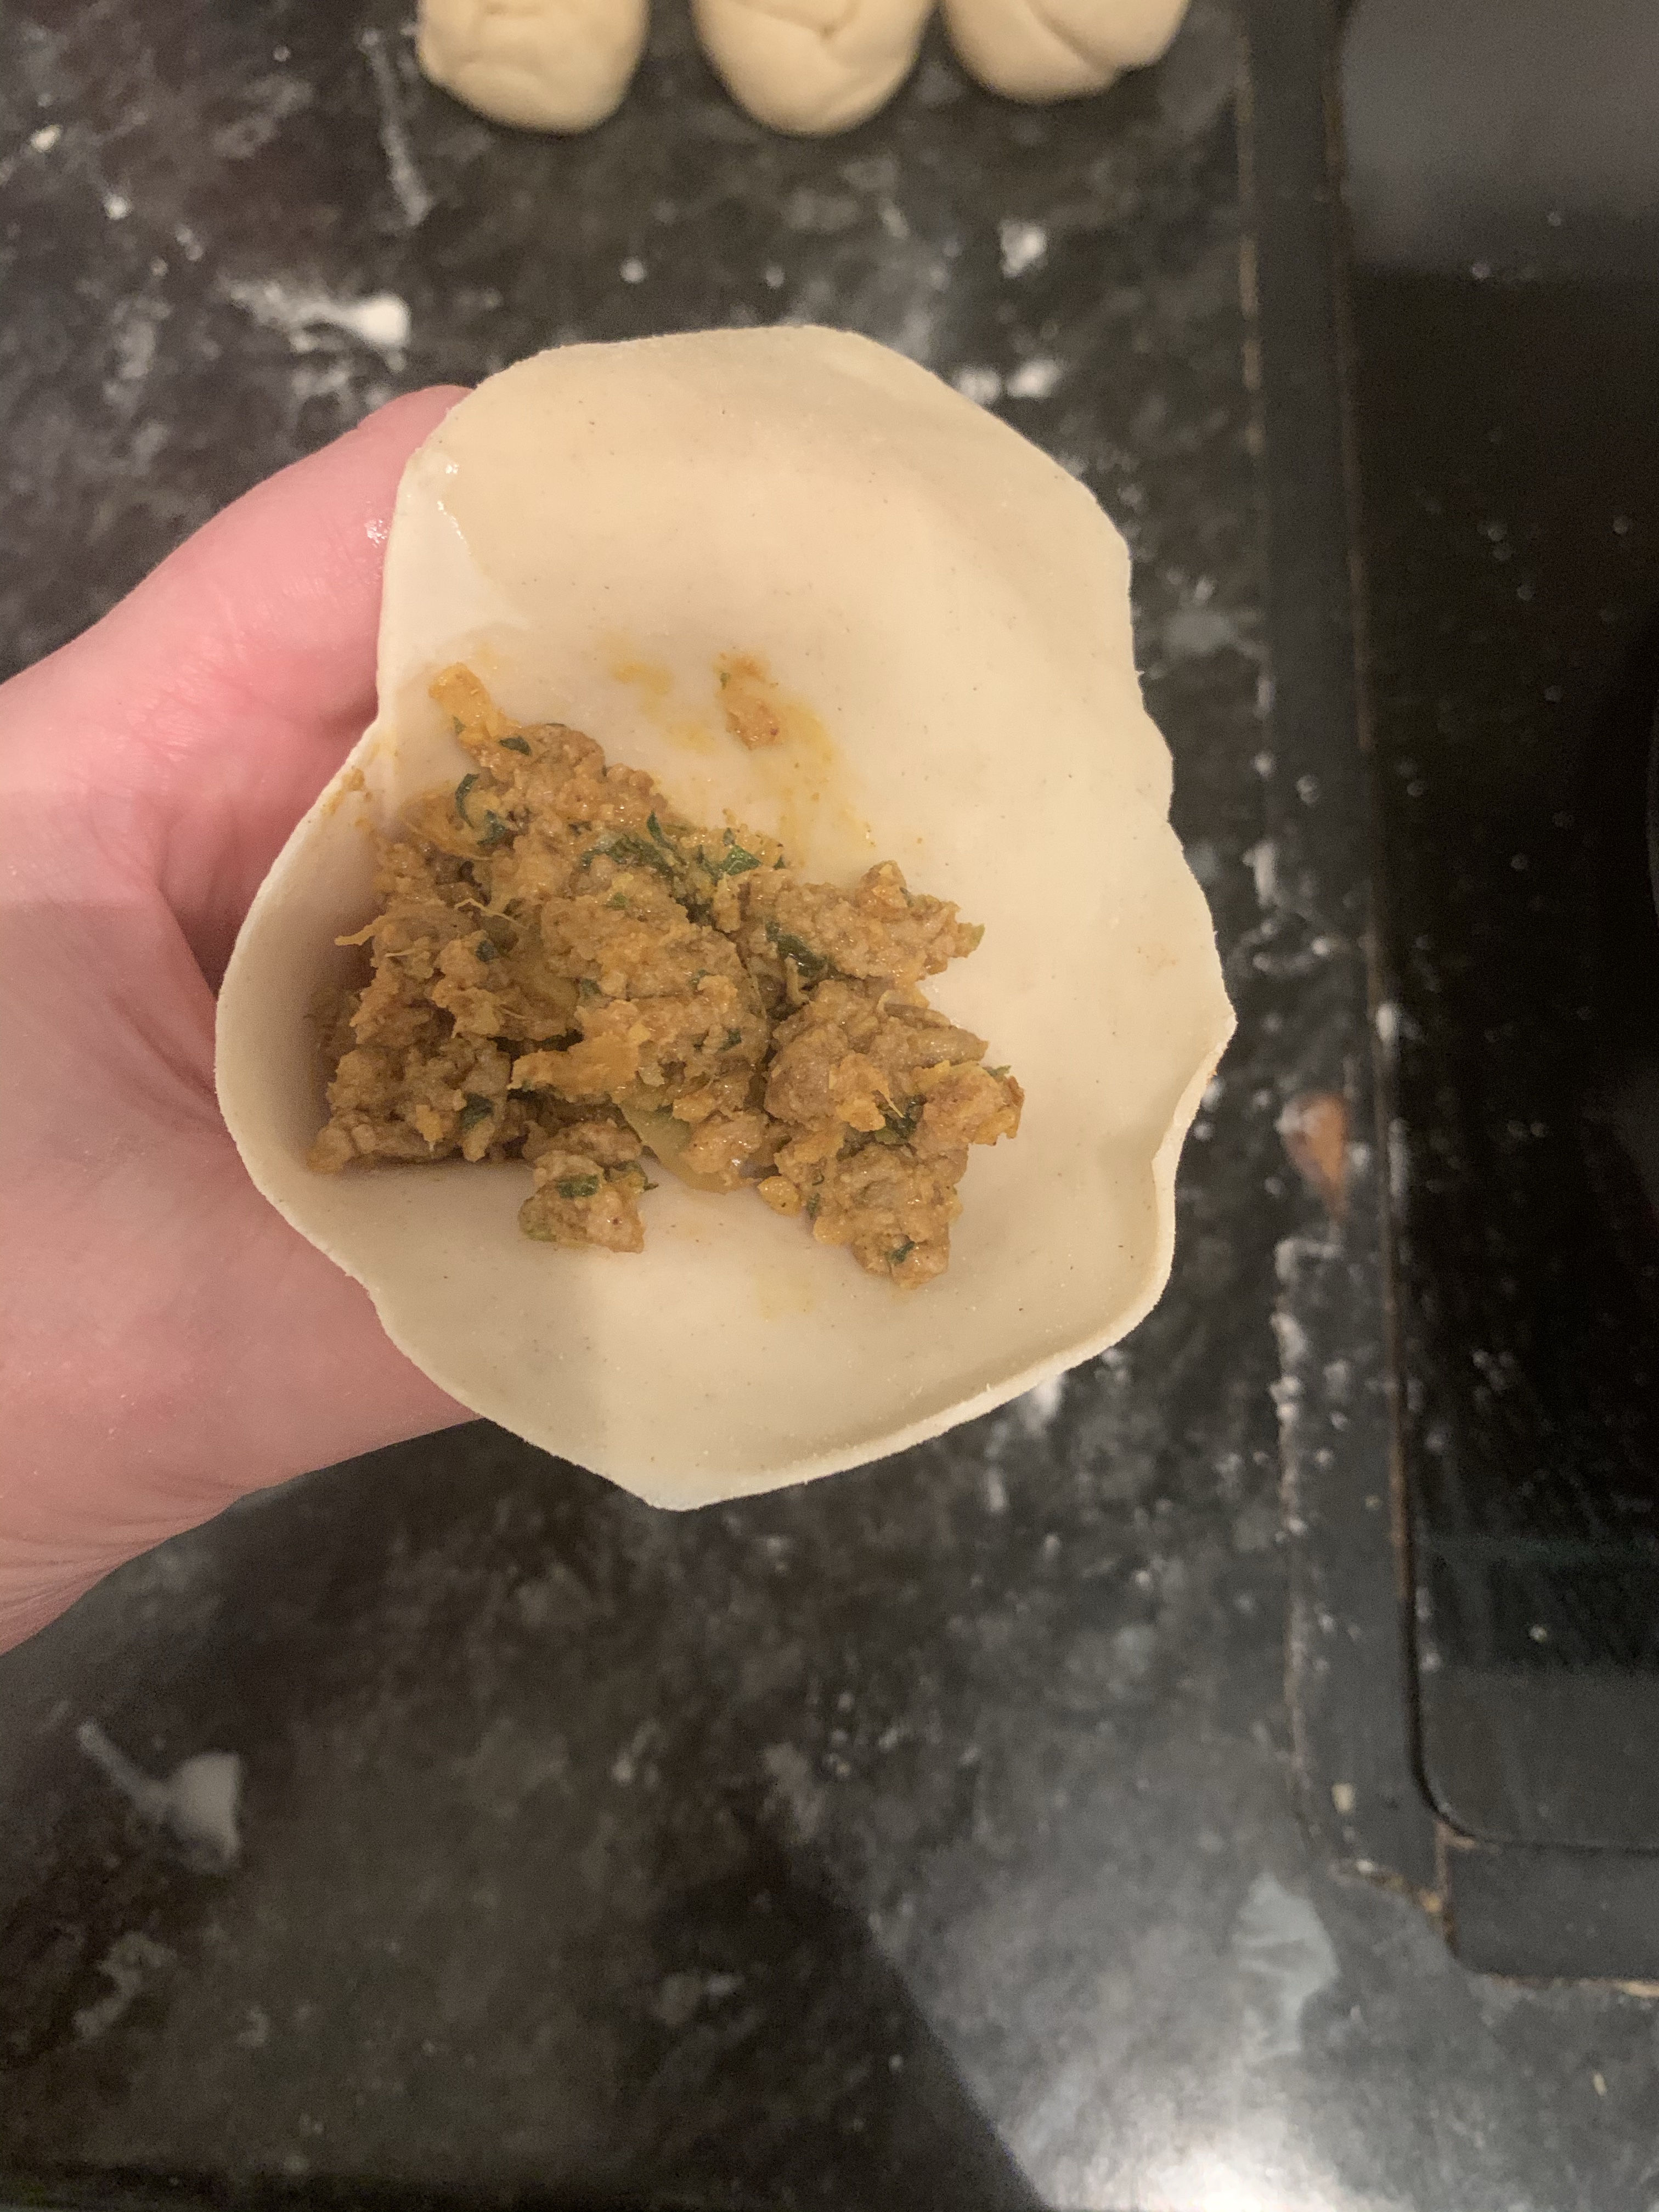
7. Place the dough pocket on your hand, in between your thumb and other fingers, in a cone shape, then fill with the cooled filling.


8. Place on the table, brush the second overhanging flap with the paste, then seal over the samosa.


9. Once you have completed filling your samosas, heat vegetable oil in a deep pot for deep frying to 180°C / 356°F. Don’t fill the pot more than half way, as the oil may overflow when you add the samosas in.


10. Deep fry the samosas in batches until they have a nice golden colour and appear crispy. Remove from the hot oil and drain on kitchen tissue.


11. The cooked samosas are at their best when eaten straight after being cooked. Enjoy!

Mocha squares

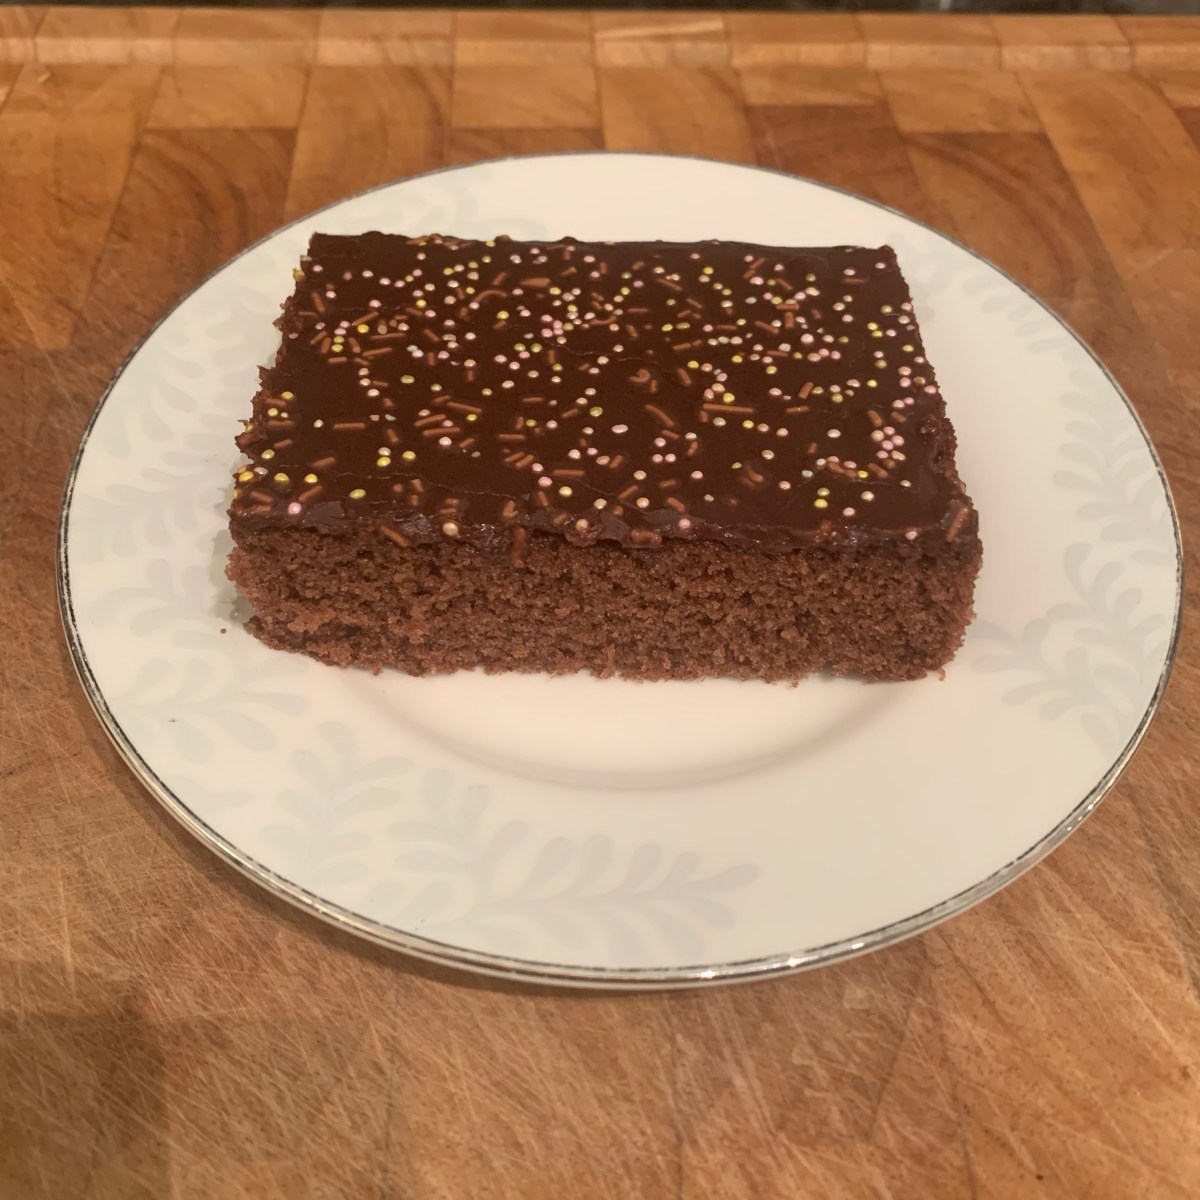
It might surprise most that the Finns are the world’s number one biggest coffee drinkers, consuming a whopping 12kg of coffee per capita a year. After knowing this fact however, it will probably not surprise anyone that these Mocha squares, chocolate cake with chocolate and coffee topping, is one of the most popular cakes almost anyone from teenagers to adults know how to make.

Sponge
500 ml plain flour
4 eggs
300 ml caster sugar
2 tsp vanilla essence
200 ml milk
200g butter, melted
3 tbsp cocoa powder
3 tsp baking powder
~~~~~
Topping
250-300g icing sugar
50g butter, melted
5 tbsp strong coffee
1 tbsp cocoa powder
2 tsp vanilla essence

1. Heat the oven to 200°C / 392°F. Melt the butter, and let it cool. 

2. Whisk the eggs, sugar and vanilla essence until fluffy.

img_4437

3. Mix the flour, baking powder and coco powder together. Taking turns with the milk, add to the eggs / sugar mix. 

4. Pour the melted butter into the mix. Once fully incorporated, pour the mixture into an oven tray, lined with baking paper.

img_4439

5. Bake for 15 minutes. Take out of the oven, and let the cake cool fully before mixing the topping ingredients together, as they will set fairly quickly. 

6. Once the cake base has cooled, melt the butter and add the vanilla essence and coffee. 

7. Mix, or even better, shift, the icing sugar and coco powder together. Then mix together with the wet ingredients. Once smooth, pour over the cake and let it set. For visual effect, some cake decorations are often sprinkled on top.

Beef and chorizo empanadas

We first had empanadas when holidaying in the Dominican Republic, and have loved them since then. They aren’t that complicated to make, and I don’t think they can get any better than the ones this recipe is for. And the great thing is that you can easily adjust the filling to your own liking.

Pastry
375 g plain flour
1 tsp salt
225 g butter
2 eggs + 1 for coating the empanadas for baking
100 ml cold water
~~~~~
Filling
100g cooking chorizo 
300g mince beef
1 onion
handful of fresh coriander
handful of fresh parsley
2 tsp ground paprika 
2 tsp ground cumin
2 tsp dried chilli flakes
2 tbsp tomato purée 

1. Mix the flour, salt and butter together until crumb-like, then add the eggs and water. Knead the dough until smooth. It will be quite soft, however if it’s sticky, add a little more flour. Cover with cling film, and rest in the fridge for around 20 minutes.

2. Place the mince beef in a bowl. Chop the chorizo into small cubes, and add to the mince. Finely chop the onion, parsley and coriander, and add to the bowl, followed by the paprika, cumin, chilli flakes and tomato purée. Mix well together. Put a little cooking oil in a frying pan and heat. Add the mixture into the frying pan, and fry until cooked. Let the mixture cool.

3. Heat the oven to 160°C / 320°F (fan). Divide the dough into four pieces (this just makes it easier to work it). Roll each piece, one at a time, to thin sheets, about 5 mm thickness. Then cut into circular shapes.

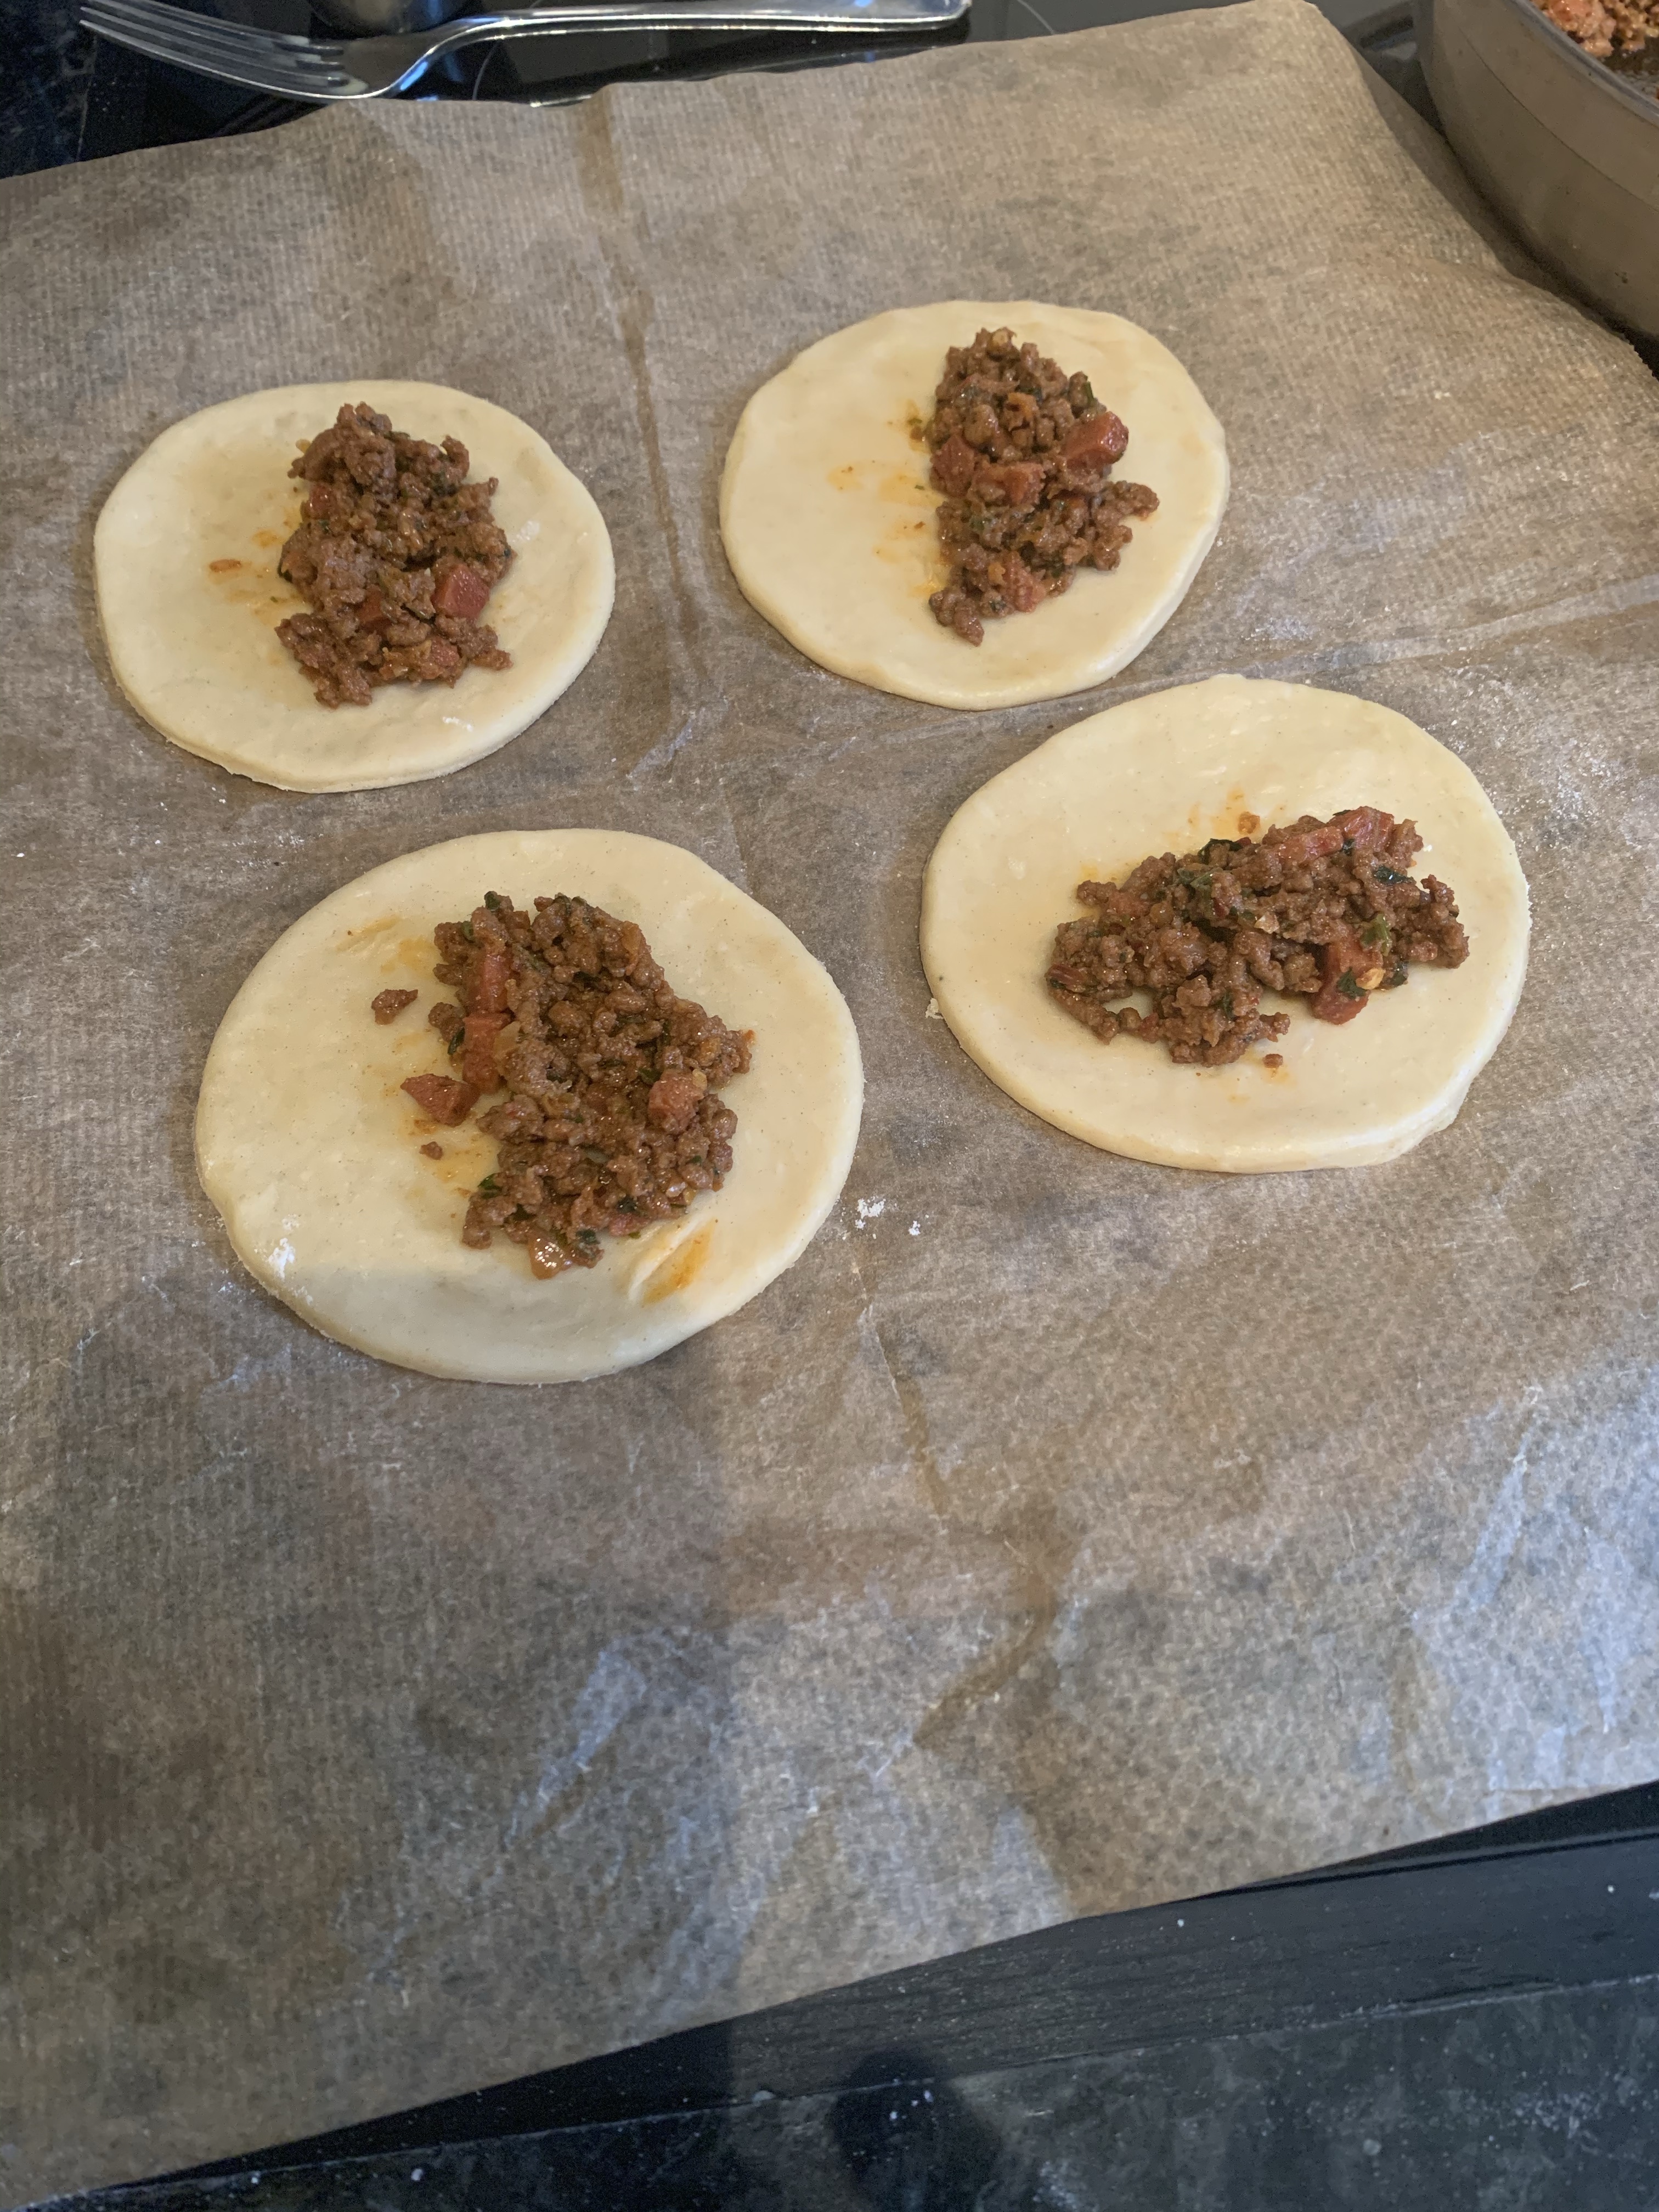
4. Place cooled filling from the centre towards one side of the round (as the other half will be turn over to cover it). The amount of filling depends on the size of the circles, you want to put enough filling, but so that you can still securely close the halves together, without the filling seeping through. Dip your finger in a bowl of water, and run it around the circles’ edge. You may need to repeat a couple of times for each one. Then fold the empty half over, and press the edges together. With a fork, press the edges together. 
img_4152

5. Once all the empanadas have been prepared, brush them with beaten egg, then bake in the preheated oven for 20 minutes.

Hasselback potatoes

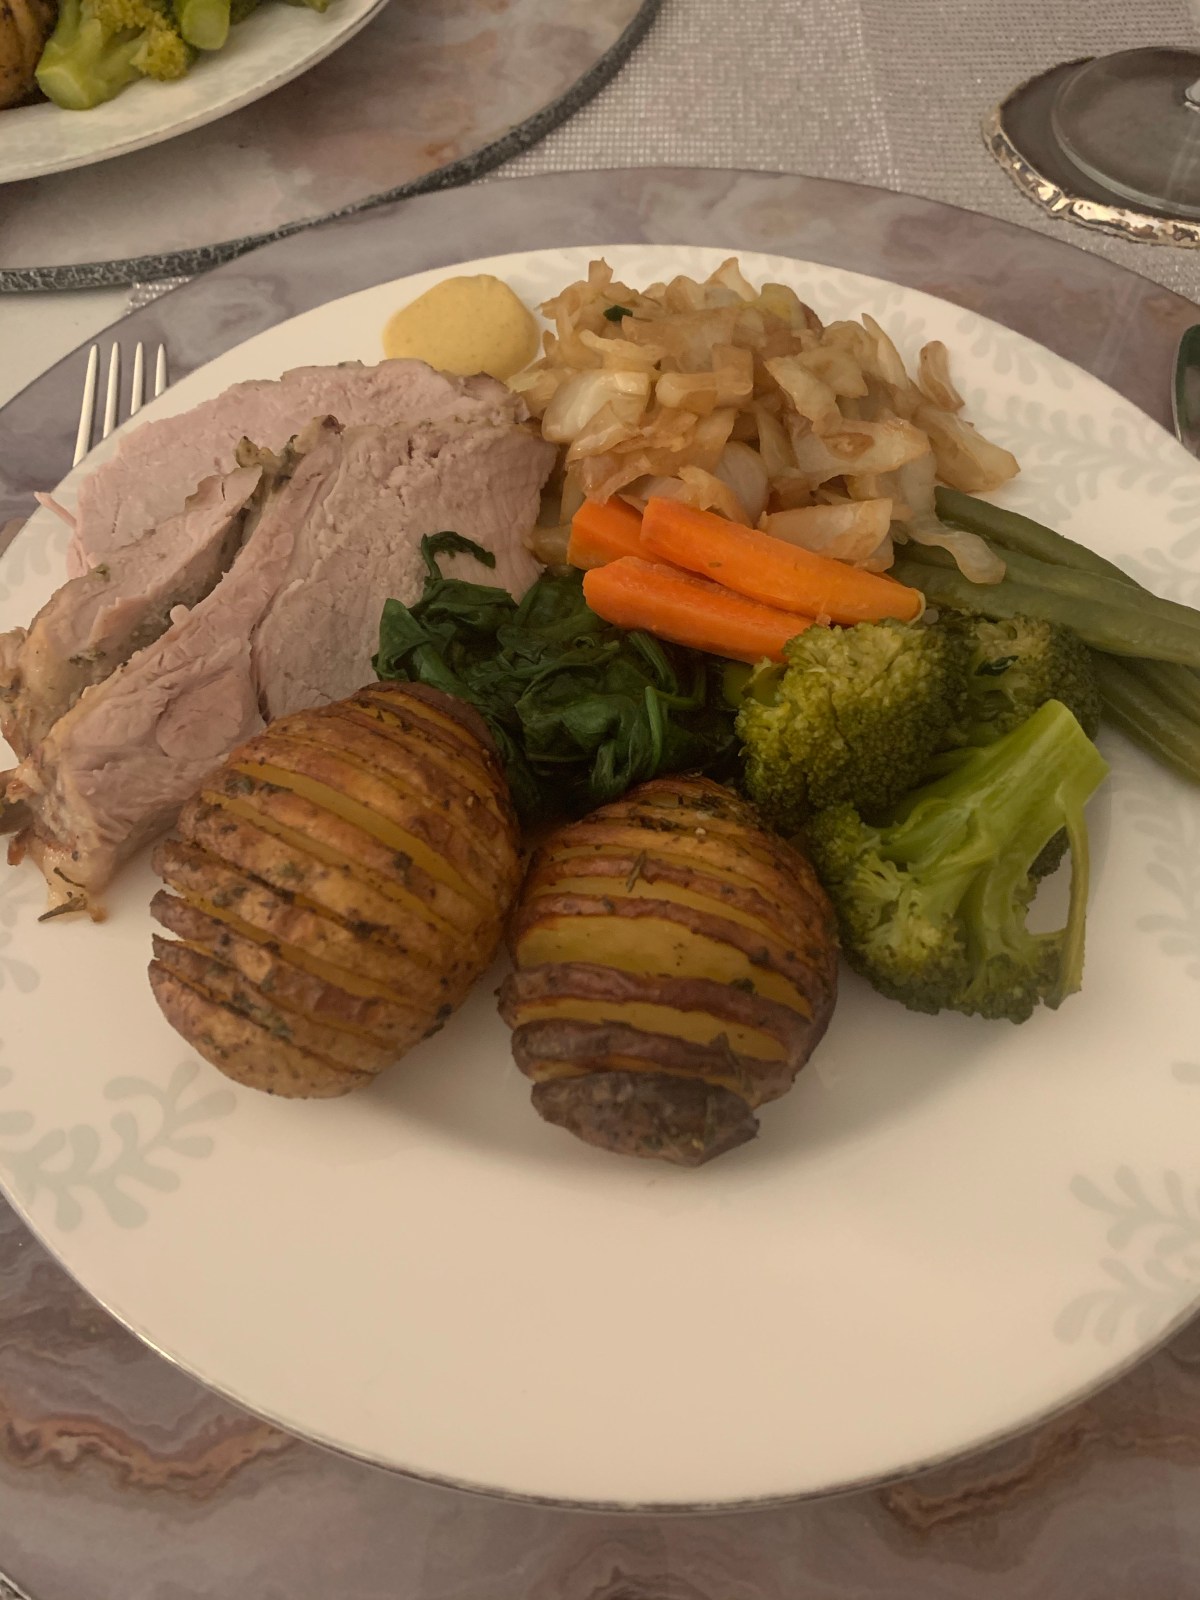
I think hasselback potatoes are currently my new favourite kind of potatoes, there’s just something about them. Not only do they look exciting, they also taste very good!

6 potatoes
1 sprig of fresh rosemary, leaves only
~3 sprigs of fresh thyme, leaves only
1/2 tsp sea salt
1/2 tsp black peppercorns
3 tbsp olive oil
butter

1. Preheat the oven to 180°C / 356°F (fan). Wash the potatoes well, and dry with kitchen tissue. Place the potatoes on a large, deep spoon one at a time, and cut slices for the whole length of the potatoes. The spoon should ensure you don’t cut the potato through completely, as you do want to keep the whole potato in one piece at the bottom.

img_4222

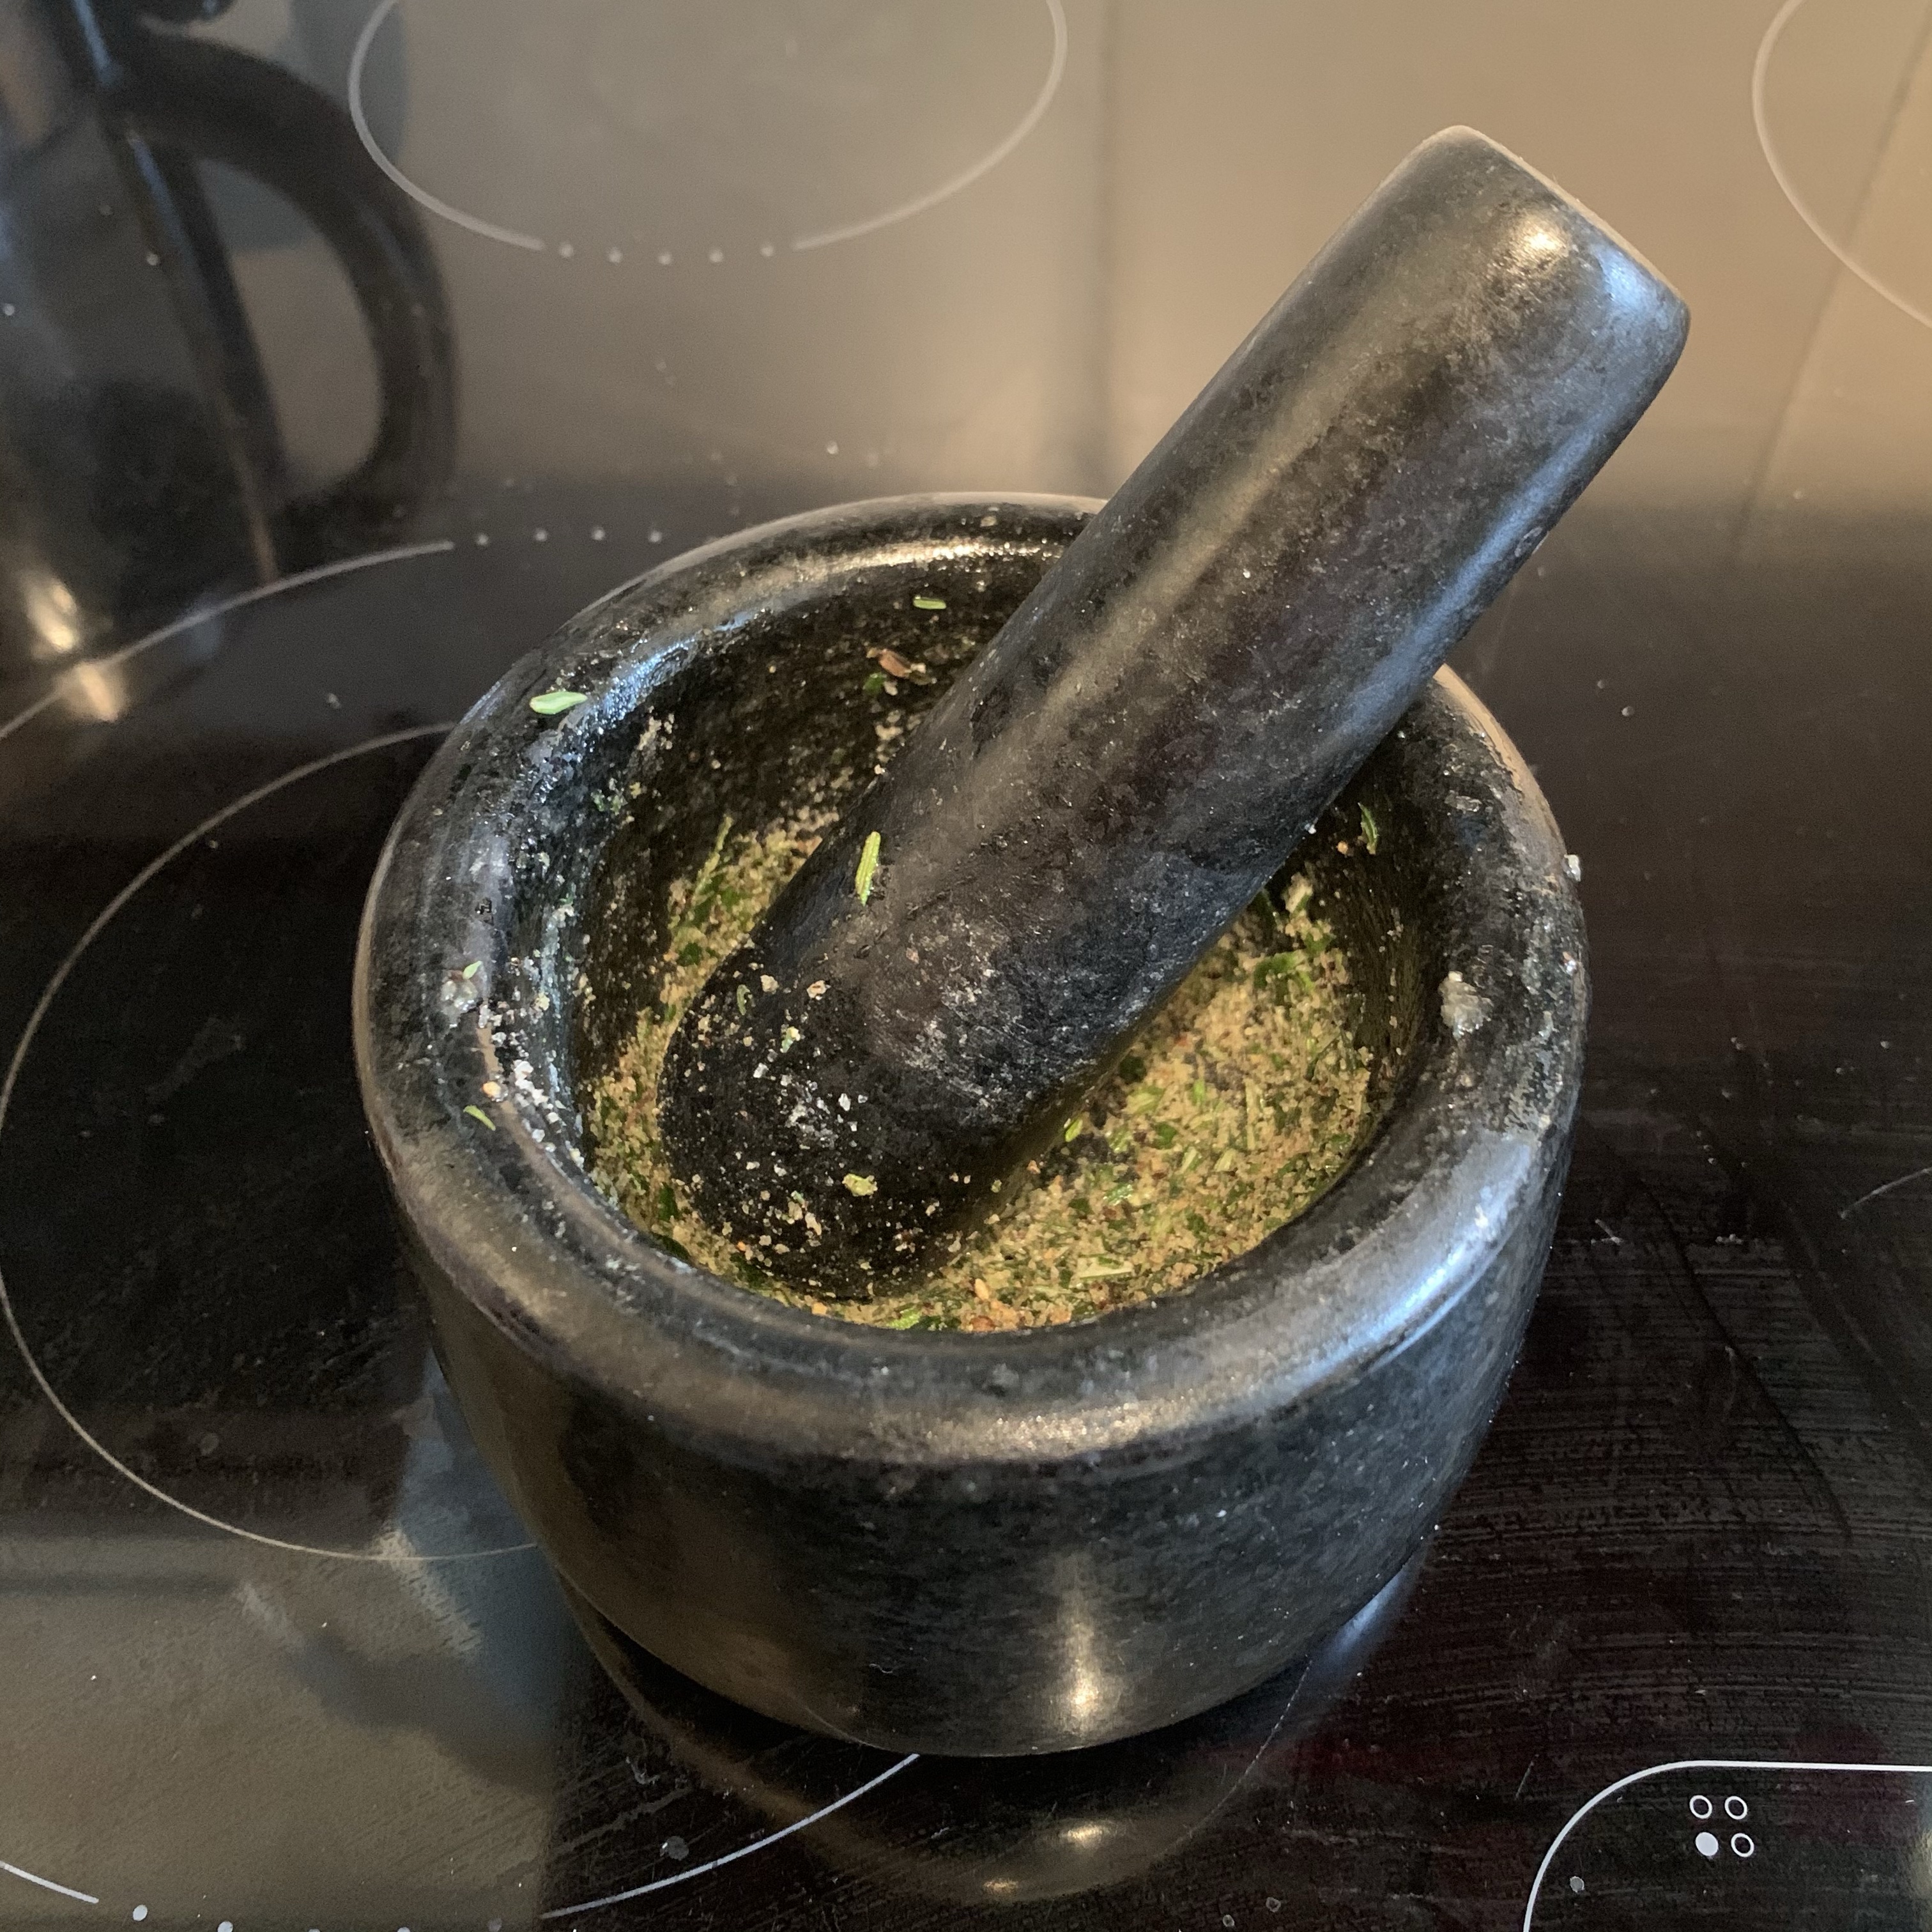
2. Crush the peppercorns and salt (I use pestle and mortar). Finely chop the herbs, and add to the salt and pepper, and crush all together a little more. Add the oil, and mix everything together.

img_4221

3. Loosen / spread the potatoes (slices) a little if possible, then rub with the spice mixture, trying to get some also in the gaps. Place in an oven tray and bake for 40 minutes.

img_4223

4. Remove the potatoes from the oven, and put a small knob of butter on top of each potato. Place back in the oven, and bake for further 10 minutes.

Puff pastry

During the first wave of the Covid lockdown in the UK, one of the food items that was hard to get your hands on was puff pastry. Because of this, I started making my own, and I was so surprised how simple it actually really is. Now, I tend to always make it myself. I  can use the same all butter puff pastry for savoury or sweet foods just fine, and now I’m just thinking that why on earth did I not start making my own sooner?

225g plain flour
1/2 tsp salt
150g butter
150 ml cold water

1. Mix  the flour and salt together in a bowl, then put in the fridge for a few minutes, whilst cutting the butter.

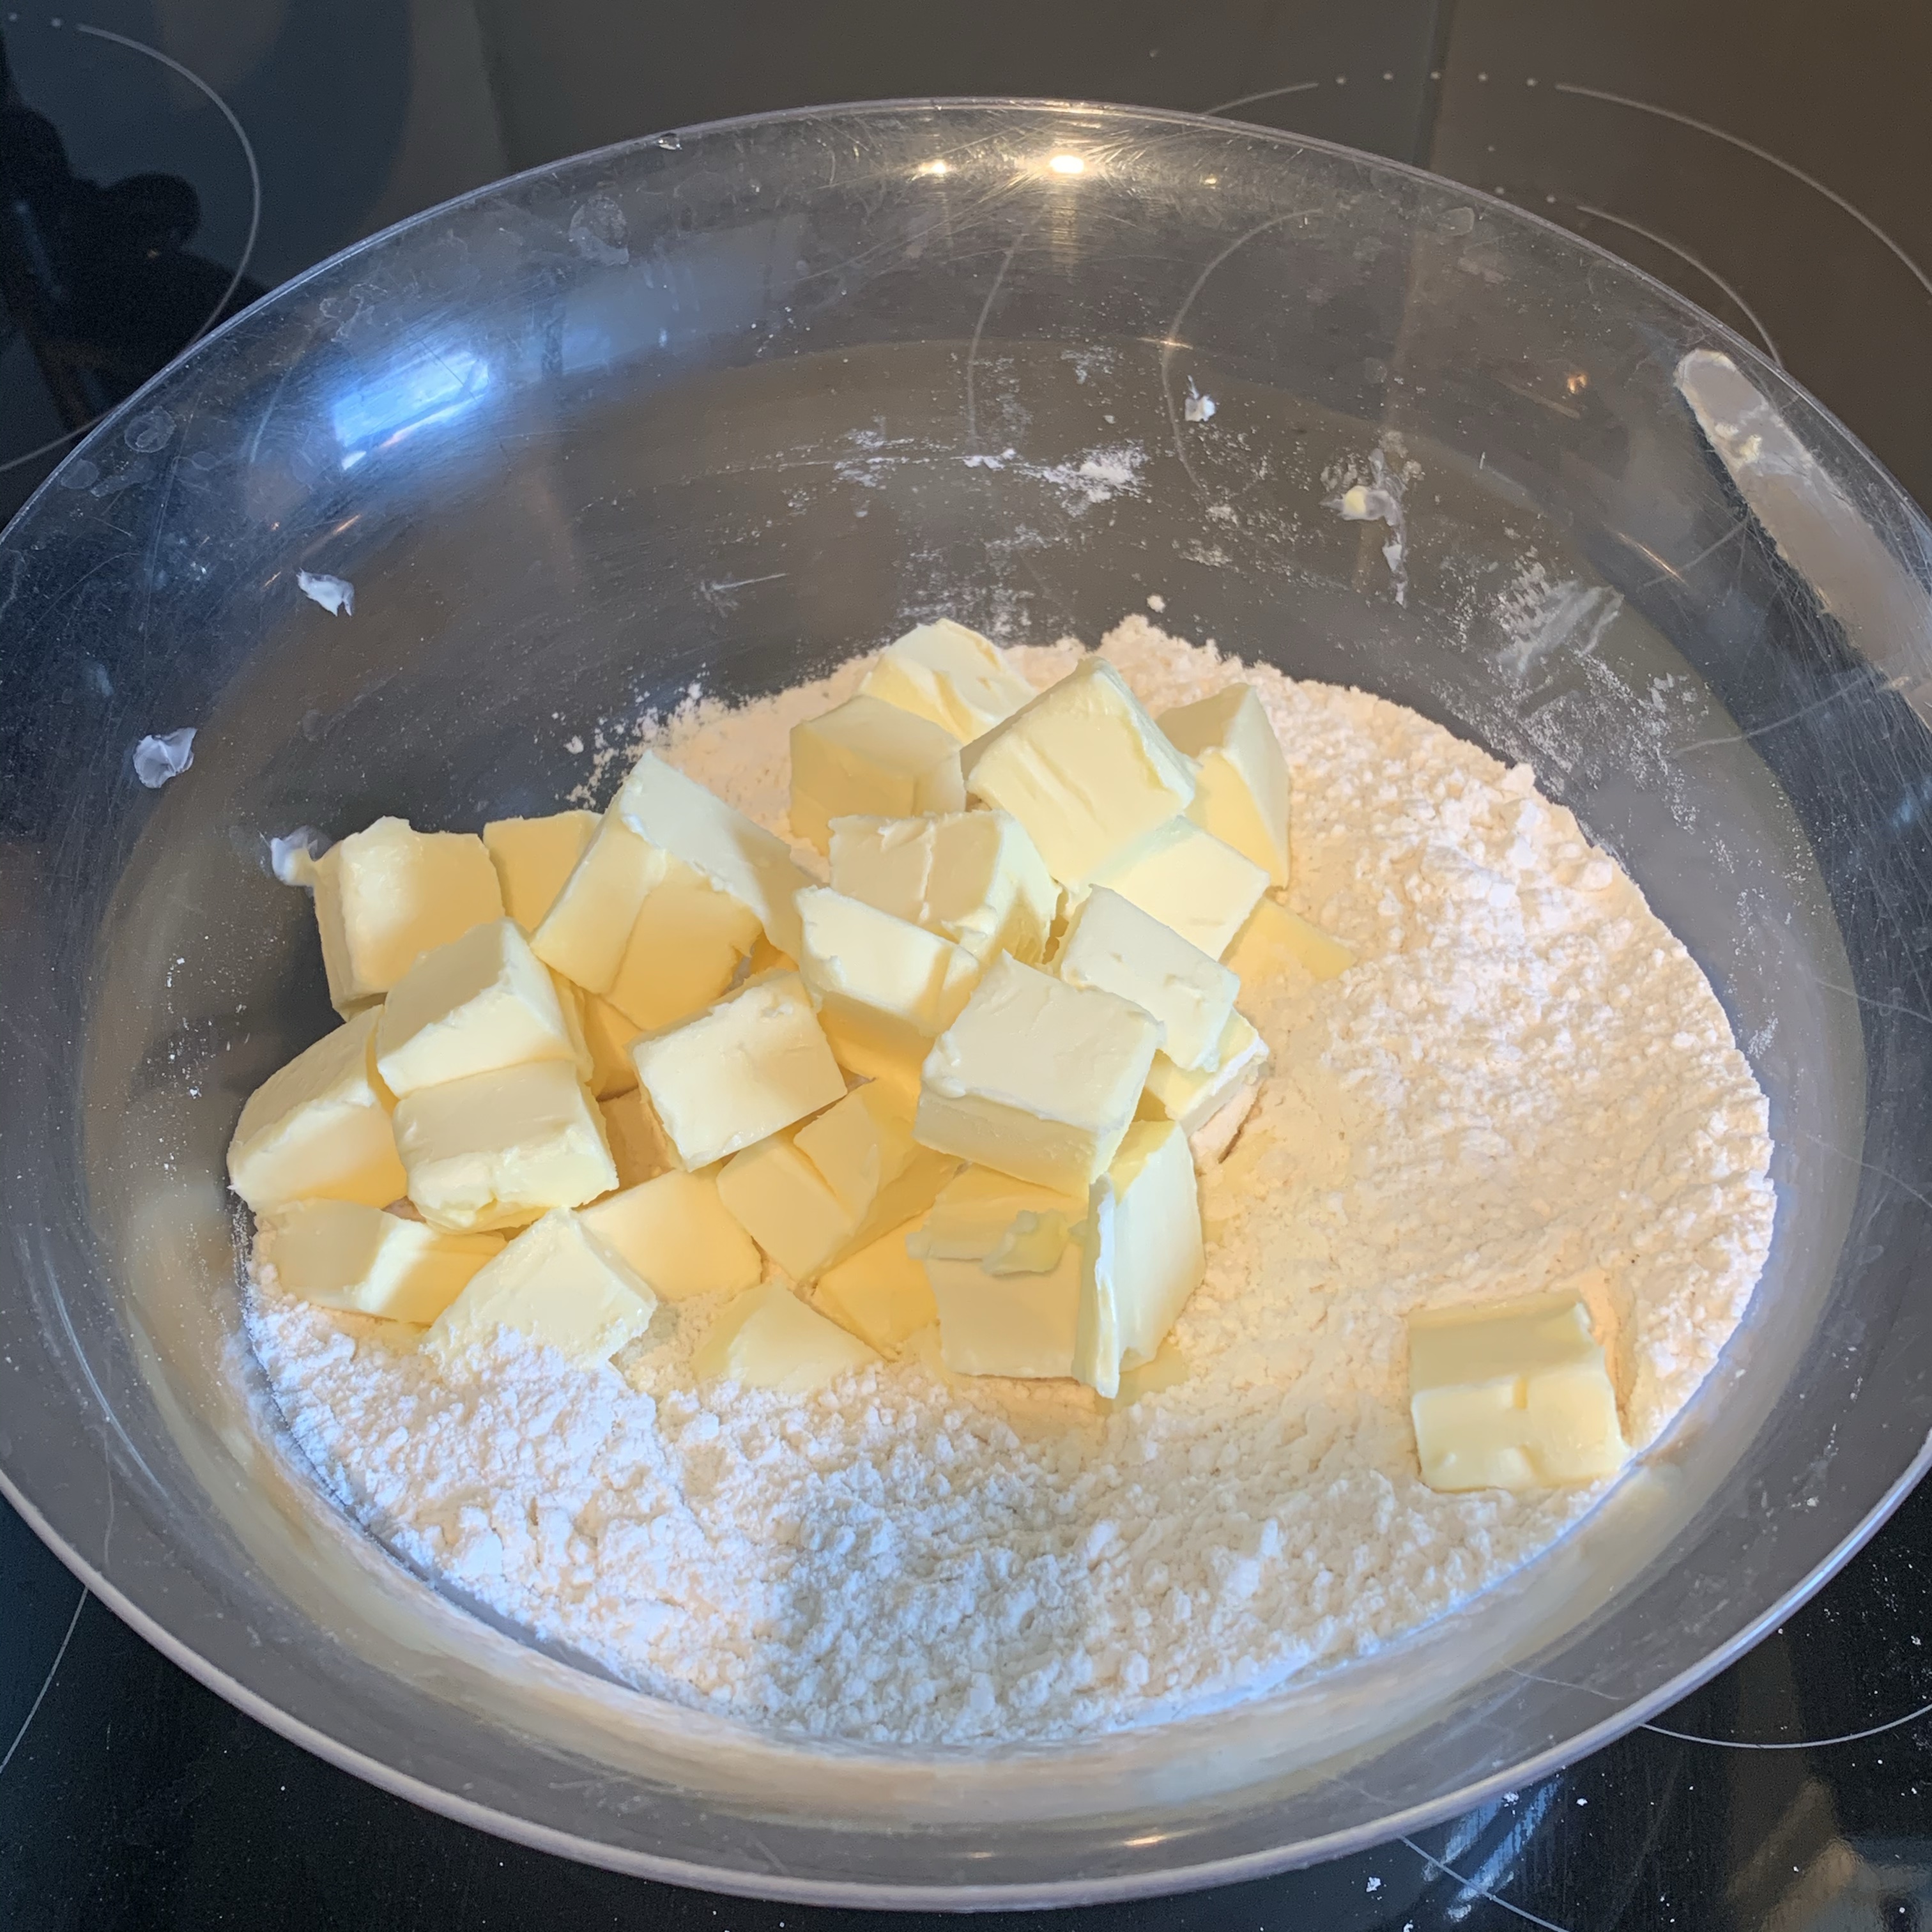
2. Cut the butter into cubes. Put the cubes into the bowl with the flour, and stir with a spoon, until all of the cubes are coated with the flour.

3. Pour the water into the butter and flour, them mix all quickly to a rough dough. You will still have some cubes of butter in the dough mix. Put some flour on you work space, and tip the dough on the table. Shape the dough into a log, and press the log flat with your hands, but don’s knead it. Wrap in a cling film, and place in the fridge for at least 15 minutes.

4. Place the chilled dough log on a floured surface, and roll to a thickness of about 1 cm to a rectangular shape. The length should be about three times the width.

5. Fold the top third of the pastry down, on top of the middle third, then fold the bottom third over these.

6. Turn the dough block in a way that the open edge is to the right. I also tend to turn it over so that the last fold is at the bottom. Add flour on the surface if required.

7. Repeat the dough rolling and folding process 4-5 times. If the dough starts getting too sticky, cover with cling film and place in the fridge for a few moments, before continuing.

8. When using the dough, roll to about 1/2 cm thickness, add the filling of your fancy, brush with egg wash and cook in the oven at 200°C / 392°F for about 15-30 minutes, depending on the food. Below pictures are some examples I’ve used my puff pasty for: raspberry pastry, chicken pie, sausage rolls and Finnish Christmas prune tarts.

Sticky pork ribs

I’m not necessarily the most experienced when it comes to pork ribs, but I definitely know good food when I come across it. I started eating and cooking pork ribs last year, and this recipe makes amazing, fall-of-the-bone ribs. They do take quite a while to make, but I guarantee they’ll be worth it!
2 racks of pork ribs
cola
~~~~~
120 ml dark muscovado sugar
2 tsp paprika powder
1 tbsp caster sugar

1/4 tsp salt
2 cloves of garlic, finely chopped
2 chillies, finely chopped

120 ml tomato ketchup
2 tbsp soy sauce
2 tbsp Worcestershire sauce
1 tbsp rice vinegar
2 tbsp water
1 tsp fish sauce
1/2 tbsp lime ( or lemon) juice

1. Heat the oven to 140°C / 284°F (fan). Place the ribs in an ovenproof dish and cover with the cola. Tightly cover with foil. If the ribs are not fully submerged, turn them around a couple times during the baking. Bake 2-3 hours in the pre-heated oven.

2. Mix all the sauce ingredients together in a pot, and simmer for a few minutes.

img_4262

3. Once the ribs are done, remove from the dish and dry with kitchen tissue. Get rid of all the liquid, and place the ribs back in the dish. Coat the ribs with the sauce, and place in the fridge for a minimum of  an hour. The ribs can also be prepared until this point the day before.

4. Heat the oven to 200°C / 392°F (fan) or prepare the barbecue. Cook the ribs, uncovered, for 20 minutes. Turn the ribs around half way through, basting them, to make sure they are coated with the sauce all over. 

5. After the final baking time, remove from the oven, and cut into singular pieces. Toss around in the sauce to coat them all around, and serve. Sprinkle with spring onions and sesame seeds if desired.

Homemade chicken stock

I take great pride for making most things from scratch. I would say a general rule is that homemade is always much tastier and healthier, whatever it is. Please don’t be put off making your own chicken stock even though it does take quite a while to make; after the initial steps it won’t need much attention from you, and you can use the remaining cooking time doing other things. The absolute key to a good, flavoursome stock is bones. You must, must, must use chicken on the bone, and for richer flavour you do also want to ensure you have some meat. I usually use chicken legs, drumsticks and wings. Once the cooking of the stock is finished, you can  remove the meat off the bone and use it for other meals. Once cooled, I freeze the stock in portion sizes. Since I started making my own stock, I hardly ever use shop bought ones anymore, those are now in my cupboard merely for back up for when I’ve run out of my own. I often make a double batch of the recipe, as it does take quite a long time to make.

1 chicken leg
475g chicken wings
500g chicken drumsticks
3 liters water
1 celery stick, chopped into big pieces
1 carrot, chopped into big pieces
1 medium onion
~15 black peppercorns
4 garlic cloves
3 bay leaves
1 tsp sea salt
~~~~~
I sometimes make a Chinese variation, and replace the celery, carrot, onion and bay leaves (use the other remaining ingredients) with

1 thumb size piece of root ginger, sliced
4 spring onions

1. First, place the chicken and water in a large pot, and bring to simmer. Bare in mind that for the best results, the stock shouldn’t boil at any stage, only simmer.

2. ‘Scum’ will start coming to the surface of the stock. Keep skimming this away, however don’t stir or disturb the stock otherwise. I use a slotted spoon for this. At this stage, it’s important to give the stock attention.

3. Once there is no more scum rising to the top (this can take about half an hour), you can add all other ingredients. Then cover with lid, and set the temperature to a low simmer, making sure it doesn’t boil. Cook for 3 hours.

4. Strain the stock through a sieve. I tend to also use muslin, to get rid of even finer impurities.

5. If freezing some of the stock, let it cool. Portion into containers, and put in the freezer. Work through all the wings, legs and drumsticks (by hands) to remove all the meat. If not using straight away, freeze in portion sizes. You will get quite a lot of meat out of them, don’t waste them!

Triple cooked chips

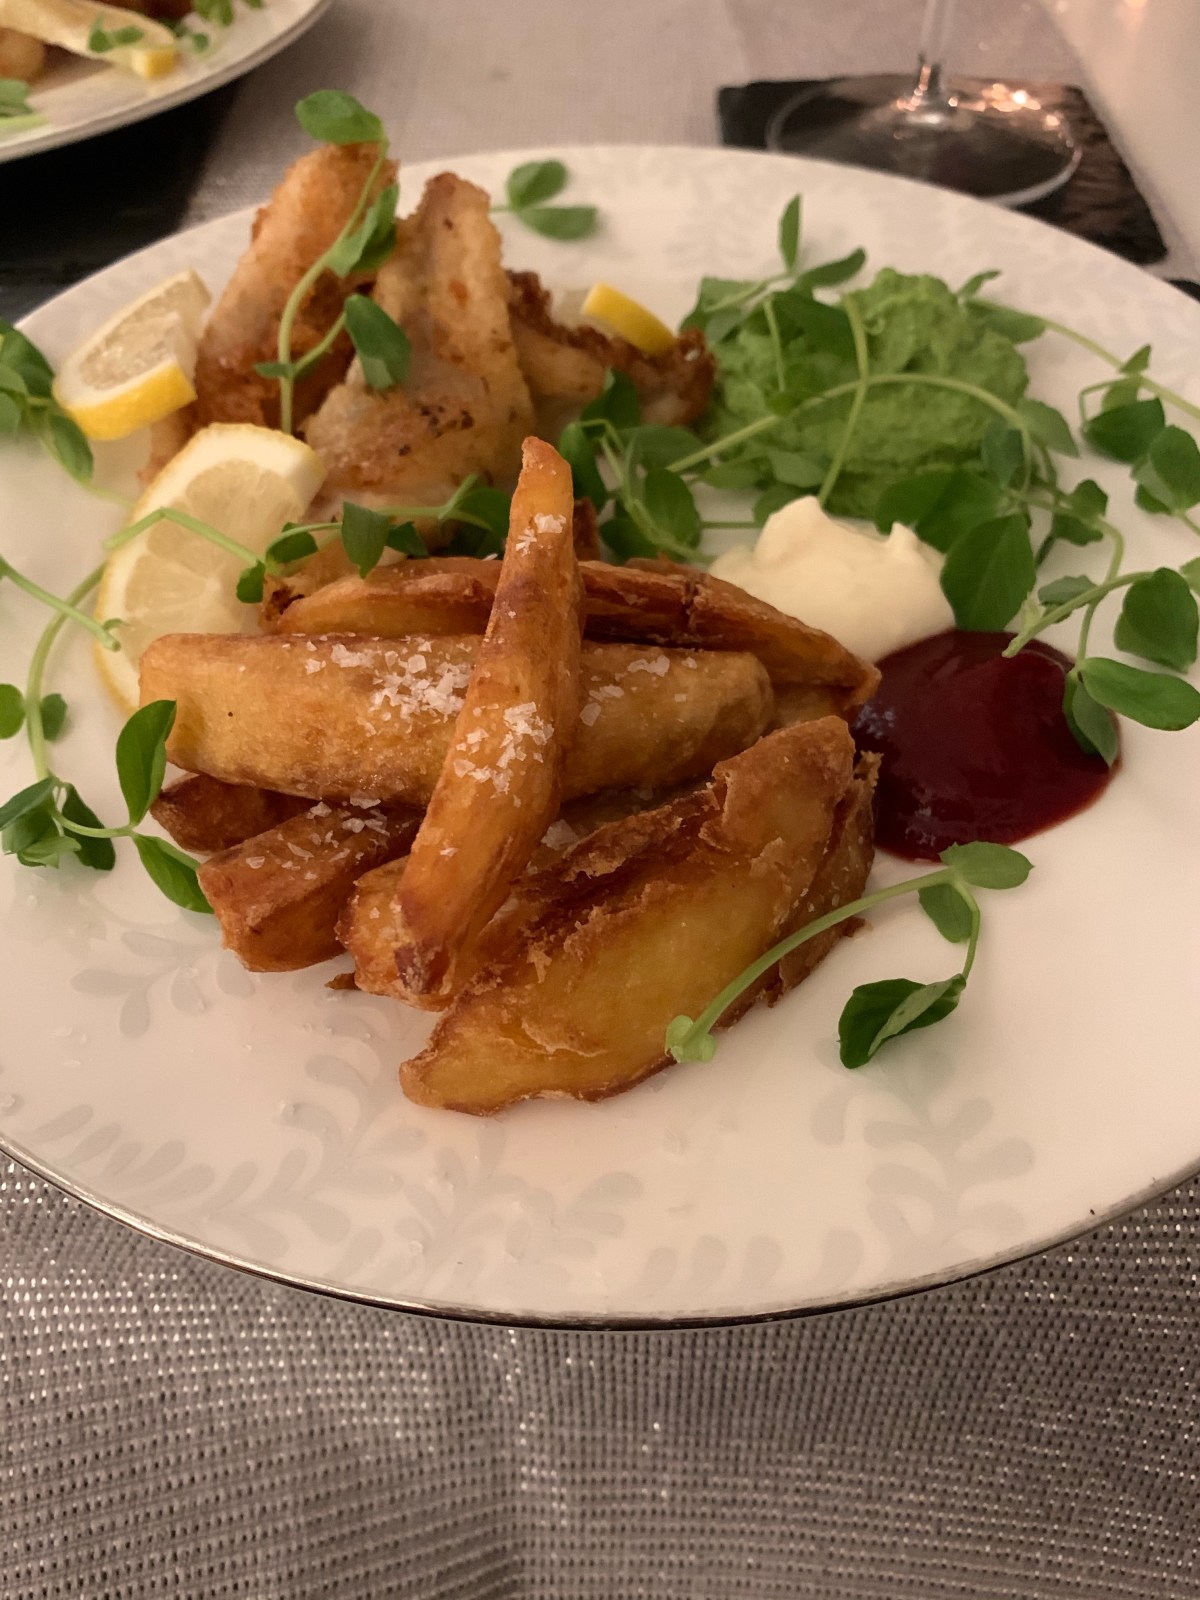
During the first Covid lockdown in the UK, my husband and I really enjoyed cooking together, and experimenting with a lot of things we’d never cooked before. Triple cooked chips have always been something to create excitement when out in a restaurant. I’m personally normally more of a fan of skinny fries (french fries) than the typical chunky chips that are very common in the UK. But, when cooked this way, the chunky chips are amazing! Very fluffy in the middle, and crispy on the outside. These are truly the best chips / fries I’ve ever had! I think it might’ve been Heston Blumenthal who created this style of cooking for the chips, the man definitely knows what he’s doing!

large potatoes
vegetable oil
table salt

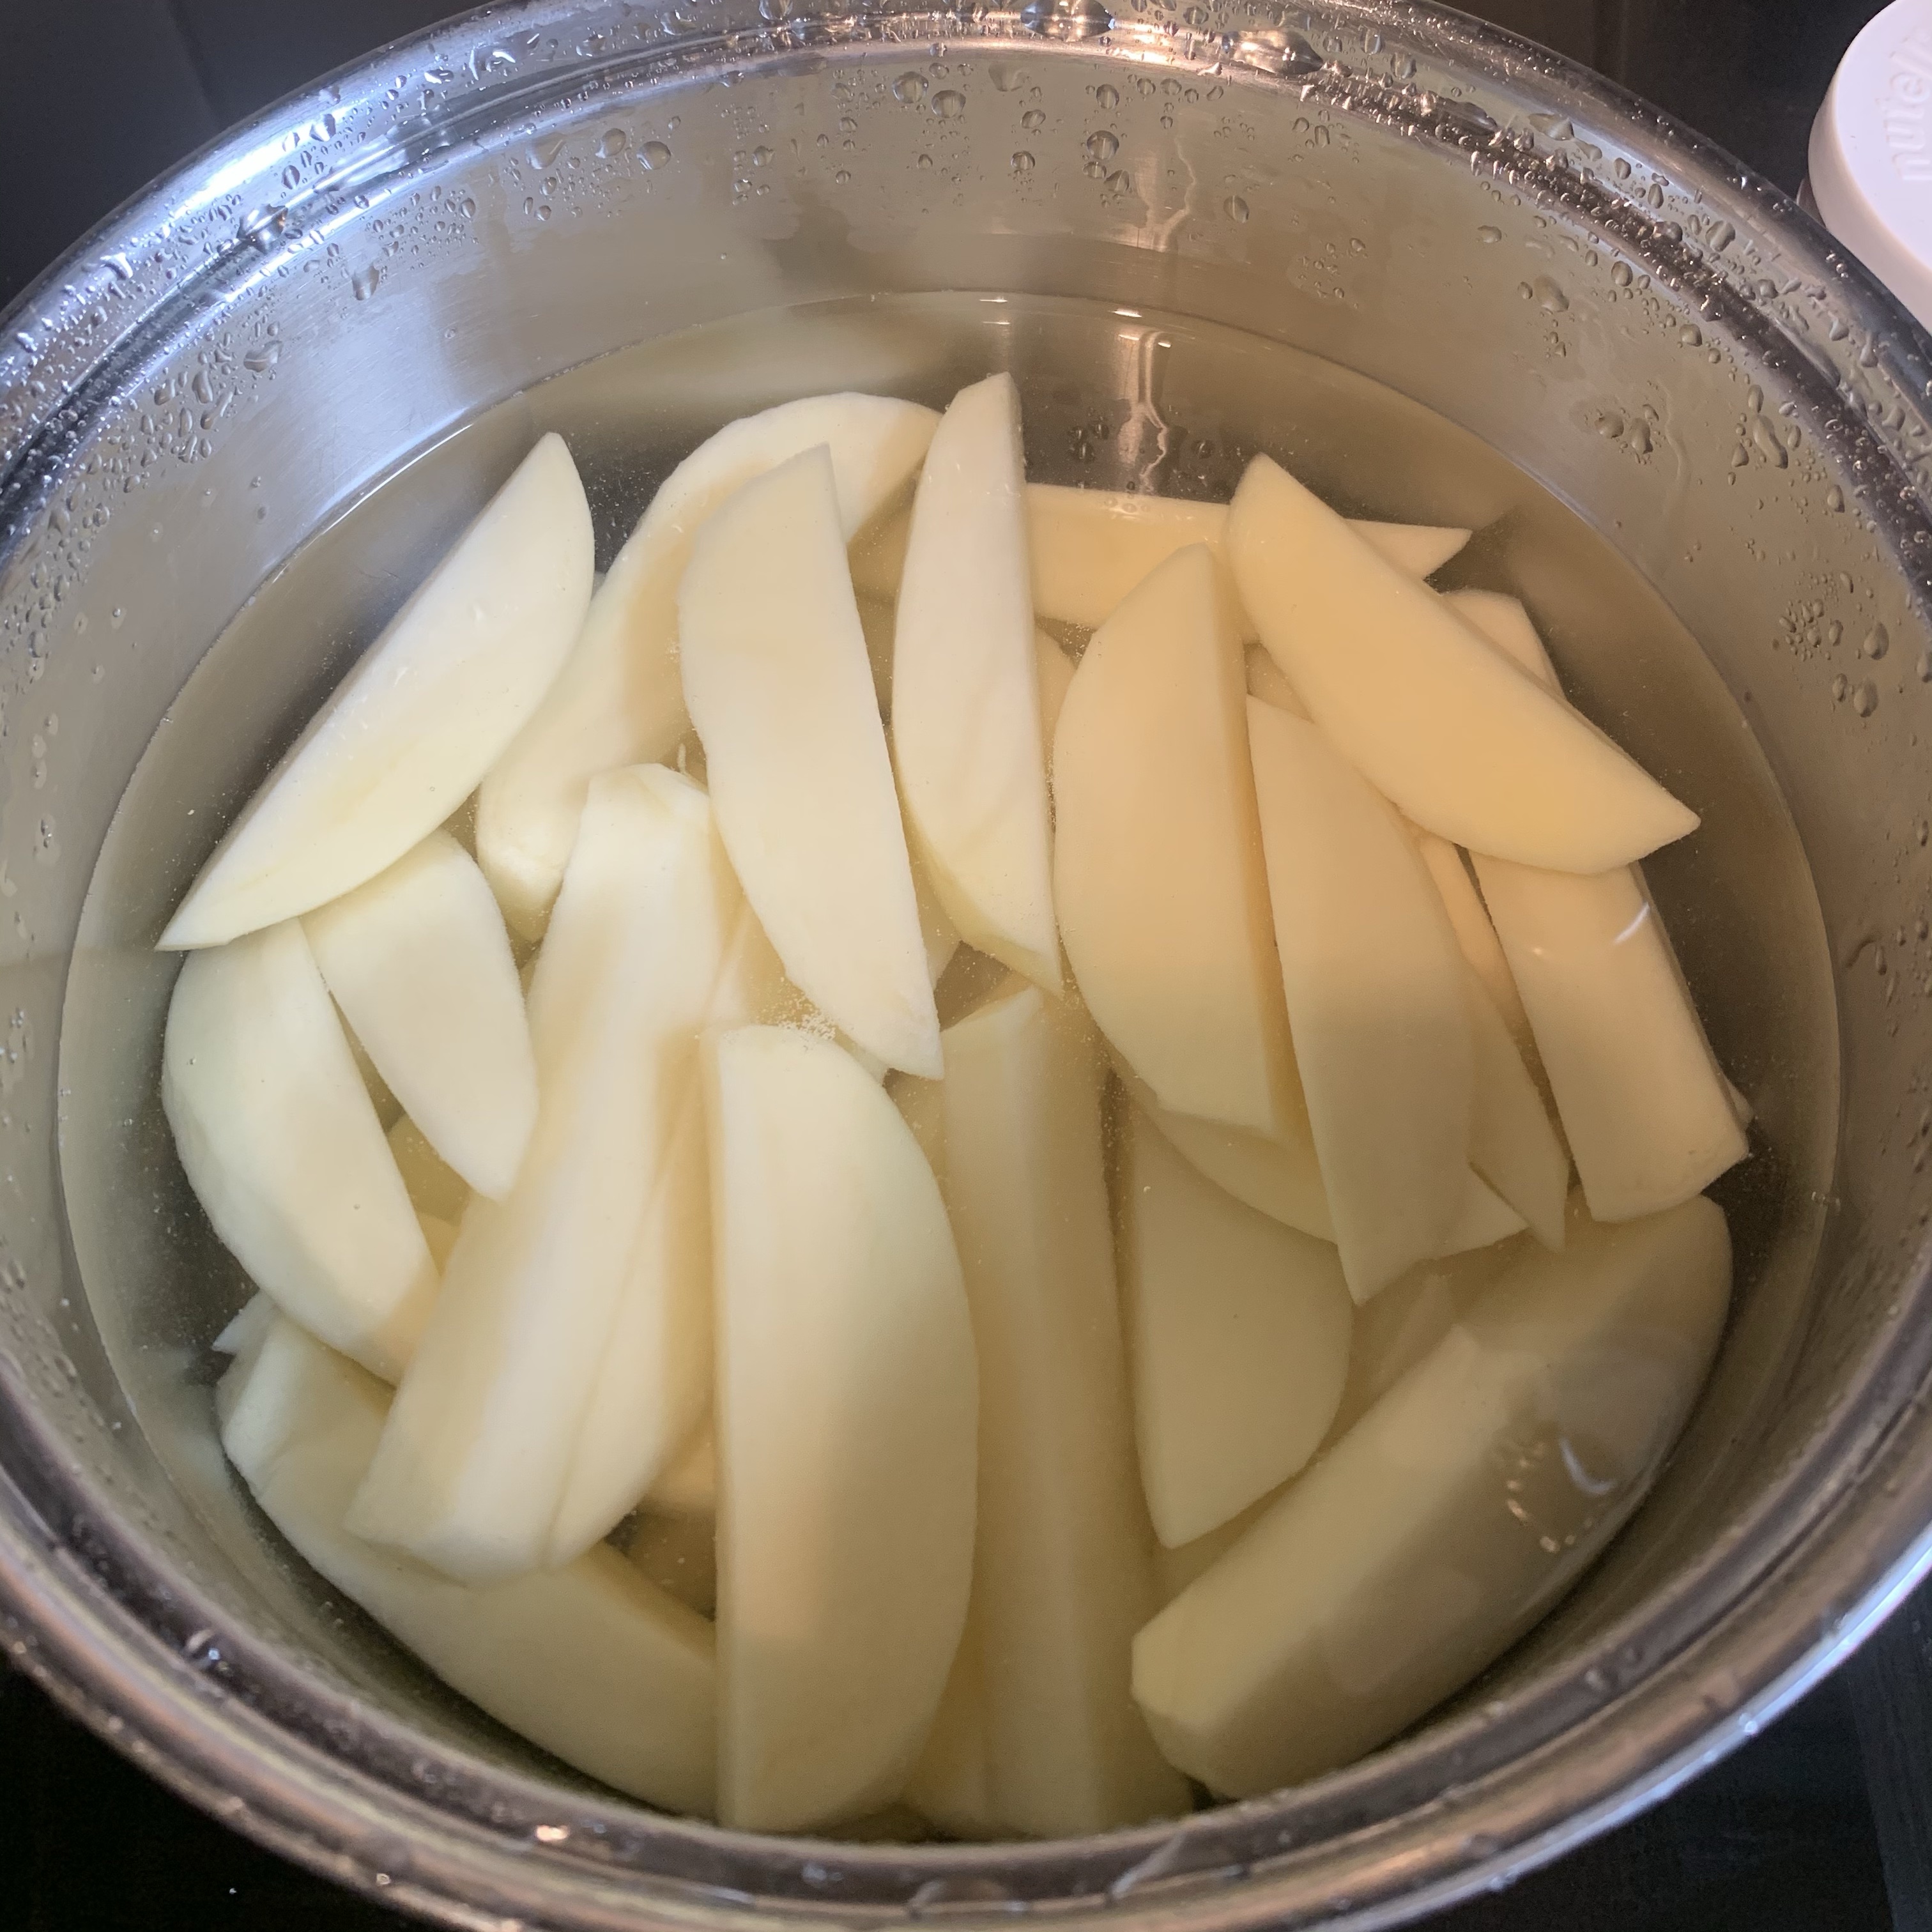
  1. Peel and cut the potatoes to preferred size, however for these kind of chips it’s better if they are quite big.  Rinse under cold running water to wash the starch off. Place in a pot, sprinkle with salt, and cover with cold water. Cover with lid, and bring to gentle simmer. Cook until soft.
    img_3788
  2. Drain the cooked potatoes, and when cooled enough so that you can touch them, transfer to a rack, then place the rack in to a freezer for an hour.
  3. Heat the vegetable oil to 130°C / 270°F. If you don’t have a deep fat fryer, you can just use a pot that’s quite deep (this is what I use). Just be careful not to fill it too much with oil, as it can easily overflow when the food items are put in. At the same time, you do need to put enough oil that the food items are freely floating in the oil, and not having to stick to the bottom of the pan. Fry the potatoes in batches for 5 minutes  (each batch). It’s a good idea to check the temperature of the oil every now and then, as the food items will cool the oil when they are put in.
  4. Drain the potatoes on a kitchen tissue to remove excess oil, then place back on the rack, and put the rack back in the freezer for an additional hour, or longer. Keep the oil in the pot, as you will need it again. At this stage, the chips are still looking pale in colour.
    img_3791
  5. This time, heat the oil to 180°C / 360°F. Fry the potatoes for about 5-7 minutes, until golden and crispy, then serve immediately.

Continue reading “Triple cooked chips”