Prawn and tuna roulade

I’ve been struggling for quite a while to find inspiration to write my posts, and finally this simple and fresh dish has made me want to do it again. I’ve not made this dish in ages, but have been thinking about it every now and then. It’s very easy and quick to make, and great as a snack or part of a small lunch.

Roulade base
600ml milk
250ml plain flour
175g butter, melted
1 tsp salt
3 eggs
~~~~~
Filling
120g tinned tuna
300g cottage cheese
100g feta cheese
150g prawns / shrimps
juice of half a lemon
a bunch of dill, about 20g, finely chopped

1. Preheat oven to 250°C /480°F. Whisk the milk, eggs and butter together. Add the salt and  flour to the mix, then pour the mixture into a large oven tin (the mixture will be very thin), lined with non-stick greaseproof paper. Bake for 15 minutes.

img_3292

2. Whilst the base is baking, mix the filling ingredients together.

img_3295

3. Once the base is baked, let it cool. Once cooled, cover with the filling. Then, roll tightly.

69b664d0-6b23-4167-b5c6-134598424768

4. The flavour will be at it’s best if you chill the roulade in the fridge before serving.

Cauliflower and broccoli gratin

This gratinated cauliflower and broccoli is a wonderful and tasty side to any dish. It’s not difficult to make either, which makes it a great staple accompliment to any dinner table.


1/2 cauliflower
1/2 broccoli
~~~~~
50g butter
4 tbsp plain wheat flour
500ml milk
200ml grated cheddar cheese
2 egg yolks
1 tsp salt
1/2 tsp ground white pepper
1 tsp ground nutmeg

1. Preheat the oven to 225°C (fan) / 435°F. Cut the cauliflower and broccoli to florets. Place in a pot, and boil until just about cooked throug, but still firm (around 10 minutes).

img_1803

2. Melt the butter in a pot. Once melted, remove from the heat. Mix in the flour, and once the butter and flour are properly mixed, add the milk, stirring.

3. Place the pot back on the hob, and cook the mixture on a low heat for about 5 minutes, stirring the whole time. Use of a whisk may help you to get a smooth sauce.

4. Remove the pot from the heat again. Add most of the cheese (just save a little to sprinkle on top). Once the cheese has melted, add the egg yolk, stirring well.

5. Place the pot back on the hob once more for a couple of minutes, stirring, however don’t let the mixture boil. Stir the remaining spices into the sauce.

6. Place the broccoli and cauliflower florets on an ovenproof dish. Pour the sauce the vegetables, and sprinkle with the remaning cheese. Place in the oven, bake until hot and the food starts getting a nice colour on top.


Sangria

My husband and I were supposed to go on a long weekend to Barcelona recently, however due to the lockdown of most countries during the Coronavirus outbreak, we had to stay at home instead. As we couldn’t go to Spain, we decided to bring a bit of Spain to us, by making our own Sangria. I’d never had it before, and I was a little bit apprehensive about it because I don’t somehow think red wine works as a cold drink. I’m so glad we made it though, as it was amazing! I’ve already made it again since the first time, that’s how much I liked it.

Makes 2 servings

~1/2 bottle of fruity red Rioja (or Pinot Noir or Grenache)
1 tbsp syrup
50ml brandy
1 slice of pineapple
3 strawberries
1 kiwi
1/2 apple
1 orange
1/2 lemon

ice cubes for serving

f90f7e60-cc5e-4c8b-bfde-64ed17cb7790

1. Peel and cut the kiwi in smallish pieces. Finely chop the pineapple and cut the strawberries in quarters. Slice the lemon. Place in the serving jug.

2. Cut the orange in half. Squeeze the juice out of one half, and slice the other half, and add the juice and the slices to the other fruits.

3. Pour the wine in, followed by the brandy and syrup, and stir well.

4. Put some ice in the serving glasses, and fill with the liquid and fruit.

Enjoy!

32f537d6-a2e5-44c7-9801-fb0daaf134c1

Southern pulled pork

I don’t think I know anyone who wouldn’t like this comfort food of pulled pork. You can eat it in various different ways, hot or cold. You also get a lot from one piece of meat, and it can easily be frozen for those laze days when you don’t feel like cooking.

~2kg boneless piece of pork shoulder

Marinade:
150g dark muscovado sugar
2 large onions, chopped
16 cloves of garlic
1 tbsp tabasco
1 tsp coriander seeds
4 tbsp english mustard powder
4 tsp paprika powder
200ml tomato ketchup
2 tbsp Worchester sauce
4 tbsp treacle
2 tbsp sea salt

1. Blend all marinade ingredients together into a paste.

2. Pour the marinade paste over the pork shoulder and massage onto the pork, making sure all of it is coated. Marinade in the fridge for at leat 2 hours.

img_1750

3. Place in a pot. Add water so that it just about covers the meat. The meat normally comes with the skin, I tend to cook it with the skin on, and remove it after the cooking. Cover the pan with a lid. Bring to boil, then reduce the heat and simmer for 2 hours, or until the meat pulls apart.

4. I like to spoon some of the marinade / cooking liquid over the meat for some extra flavour. On this occasion I served my pulled pork in a homemade pitta bread (click here for recipe) with some lettuce, tomato and gherkins.

img_1758

Carrot cake II


I posted my other carrot cake recipe quite a long while ago (Click here to view), and completely forgot that I was going to put the other recipe I also use on here. But better late than never! This cake comes as an extremely fluffy, moist piece of cake, and for sure would impress even the toughest cake critics!

175g light muscovado sugar
175ml walnut oil (you can replace this with vegetable oil)
3 large eggs, beaten
175g carrots, grated (~2 large carrots)
100g raisins
grated zest of 1 orange
1 tsp ground cinnamon
175g self-raising flour
1 tsp bicarbonate of soda
1 tsp ground nutmeg

1. Preheat the oven to 160°C (fan) / 320°F.

2. I usually prepare all of the ingredients first, as the batter making steps are very quick. Put the sugar, eggs and oil in your main mixing bowl.

img_1743

3. Measure the raisins in a bowl, peel and grate the carrots, and grate the orange peel.

img_1745

4. Measure all the dry ingredients (flour and spices) in a separate bowl, and mix them together.

5. Mix the sugar, eggs and oil together lightly. I use a food processor on level 3 for 2-3 minutes. If you don’t have one, it’s fine to mix by hand.

6. Add raisins, orange peel and grated carrots, until everything are nicely mixed together.

7. Add the last remaining dry ingredients. There is no need to over mix this, just until it’s all mixed together.

8. Pour in your baking tray. I use a silicon one, so no greasing is required, however, if using a metal tin, it would be a good idea to grease your tin.

9. Bake for about 45 minutes. I use a metal knitting needle to check that the cake is fully cooked through. Stick the pin all the way through to the centre of the cake. Once you pull the pin out, if the pin is clean, the cake is cooked through. If some dough has got stuck on the pin, it will still need some more baking.

10. Once the cake is cooked through, remove from the oven to a wire rack to cool. Squeeze the juice of the orange. Prick holes onto the cake with a needle, and pour the orange juice over it. Once the cake is fully cooled, remove the cake from the tin, turning it upside down. Dust with icing sugar.

Laskiaispulla (Shrove Tuesday bun)

I know Shrove Tuesday is usually called  Pancake Day. One of these years I’ll make pancakes on this day for my husband, however at the moment he’s still getting the Finnish version – buns filled with jam and whipped cream.

5 dl milk
2 saches of quick action dried yeast or 50g fresh yeast (I used dried)
1 egg, plus one more for brushing
1 1/2 tsp salt
2 dl caster sugar
1 tbsp coarsely ground cardamom
1 kg wheat flour (400g plain flour / 400g strong white bread flour / 200g self-raising flour)
200g butter, melted

1. Measure 900g of the flour in your mixing bowl. I use food processor for mixing the dough, but if you’re mixing by hand use a large wooden fork, as it’s important to get air in the dough mixture. Save the remaining flour until later. I have to confess I found the perfect mix of flours by accident. I have normally mixed plain and strong white flour half and half, but run out just a little bit, so had to finish with self raising, which turned out to be the best situation.

2. Heat the milk until lukewarm. Add the yeast, salt, sugar and cardamom, and stir until sugar has dissolved. Add slightly beaten egg.

3. Pour the liquid mixture to the mixing bowl with the flour in, whilst mixing.

4. Knead for 5 minutes, then start pouring in, little by little, the melted butter. At this stage, it’s a good idea to add spoons of the remaining flour, to help the butter to be incorporated with the rest of the dough. Knead for another 5 minutes. During this time, if the dough keeps sticking to the bowl or is too soft, add some more flour until it doesn’t stick anymore.

5. Cover the bowl with cling film and a cloth,  and place the bowl in a sink with hot water in. Leave to rise for an hour.

6. I then knead the dough again in the food processor for 30 seconds (or alternatively, you can of course do this by hand too).

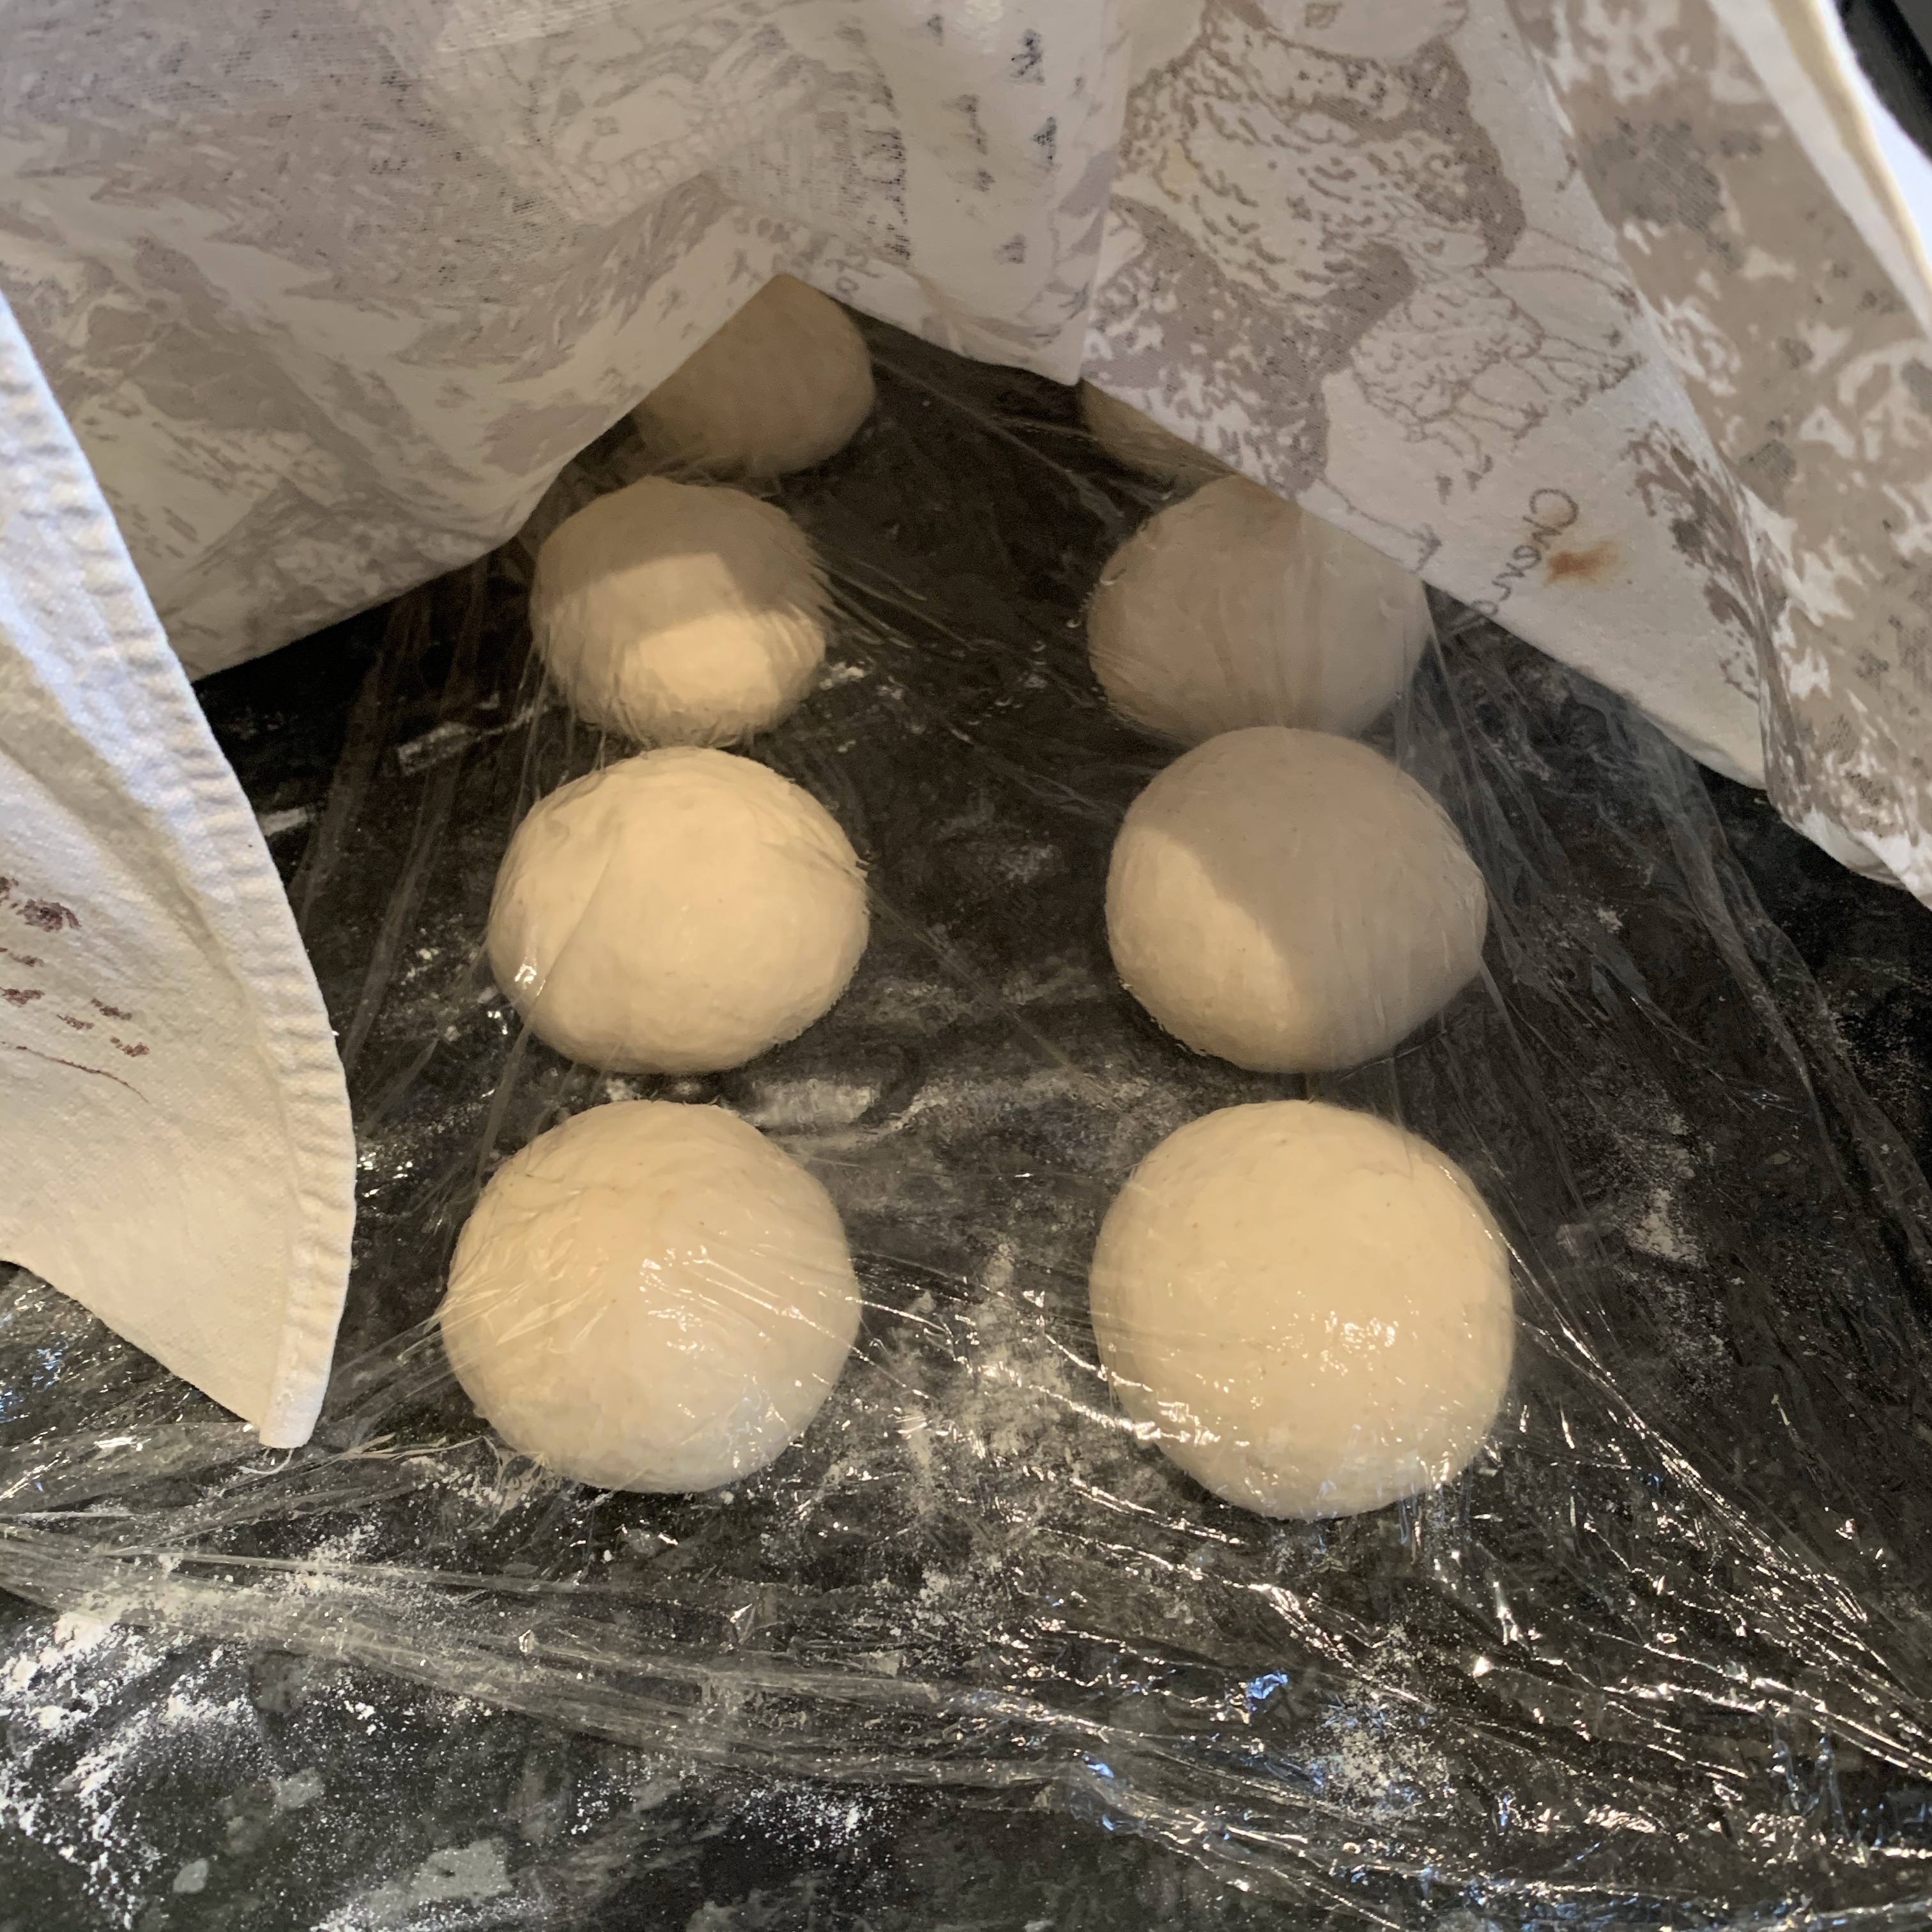
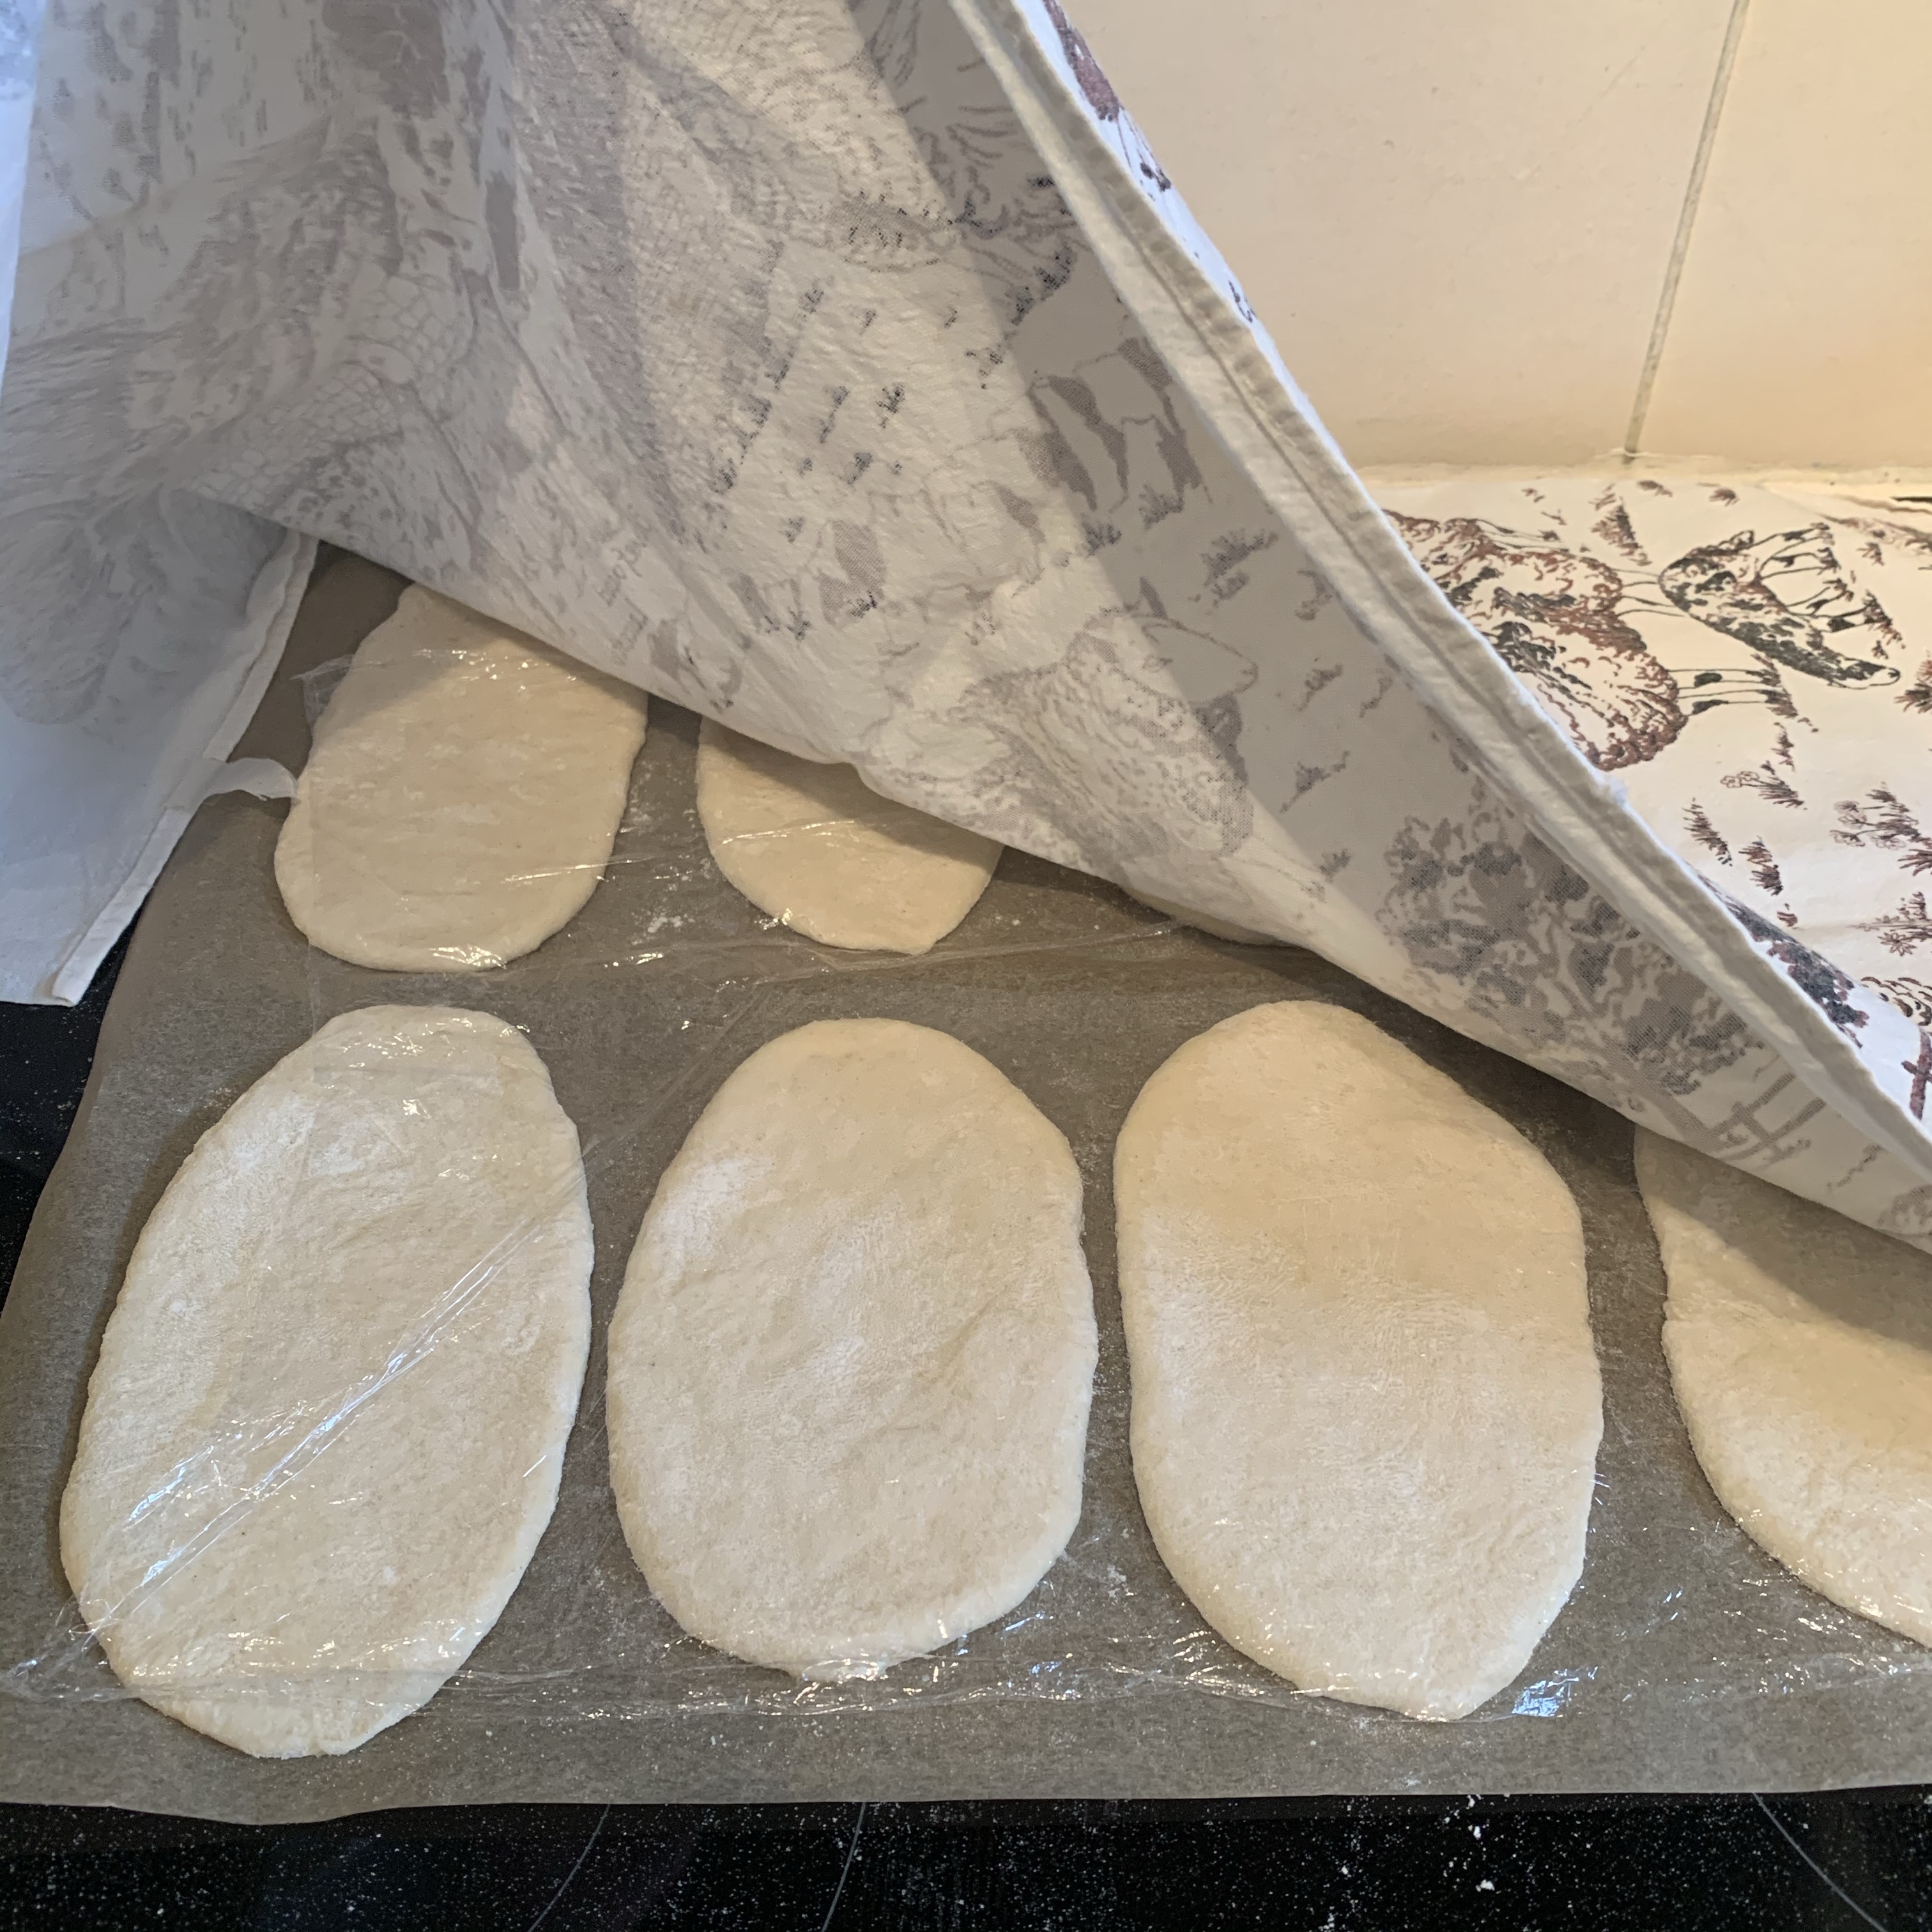
7. Make into balls. Cover the individual buns with cling film and a cloth, and let them rise for 30 minutes.

img_2317

8. Preheat the oven to 200°C / 390°F.

9. Brush the buns with egg, then cook for about 15 minutes.

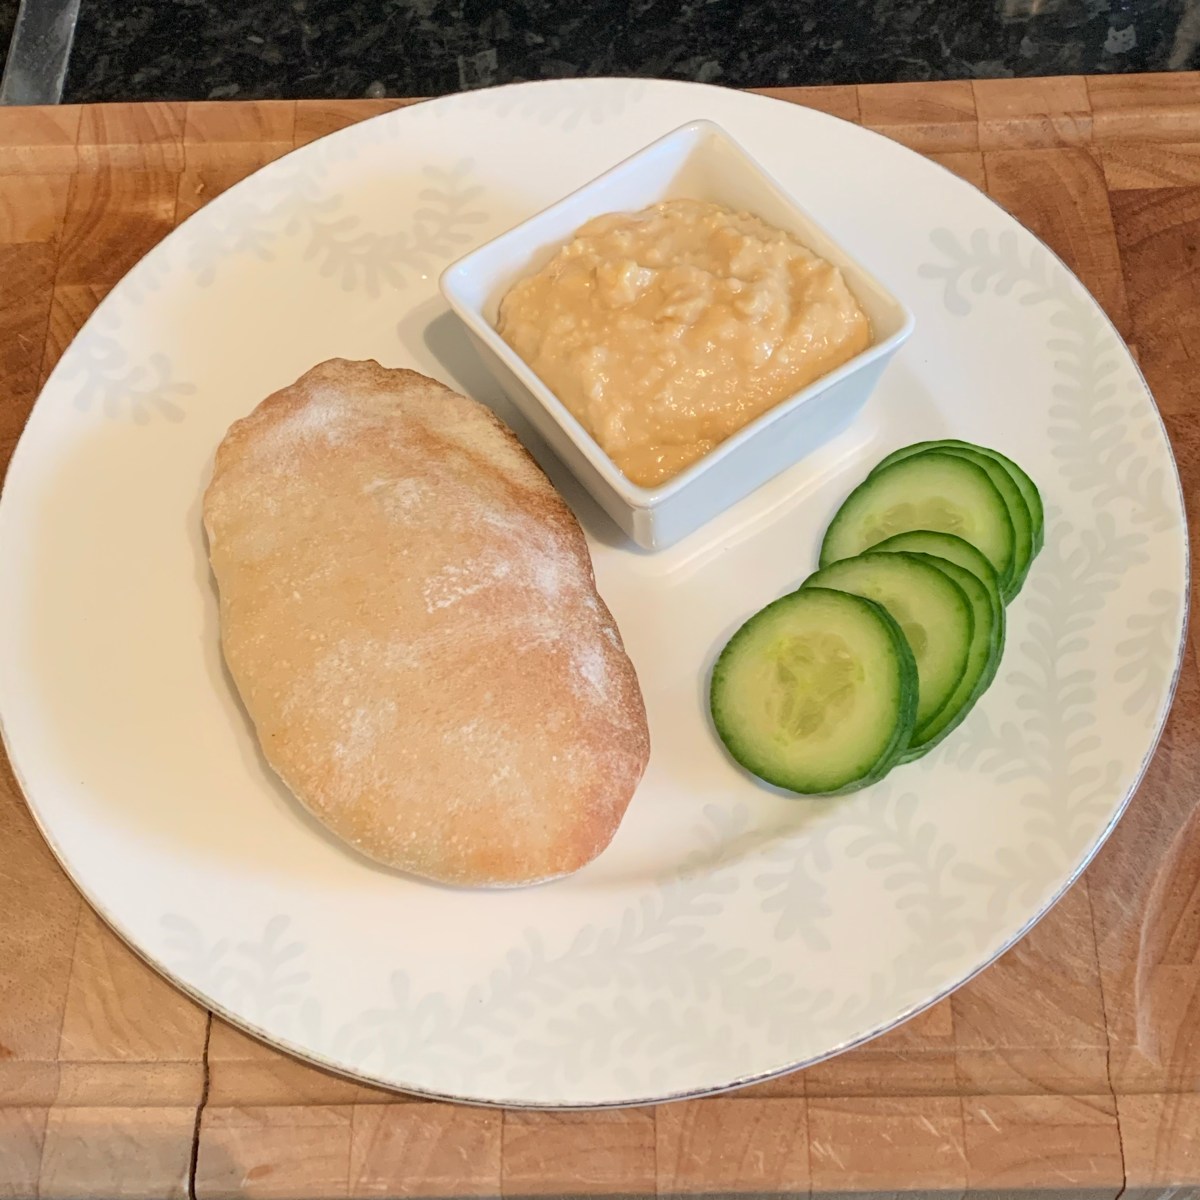
10. Once cooled, cut as many buns as you’re wanting to prepare as Laskiaispulla, half, so that you have bottom and top halves. Put some whipped cream on both halves. Add jam on the bottom half, the place the top half on top. The buns will be presented in this way, however when you eat them you probably want to eat each half separately.


Oven baked creamy salmon and vegetables

Salmon is a great versatile, tasty and meaty fish that can be cooked in many different ways. It is also very healthy, and in particular is rich in Omega 3.

Serves 2
2 large handfuls of spinach
1/2 courgette (zucchini)
2 small turnips
100g green beans
~6 florets of broccoli
2 cloves of garlic
2 salmon fillets
200ml cream
salt
white pepper
cayenne pepper

1. Preheat the oven to 180°C / 360°F. Peel and chop the turnips into bite size chunks. Chop the courgette, green beans and broccoli also into bite size pieces. Place the spinach at the bottom of an oven dish, followed by the other vegetables. Squeeze the garlic on top. Sprinkle with some salt and pepper.img_1537

2. Place the salmon on top of everything, pour the cream over, and season the salmon with some salt, pepper and cayenne pepper.

img_1538

3. Place in the preheated oven, and bake for 20 minutes. If you don’t like your vegetables crunchy, you might want to bake the vegetables on their own first for 5-10 minutes, before adding the salmon and cream.

Nasi Goreng with chicken

This dish is something I was already cooking before our holiday to Bali, but it was only during this holiday that I learned Nasi Goreng actually is Indonesian food. I had to of course sample it a few times whilst there, to find out how my one compares. Having now eaten it at it’s original, local environment, I’m proud to say mine is as good as the original. Nasi Goreng itself means fried rice. I didn’t particularly plan that I was going to make this this week, so I didn’t have prawns that are normally part of it, but I’ve added them to the recipe. Last time I made the paste I saved half in the freezer, and used it now.

Nasi Goreng paste
3 tbsp ground nut oil
4 garlic cloves
2 large shallots
15g roasted salted peanuts
6 green small chillies
1 tbsp tomato puree
1 tsp dried shrimp paste
1 tbsp dark soy sauce

Nasi Goreng rice
1.5 dl uncooked long grain rice
2 chicken breasts, cut into thin strips
2 large eggs
vegetable oil (I use rapeseed oil)
4 large shallots, finely chopped
150g peeled and cooked prawns
1/2 cucumber, chopped
3 spring onions, chopped
salt
black pepper
1 tbsp light soy sauce

1. Put all paste ingredients in a blender, and blitz together until smooth paste.

2. Cook the rice in boiling, salted water until tender. Depending on rice this will take around 10-15 minutes. Drain, and rinse. Drain again, and spread on a tray to cool during the other food prep.

img_1531

3. Beat the eggs with salt and pepper, and fry in a little oil into three thin omelettes, frying briefly on both sides. Roll them up, and cool. Once cooled, cut into thin strips.

img_1530

4. Heat a good splash of oil (few tbsp) in a pan, and add about half of the paste, or 4-5 tbsp. Fry for 1-2 minutes, stirring,  and add the shallots and chicken. Stir, making sure all chicken pieces are coated with the paste.

img_1527

5. Once the chicken is cooked through, add the cooled rice, and prawns. Fry, stirring, until warmed through, then add the cucumber, spring onions, egg strips and soy sauce, and stir fry for couple of minutes.

Pitta bread

I’ve been wanting pitta bread and hummus (Click here for homemade hummus recipe) for a couple of days now. I often wake up much earlier than my husband on the weekends, so I’ve decided to make these today as a Sunday breakfast.

makes 8

350g strong white flour
1 1/2 tsp salt
1 tsp sugar
1 tsp dried yeast
1 tbsp olive oil
200ml lukewarm water

1. Mix all the dry ingredients together in a mixing bowl. Put the water and oil in another bowl / jug. Pour the liquid onto the dry ingredients, then knead for 10 minutes. You can do this by hand, or use a food processor. I use the machine, on strength 1.

img_1522

2. After kneading time, cover and leave to rise in a warm place for an hour. I usually use a metal mixing bowl, put some hot water at the bottom of the sink (about 2-3 cm / an inch), then place the bowl in the water.

img_1524

3. Place the rested dough on a slightly floured surface, and cut into 8 pieces. Shape the pieces into balls, then cover with oiled cling film and leave to rest for 10 minutes.

img_1525

4. After the resting time, flatten the balls with floured hands. Using a rolling pin, roll to oval shape flat breads, about 15cm (6 inches) long and 5mm (1/4 inch) thick. Cover, and leave to rise for 30 minutes.

img_1526

5. Preheat the oven to 220°C (fan) / 430°F. Bake the breads for about 5-7 minutes. Remove from the oven and cool on a wire rack, then enjoy!

img_1527

img_1528

Homemade hummus

I think homemade dips and sauces are always so much tastier than shop bought ones, not to mention they are missing the preservatives present in ready made foods. You can also always add or reduce the amount of certain ingredients, to make it exactly to your taste. I think I have now perfected my hummus recipe to how I like it, I hope you do too. And as a bonus, this is very simple and quick to make. Originally from the Middle East, before spreading to the Mediterranean region,  this dip is now enjoyed world wide.

1 can of cooked chickpeas
2 tbsp of the liquid from the chickpeas
4 tbsp lemon juice
3 cloves of garlic
1/2 tsp salt
1 tbsp toasted sesame oil
1 tbsp olive oil

1. When draining the chickpeas, reserve the liquid in a bowl.

2. Put all ingredients in a blender, and whizz until smooth.

Serving tip

I normally have this with pitta bread. I’m actually currently making it, however we’ve already eaten most of the hummus with the below accompaniments, as it was so tasty!

img_0976