Pan seared, oven roasted pheasant

Pheasant is smaller than chicken, however not as small as some other game birds are, so one should be enough for two people. It’s pretty simple to cook, and a portion of half the bird (breast and leg) will be about 300 kcal, which is around the same as a large chicken breast. Noticeably gamey flavour, so a nice change to the usual chicken.

1 whole pheasant
1 tbsp vegetable oil
100ml red wine (I used Pinot Noir)
50ml port wine
1-2 sprigs of fresh thyme
2 juniper berries
sea salt
black pepper

1. Preheat oven to 180°C / 355°F. Heat the oil in a ovenproof frying pan, and place the bird in the pan on it’s side, to fry the leg for 5 minutes. Turn to the other side, and repeat.

2. Turn the bird so that the breast side is facing down, and fry for another 3 minutes. Season withcouple of piches of sea salt, and some black pepper. Place in the preheated oven, and roast for 15 minutes. Turn the bird so that ast side is now up, season again and roast for another 15 minutes.

3. Take the pan out of the oven, and lift the bird out of the pan, on double layer of foil. Wrap the bird with the foil. I also tend to put a layer of kitchen towel around it while it’s resting, so that it doesn’t get cold whilst making the sauce.

4. Remove the fat from the pan. Add both of the wines, thyme sprigs and crushed juniper berries. I normally use fresh thyme, but as we recently came back home from abroad, and are going on another holiday very soon, I hadn’t bothered with buying fresh herbs. Bring to boil, and simmer until it’s reduced by about a third. Scrape the pan, to get all the flavours from the bird into the sauce. Strain through a sieve.

img_4999

My weight loss journey series: vol 1 – The introduction

In my weight loss journey series I’ll be writing about my progress with my attempt to lose a lot of weight. I will also still be posting my usual food posts, this is just an additional series. I will be sharing what is working for me, and if anyone else finds inspiration from how I’m doing it, I’m glad. The two pictures are about two and half months apart, and the weight difference is about 7kg / 15lbs.

Like probably for most, my weight over the years has quietly crept up. There have been a few attempts to get it down, but after a while I’ve found myself back to where I started from. I’m not exactly sure what has been my ‘wake-up’ call, but I feel I’m on a very good, successful path at the moment. It might have been because I bought clothes that were a size bigger than ever before, who knows. My initial target is to lose 30kg / 66lbs, with another 10kg / 22lbs depending on how I feel once at that stage. So far I’ve lost around 9kg / 19.8lbs in the last few months. I’m not looking for a quick fix, which has far greater danger of everything bouncing back really quickly too. I’m expecting it to take over a year to reach my target. My weekly target is 0.5 kg / 1.1lbs, which is a very healthy amount. During my diet weeks, I sometimes may lose a lot more, but during break weeks I won’t lose anything, still keeping the total weight loss to target.

Personally, I don’t like diets. I find various diet programmes too restricting to my lifestyle. I like cooking and eating nice food, and my husband and I also do a lot of fine dining as a hobby. Throw in occasional dinners with customers, and you’re in a hamster’s wheel that’s difficult to get out of.

This is why my past weight loss attempts focused on exercise rather than diet. Don’t get me wrong, I’m one of those who would actually like to go and do some exercise, however due to busy and long working hours I’ve finally admitted to myself that this is not a sustainable option, and the reason I have failed in the past.

When I finally made my very determined decision to finally lose my extra weight, one of the first things I did was to actually cancel my gym membership! Having the membership, with very little time to go, has for a long time been ‘an excuse’ for not being able to lose weight.

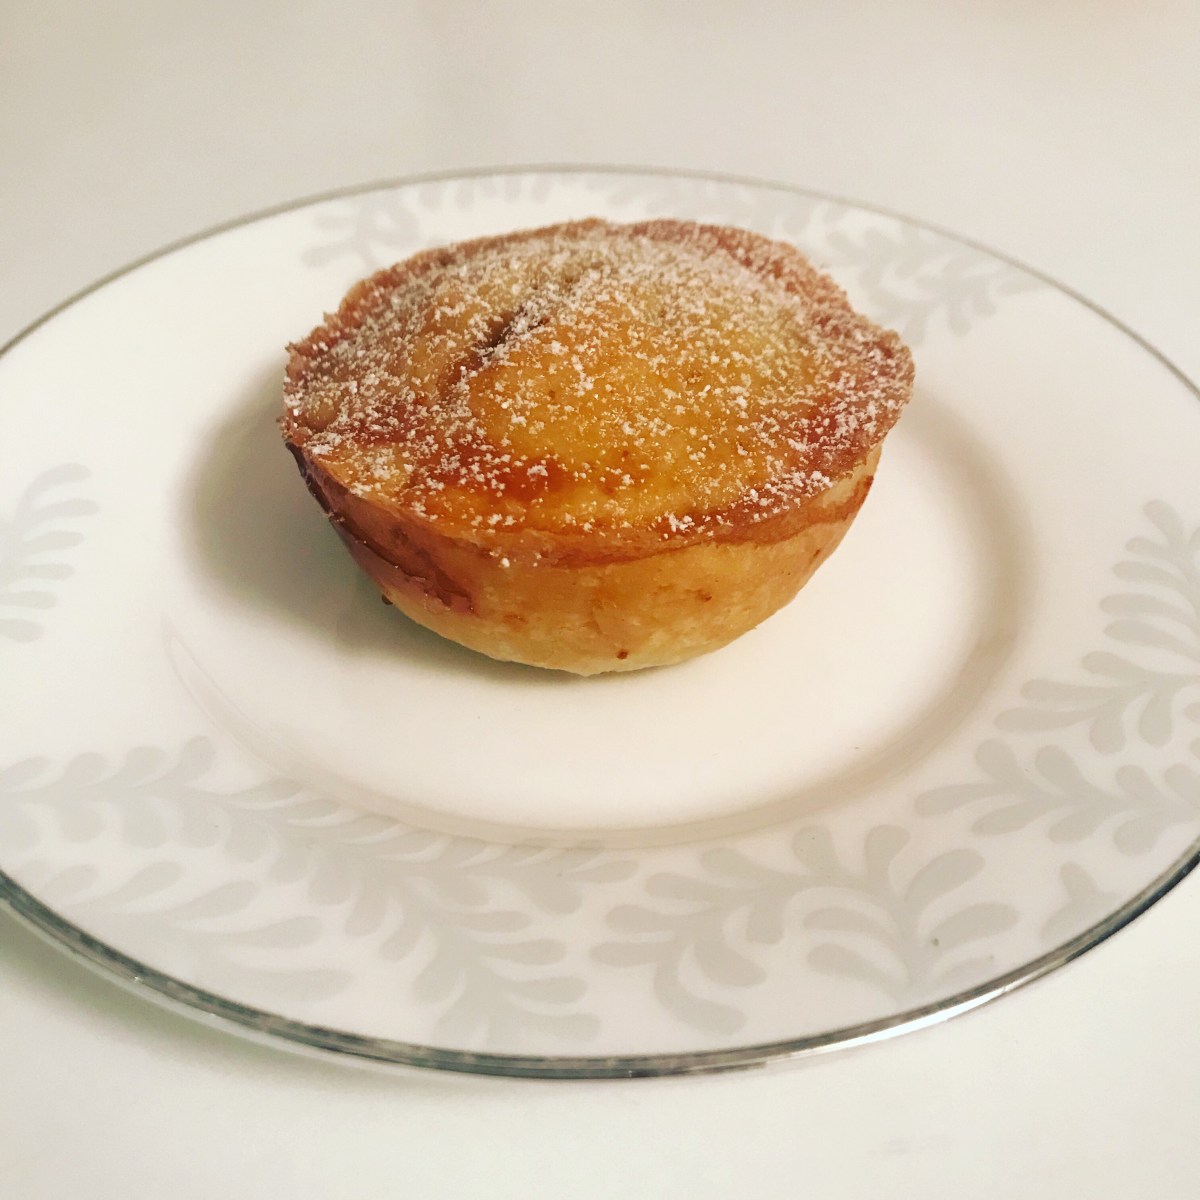
Second step for me was some soul searching. I considered what I wanted to achieve, and my relationship to food. Once I’d had an honest look at myself, I was ready to start. I feel this is very important. At the beginning of my diet I was constantly feeling hungry, and had I not done the soul searching I think this could’ve been a first stumbling block that makes people quit. I accepted the fact I was hungry, with a realisation that it’s actually not going to kill me! I also couldn’t remember when the last time had been when I had properly been hungry. I’m first to put my hands up and admit that my eating habits have been luxurious and decadent, and it has been a very comfortable place to be in. Now, this is something I will never give up completely, and so far I’ve been able to lose weight and still eat nice things occasionally too.

I’ve completely created my own diet. I still go out to eat with my husband, or with work, and yet have still had a great start. This first post is an introduction to my journey, and as it’s already turning to be long enough, I won’t be adding samples of foods / recipes I eat on this particular post. I will, however, be including these in my future posts.

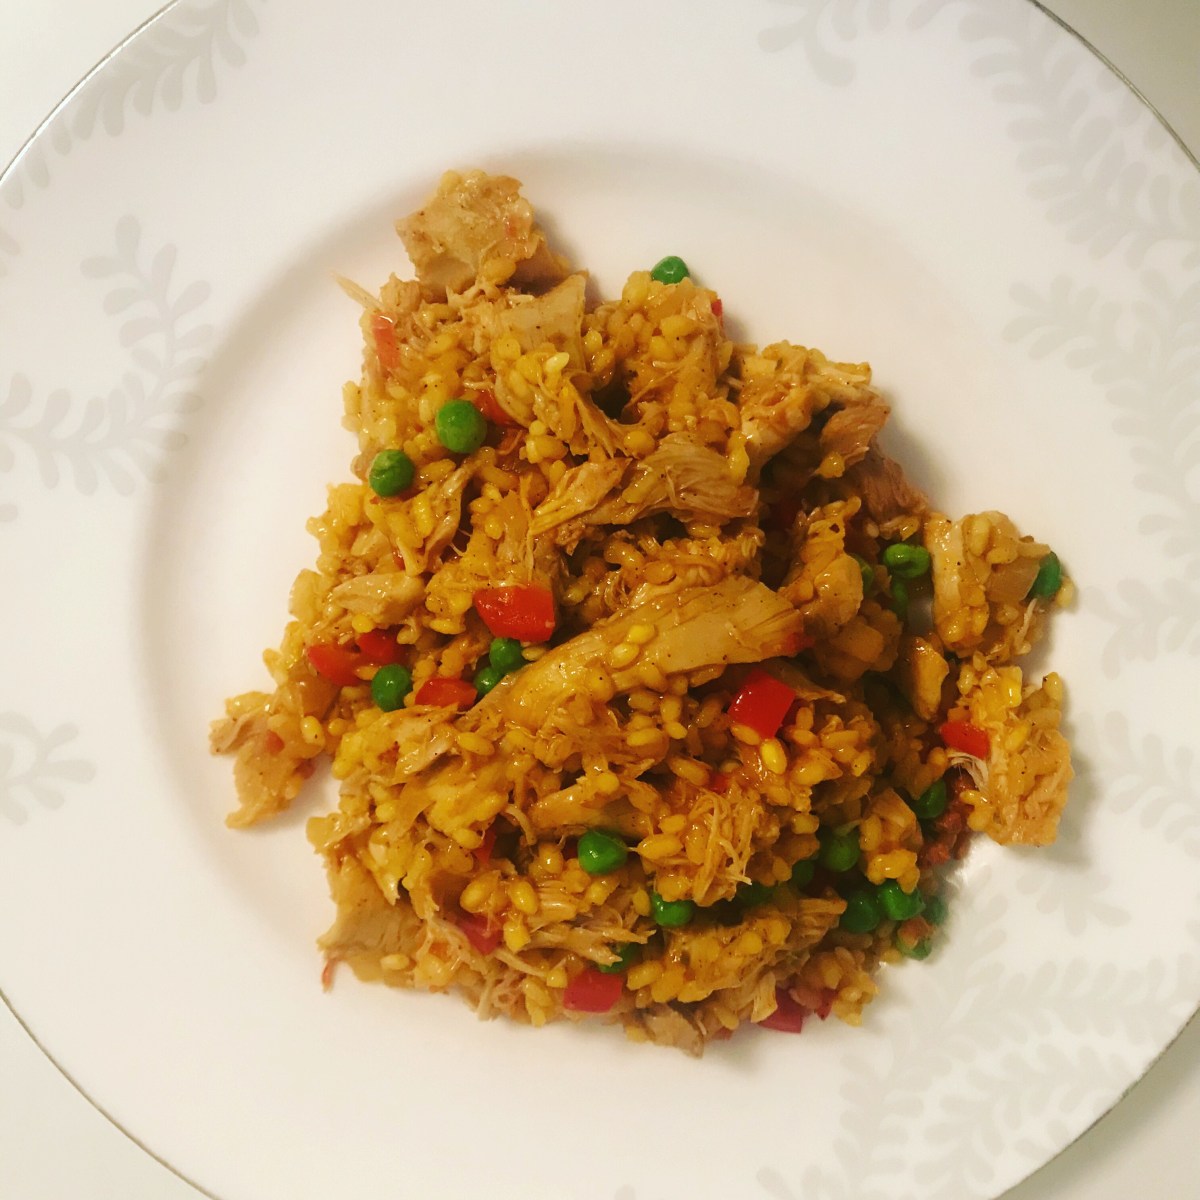
What works for me, might not work for someone else, or it could indeed be a great option, because it does give the freedom to occasionally forget that you’re on a diet. I count calories, and do a very strict 1000-1200 kcal on most days. I do restrict bread, potato, rice and pasta on most days, however if eating out, or I have lost so much weight in a week that I want to slow it down I might add some.

Kinkku (gammon)

Gammon is the main star of the whole show in the Finnish Christmas table (nothing of course is stopping anyone cooking it other times too). The original one would be gray in colour instead of the pink in the picture, but unfortunately I’ve not been successful in finding a gray salted one in the UK yet. For the pink version, nitrate is added. It acts as a preservative, and gives the pink colour, however it’s considered to be pretty unhealthy. In the gray version, nitrate isn’t added. The key to getting a juicy piece of meat, as anyone practicing slow cooking of roasts already knows, is to cook the gammon at a very low temperature, for a very long time. It then gets taken out of the oven and cooled, coated and put back for a very high temperature for a short period of time. Traditionally, on the Christmas table the gammon is served cold. I tend to cook it the day before, and on the day of cooking have it also for dinner served warm. It’s perfectly fine to serve it both ways, which ever you would prefer.

1. Take the gammon into room temperature. Dry with kitchen tissue. I would recommend putting it in a roasting bag. Cut a small hole at one corner. Put a roasting thermometer in the cold meat, so that the tip is at the thickest part. If your meat has a bone take care not to touch the bone with the thermometer. The ideal inside temperature of the meat for putting it in the oven is 10°C / 50°F.

img_1719

2. Place some water at the bottom of an oven pan. Heat the oven to 100°C (fan) / 210°F. The aim is to achieve inside temperature of the meat of 77°C – 80°C / 171°F – 176°F. I tend to try to get to the lower end, for juicier result.

img_1720

3. Remove from the oven. Cut the bag off, as well as any strings or net around the meat. Let cool on a rack for half an hour to an hour. After this, Remove the skin, and most of the fat.

img_1723

4. Coat with mustard, and breadcrumbs.

img_1727

5. Heat the oven to 250°C / 480°F, and cook the gammon for 10 minutes.

img_1726

Mince pies

Mince pies are not part of my native culture, and I didn’t like them for a long time after moving to London, but since I started making these (to keep my husband happy) I have grown to like them. I think this recipe is a really good mince pie recipe. Making the mince requires you to be somewhat organized, as you want to leave it for a few weeks, before using it for the actual pies.

Mince
225g Bramley apples, peeled, cored and coarsely chopped/grated
110g sultanas
60g currants
60g dried cranberries
175g raisins
110g mixed candied peel
4 tbsp dark rum, whiskey or brandy
25g finely chopped blanched almonds
1 large orange, finely grated zest and juice
1 lemon, finely grated zest and juice
2 tsp mixed spice
1/4 tsp ground cloves
1/4 ground ginger
1/4 tsp ground nutmeg
110g shredded suet
175g dark muscovado sugar

Rum butter
125g butter, room temperature
50g light muscovado sugar
2 tbsp dark rum, whisky or brandy

Pastry
450g plain flour
180g butter, chilled and diced
50g lard, chilled and diced
finely grated zest of  1 orange
5-6 tbsp orange juice

Mince
1. Combine all mince ingredients apart from the muscovado and suet. Cook in a saucepan over low heat for 45 – 60 minutes, stirring occasionally, until the fruit has plumped up, the apples have broken down and excess liquid has evaporated.

2. Set aside to cool, then mix in the muscovado and suet. For adults version, I also tend to add some more alcohol at this stage (3 tbsp), as the cooking has burned all alcohol off.

3. Put in sterilized jars, and mature for 3-4 weeks.

Rum butter
Whisk the butter and sugar together until pale and fluffy, then gradually beat in the rum, and set aside in the fridge.

img_4859

Pastry
1. Put the flour, butter and lard, as well as a pinch of salt, into a food processor. Whizz briefly until it looks like breadcrumbs.

img_4853

2. Add the orange zest and juice, and whizz again.

3. Turn onto floured surface, and knead briefly, until smooth. Wrap in cling film and chill for 15 minutes.

The pies
1. Preheat oven to 190°C / 375°F.

2. Grease the baking tins with butter. Roll the dough to about 5mm thickness. I tend to cut out circles with two glasses. The bigger one for the ‘body’ of the pies, and the smaller for the lids of the pies. Place the bigger circles in the greased baking tins, forming the bottom and sides of the pie. fill with the mince mixture, and put a teaspoon of the rum butter on top. Then place the lid over, pressing the edges together with the edges of the other dough.

3. Make few punctures with a sharp knife, and brush with beaten egg, then bake for 20 minutes.

Chicken paella

Now that I recently started making paella (I never used to like paellas I tried), I now like them, and look forward to trying different versions. As with any cooking, I like making everything from scratch as much as possible. Since I started making my own chicken stock, I hardly ever use shop bought ones, as your own homemade one is so much better, making all your dishes better, too. To have a go at making your own, click here. I save the meat that gets left over from the making of the stock, and I used it for this paella, however using uncooked chicken for this paella is absolutely fine, they just get added at different stages.

serves 6

2 tbsp olive oil
4 cloves of garlic
1 large onion
1 small green finger chilli
1 red pepper
110g cooking chorizo
1 lemon, juice squeezed (or 2 tbsp. lemon juice)
2 dl frozen peas
250g Bomba paella rice
600 ml chicken stock
650g chicken
pinch of saffron
1 tsp black pepper
2 tsp paprika powder
1/2 tsp salt

1. Finely chop the onions, garlic and chilli. Heat olive oil in a large pan. Fry the onions until softened, and add the garlic and chilli. Also add the saffron and half the paprika powder.

2. Chop the chorizo (and chicken if using raw), and add to the pan. Fry for 5-10 minutes, until the chorizo (and chicken) are cooked.

img_4798

3. Add finely chopped tomatoes and pepper, mixing everything together.

img_4799

4. Add the paella rice, and stir together, then add the stock liquid. Stir, then simmer uncovered and undisturbed, without stirring, for 15 minutes. During this time, sprinkle the salt and black pepper on top.

5. Add the peas, and if using cooked chicken, the meat. Stir until warmed through. Add the remaining half of the paprika powder and the lemon juice.


Fig crumble

Both my husband and I love figs, so it was a no brainer for me to use them for my crumble when I wanted a change to the usual apple or rhubarb options. I also thought it might be fun to make individual pots, rather than one large crumble. I think the individual pots also ‘smarten’ them us, and are a perfect way of serving this kind of food if you’re hosting a dinner party. I serve my crumbles with thick custard, and personally I think my recipe still makes the best custard I’ve ever had (click here for recipe).

makes 4
12 figs
4 tsp caster sugar
~~~~~
75g self- raising or plain flour
50g butter (+ a small piece to butter the cooking dish / pots)
25g light brown muscovado sugar
25g chopped walnuts

1. Preheat the oven to 180°C / 355°F (fan).

2. Cut the figs into bite-size pieces. It think cutting them into quarters lengthwise, and then halving all those pieces make them perfect size. Place the pieces into buttered individual pots, or a larger dish if making one, bigger size. Sprinkle over the caster sugar.

3. Make the crumble topping. Self-raising flour will give you more puffy topping, and plain flour a more crumbly one. Place the flour, butter and muscovado sugar together, and massage together with your hands, until it’s all mixed together and a crumbly texture.

4. Cover the figs with the crumble topping mixture.

img_4755

5. Chop the walnuts, and sprinkle on top of the crumble.

img_4758

6. Bake for 30 minutes.

img_4759

Luxury mac and cheese

As I’ve recently been on a lighter diet, I found this ultimate comfort food very rich and filling. It’s not for faint hearted or those even contemplating on a low calorie meal. This would have to be for your cheat day, I didn’t even bother counting the calories (= ignorance is bliss sometimes). This recipe makes a big batch, for those who have read my posts before know that for certain type of food I like making a big amount at one go. This recipe will probably serve about 10 people. This is a more luxurious version of a standard, simple mac and cheese. During baking the smell is indicating it might be very cheesy, however, surprisingly it actually isn’t.

500g uncooked macaroni
200g bacon lardons
2 medium onions, finely chopped
100g butter (+ a small piece to butter the oven dish)
100g plain flour
1tsp Dijon Mustard
1.2 litres full fat milk
100ml double cream
2 bay leaves
1tsp ground nutmeg
1tbsp ground black pepper
400g extra mature cheddar cheese
75g light breadcrumbs
80g grated Parmesan cheese

1. Cook the macaroni to be al dente (still with a little bite to it), and drain well.

img_4735

2. Melt the butter in a large pan, on a low heat. Add the flour, and mix together. Cook, stirring, for about a minute, then add the mustard. Remove from the heat, and little by little, add milk, whisking the mixture together. Add the cream and bay leaves.

3. Heat the mixture, stirring regularly. I use this period for grating the cheese, however you have to remember to keep an eye on the mixture, and stir or whisk it occasionally. Once the mixture thickens, remove from heat, and remove the bay leaves.

img_4742

4. Add the cheddar cheese, and mix until melted. Then add the nutmeg and black pepper, and mix. Also add the cooked macaroni and mix together.

img_4743

5. Fry the finely chopped onions and bacon in a frying pan, and mix into the macaroni and cheese.

6. Heat the oven to 180°C / 355°F (fan). Smear your oven dish with a little butter, and put the mac and cheese mixture into the dish.

img_4748

7. Mix the breadcrumb and Parmesan cheese together, and coat the mac and cheese with the mixture. Bake for 30 minutes.

img_4734

Pumpkin soup

I’m currently experimenting with soups, trying to make one pretty much every week, whilst keeping it interesting at the same time. It’s probably no surprise that being a Halloween week, I’ve made pumpkin soup today. I don’t normally use pumpkin in cooking much at all, so it’s actually nice that I have as the soup is lovely!  The consistency of my soup is quite like that of  velouté, velvety and smooth. If you would like yours thicker, I would just reduce the amount of the liquids in my recipe.

2 onions, finely chopped
splash of olive oil
1 pumpkin (mine was 1,8kg)
1 litre of vegetable stock (I mix Bouillon powder with water)
2dl double cream
salt
pepper
pumpkin seeds
pea shoots

1. Peel, deseed and chop the pumpkin.

2. Heat the oil, then cook onions for 5 minutes until soft. Add the pumpkin and cook for 10 minutes, stirring occasionally.

3. Add the stock, and after bringing it to boil simmer for 10 minutes. Add the cream, and season with salt and pepper.

4. After cooling the soup down a little bit, puree it in a blender.

5. Re-heat if needed, drizzle some olive oil on top and serve with some pumpkin seeds and pea shoots.

Squid and chorizo salad

This wonderful salad is full of flavour and content. The dried chickpeas need to soaked for 8 hours so this dish will need some pre cooking planning, but apart from that is quite a simple food to make, with not a lot of actual cooking involved.

2dl dried chickpeas
400g squid
1 chorizo sausage (about 60g)
8 plum tomatoes
1 fresh small green chilli
2 cloves of garlic
1 spring onion
2 leaves of romaine heart lettuce
25g fresh parsley
juice of one lemon (or 2tbsp)
6 tbsp olive oil
salt
pepper

1. Generously cover the chickpeas with cold water for 8 hours. After the soaking time, drain. Place in a pot, cover with fresh water and bring to boil. Simmer for 40 minutes.

2. Whilst the chickpeas are boiling, chop the ingredients for the salad base. Cut the tomatoes into quarters. Deseed and finely chop the chilli, and also finely chop the garlic cloves, spring onion and parsley. Cut the romaine heart lettuce into thin strips. Mix together, and add the lemon juice and half of the olive oil. Season with a little bit of salt and pepper. Place in the fridge. Once the chickpeas are cooked, drain and let cool.

3. Cut the body pouch of the squids open, and score the inside into diamond shapes. Then cut the squid into bite size pieces.

img_4543

4. Heat the remaining half of the oil in a frying pan, and put the squid pieces in the scored size up. Fry for about 30 seconds, then turn over and fry for another 30 seconds. You may need to do this is two-three batches. Season with a little bit of salt and pepper, and set aside.

5. Chop the chorizo into small pieces. Fry in the pan for couple of minutes, then add the squid and fry for another minute.

6. Add the cooled chickpeas to the salad base, and mix together. Plate the salad, and add the squid and chorizo on top.

Mixed bean cassoulet

I’m not entirely sure what the true, authentic way of making bean cassoulet is, but the good thing with any this type of food is that you can easily make it your own. You can go from vegetarian version to a hearty, meaty one, or anything in between. This is what I went for this time, using my homemade chicken stock (click here for recipe), and I’m already looking forward to the next time, to make one perhaps with sausage. I would categorise this dish as hearty winter meal. I’ve never been a big bean lover, but this dish is a great introduction to tasty ways of cooking them, and my husband loves this dish. One thing that requires some organisation with this is soaking the dried beans beforehand, but otherwise the steps to making this food are pretty simple. I use a 10 bean mix of black eyed beans, black turtle beans, butter beans, haricot beans, lima beans, pinto beans, red kidney beans, rose cocoa beans, alubia beans and mung beans.

500g dried mixed beans
2 medium sized carrots, finely chopped
1 celery stick, finely chopped
1 onion, finely chopped
3 garlic cloves, finely chopped
handful of fresh basil leaves, finely chopped
3 sprigs of fresh thyme
3 bay leaves
1 tsp salt
1 tsp black pepper
2 tsp paprika powder
1 tsp cayenne pepper
1 can of chopped tomatoes
4 dl chicken stock
dash of vegetable oil

1. Place the beans in a bowl, cover with cold water and soak for 12 hours. After the soaking time, drain. Place in a pot, cover with fresh water. Bring to boil, and on high setting boil for 10 minutes. Reduce the heat to simmer, and boil for 1 hour 20 minutes.

2. Preheat the oven to 180°C / 360°F.

3. Place the oil, carrots, celery, onion, garlic, bay leaves and thyme in a casserole dish. Fry on the hob for about 5 minutes, stirring, until onions start getting softer.

4. Place all the remaining ingredients in and mix everything together thoroughly. Cover with a lid, and place in the oven. Bake for 35 minutes.