Runeberg’s tart

The name for these mini cakes is slightly misleading, because they’re called tarts even though they are cakes. Direct translation between languages can sometimes be very difficult when you want to be true to the original name, but know at the same time it will give people a wrong impression. These delightful cakes are traditionally eaten once a year, in celebration of Finland’s national poet Johan Ludvig Runeberg, on 5th of February.

makes about 8
Batter
1 egg
25 ml caster sugar
1/2 dl light muscovado sugar
100g butter, melted and cooled
1/2 dl double cream
2 dl plain flour
50g ground almonds
1 tsp baking powder
1/2 dl finely chopped hazelnuts
1 tsp vanilla sugar (or 1/2 tsp vanilla extract)
1 tbsp Amaretto
1tsp almond extract
~~~~~
Sugar syrup
1 dl sugar
1/2 dl water
2 tbsp cognac
~~~~~
rasberry jam
icing sugar
water
a dash of Amaretto

1. Beat the egg, sugars and the extracts until fluffy. Whip the cream until soft peaks are starting to form. Add the butter, cream and Amaretto to the egg and sugar mixture, and mix together.

2. Mix all the remaining dry ingredients together, and fold into the wet mixture.

img_2242

3. To make the cakes the traditional shape I had to improvise, as I don’t have the molds (will have to try to remember next time is visit Findland to buy some). I used non stick baking paper to make cylinders, which do work pretty well. This step of course isn’t necessary, and you could just use muffin cases, if you’re not too particular of the shape of the cakes.

img_2241

4. Preheat the oven to 180°C / 355° (fan). Bake the cakes for about 15-20 minutes.

5. While the cakes are cooking, prepare the syrup. Place the sugar, water and cognac in a pan, and bring to boil, cooking until all the sugar has dissolved.

6. Once the cakes have cooked, let cool for 5 minutes. Prick holes in them with a thin cocktail stick / needle. Then, brush the cakes with the syrup, using all of it. Let the cakes moisten for half an hour.

img_2240

7. Cut the tops of the cakes, to make them flat, and turn upside down. Place raspberry jam on top, leaving a space all around it. Mix the icing together, making a thick mixture, and finish the cakes with a ring of icing around the jam. Let the icing to harden, and the cakes are ready to be enjoyed!

img_2237

Beetroot and dill cured salmon

Cured salmon is one of the foods often enjoyed as part of the Scandinavian kitchen. There are many variations to it, however the basics you will need are sugar and salt. The whole process is based on the reaction called osmosis, and is an ancient way of preserving foods that wouldn’t last fresh for long otherwise. During the curing, you will notice a lot of liquid will be drawn out of the fish. The cured fish will last in the fridge for few weeks, however I doubt you will have anything left for that long.

2 raw beetroot, grated
500g piece of fresh salmon
50g table salt
90g caster sugar
1 tbsp yellow mustard seeds
1 tbsp black peppercorns
a bunch of fresh dill

1. Dry roast the mustard seeds, until fragrant and popping. Cool, and crush together with the peppercorns with pestle and mortar. Mix together with salt, sugar and finely chopped dill.

2. Place a large piece of cling film to cover the dish you’re using for your curing. Place half of the raw, grated beetroot at the bottom. Then add half of the mixture of the other ingredients.

3. Add the piece of salmon on top of the beetroot and sugar / salt mixture. Leave the skin on the fish.

img_1635

4. Add the salt / sugar mixture and the beetroot on top of the fish too.

5. Tightly pack the fish and curing mixture. I used three different layers of cling film, however some of the liquid will still seep through. Place something to act as weights on top of the fish, and put in to fridge.

5. About every 12 hours (or every morning and evening), turn the fish upside down. I also change the direction my weights are, to try to ensure they are covering as much as possible during the process.

img_1640

6. After two days, your fish is ready. Drain all liquid, and wipe the fish piece clean.

img_1648

Roasted butternut squash soup

This soup is super tasty, and also pretty easy to make. Even though a couple of chillies are used, it’s not at all spicy. Butternut squash gives the soup a wonderful, sweet taste. This velvety soup is perfect for the approaching winter.

1 butternut squash
2 onions
1 garlic clove
2 chillies (I use green chillies)
900ml vegetable stock (I use Bouillon powder)
100ml double cream
2 tbsp olive oil
25g butter
black pepper and salt to taste

1. Peel and chop the butternut squash, and discard the seeds. Preheat oven to 180°C (355°F). Place the pieces in an oven dish, and sprinkle half of the oil on the pieces. Roast for 30 minutes. Half way through, turn the pieces.

img_0656

2. While the squash is in the oven, put the rest of the oil and the butter in a pot. Peel and chop the onions to large pieces. Cut the chillies in half lengthwise, and remove the seeds and the pith. Finely chop the chillies and peeled garlic. Place onions, garlic and chilli in the pot, and fry on medium heat for about 10 minutes, stirring, until the onions are soft and translucent.

3. Once the butternut squash pieces are done in the oven, add them to the pot, together with the hot vegetable stock. Let cool for a while, before whizzing into purée.

img_0661

4. Pour back into the pot, reheat, add the cream and season to taste.

de459664-1a20-4980-9d77-5942464eee42

Scandinavian pickled cucumber

Scandinavian pickling is sweeter than what you would normally expect from pickled vegetables elsewhere, but nevertheless very tasty. You can of course pickle a variety of vegetables, rather than just cucumbers. I often make cucumbers and radishes. They are also ready within a couple of hours so even if you haven’t been very organised with the planning, can easily make them for your meal. This recipe is for light pickling solution, meaning delicate vegetables requiring short pickling time, for example vegetables with higher water content. Good general rule is vegetables you would eat raw.

125ml apple cider vinegar
125ml water
75g caster sugar
1/2 tsp salt
2 juniper berries (dried is fine)
1 tsp yellow mustard seeds
1/2 tsp fennel seeds
~~~~~
1/2-1 cucumber
4-6 radishes

1. Boil all solution ingredients together until the sugar has dissolved (couple of minutes), then let cool.

img_0478

2. Thinly slice the vegetables. For this kind of slicing, I tend to use mandoline, as it will give you equally thin slices. On my mandoline I used level 0.5 for the radish, and 1.5  for the cucumber.

img_0480

3. Place the vegetables in a ceramic or glass bowl (metallic one can affect the flavour). Pour the cooled solution over the vegetables, cover with cling film and place in the fridge for a couple of hours before serving.

img_0482

Plum and custard tart

I don’t bake and make dessert often enough, so I’m consciously trying to make more of an effort with this. I love this plum custard tart, and I think this would also be excellent with other fruits, such as figs. This is currently one of my favourite things I’ve been making quite a lot.

Pastry
200g plain flour
1 tbsp caster  sugar
1 tsp baking powder
125g butter, plus a samll extra piece for greasing your baking tray
1 egg
2 tbsp double cream
~~~~~
400g fresh plums
~~~~~
Filling
170ml double cream
1 egg
75g caster sugar
2 tsp vanilla essence

1. Prepare the plums by quartering them. Discard the stones. I find the easiest way to get the stones off is to cut the plums with a knife placing the knife on top, pushing it in as far as it goes until it reaches the stone, then running it around the full way, until you reach where the knife started from. Do the same again in a way that it makes a cross at the top. This way the cut will be quartering the plums. You can then twist the pieces off, and cut the stone off the piece it has stuck to.

2. Preheat the oven to 180°C / 356°F (fan). Grease your baking tray with butter.

3. Mix the flour, sugar and baking powder together in a bowl, then rub in the  butter until the mixture resembles breadcrumbs.

img_6494

4. Mix the cream and egg together, then add to the dry ingredients. Stir together until mixed into a dough.

5. Place the dough into the baking tray, and shape it equally to cover the tray. Arrange the plums on top of the pastry.

img_6497

6. Bake for 25 minutes. During the the baking time, beat together the cream, sugar, egg and vanilla essence.

img_6498

7. After the 25 minutes baking time, remove from the oven. Pour the liquid over the plums and bake for a further minutes until set.

8. You can serve the tart warm or cold.

img_6504

Moussaka

Greek food somehow seems to often get forgotten in my kitchen, as well as when dining out. There is no particular reason for it, but it just doesn’t seem to be an obvious first choice. Apart from moussaka that is, which is a dish I make quite regularly.

3 aubergines (eggplants)
~~~~~
2 medium onions
3 cloves of garlic
2 green peppers
bunch of parsley
50ml olive oil
25g butter
2 tsp salt
2 tsp ground black pepper
1 tbsp oregano
1 dl tomato puree
4 dl water
500g minced lamb
~~~~~
3 dl milk
2 1/2 tbsp plain flour
pinch of salt
2 eggs

1. Finely chop onions and parsley. Cut the green peppers into small pieces.

2. Fry the onions in the oil until translucent. Add the chopped green peppers and parsley, squeeze in the garlic and fry for 5 minutes.

img_1190

3. Add butter, salt, pepper, oregano, tomato puree, water and the lamb. Cook for 15 minutes, stirring occasionally. Check the taste, add more salt and pepper if required.

img_1191

4. Mix the flour with the milk, and heat until the mixture thickens. Pour the eggs in whilst mixing, and season with salt.

img_1192

5. Cut the aubergines lengthwise, to about 1cm thick slices. Use half of them to layer bottom of an oven casserole dish. Add the lamb mixture, and put a layer of aubergines on top. Pour the white sauce over everything.

img_1197

6. Cook in preheated oven 190°C / 375°F  for 45 minutes.

img_1202


Apple pie

There are probably as many apple pie recipes, or variations of recipes, for this favourite dessert of many nations, than there are chefs and home cooks. The below recipe is one I like. Some people prefer more filling to pastry, some like more pastry. I think this recipe gives you enough of both.

Pastry
225g butter, room temperature

50g caster sugar, plus a little bit extra for sprinkling on top
2 eggs
350g plain flour
~~~~~
Filling

1 kg Bramley apples
150g caster sugar
1 tsp cinnamon
3 tbsp plain flour

1. Prepare the pastry first. Beat the butter and sugar together in a bowl until mixed. Add one whole egg, and one yolk, and save the remaining egg white for later. Beat together for one minute.The mixture will look a little bit like scrambed eggs at this point. Then add the flour little by little. Tip the dough onto floured surface, and finish working the dough by hand. Form the dough into a ball, wrap in cling film and chill in the fridge for 45 minutes.

img_6403

2. Whilst the dough is in the fridge, prepare the apple filling. Quarter, core, peel and slice the apples. You want the slices to be quite thin, about 5mm thickness. Lay on a baking paper, and cover with paper towels. Let dry for about 30 minutes.

3. Mix the sugar, cinnamon and flour for the filling. Use big enough bowl, to be able to fit the apple slices later.

img_6410

4. Heat the oven to 170°C / 340°F. Cut 2/3 of the dough for the base, leaving the remaining third for the lid wrapped. Roll the base out, to be big enough to cover the pie tin, with a slight overhang. It may be a good idea to place the dough between two non-stick baking paper sheets when rolling it. Place into the tin, and roll out the lid.

5. Pat the apples dry, and put into the bowl with the sugar – cinnamon mix, and mix together well, so that all the apple slices are coated with the mixture. Tip it all onto the pie tin. Wet the pastry rim with water, using your fingers. This will help the lid to stick. Place the lid over the apples, and press edges together with the base. Stab 5 slashed with a sharp knife, and brush with beaten egg white. Sprinle with some more sugar, and bake for about 45 minutes.

6. Once baked and golden brown, let rest for about 10 minutes.


Scones

Scones are very British, and traditionally eaten with afternoon tea. Go anywhere for your high tea, scones will be served after your finger sandwiches, before the cakes. You will usually have a selections of ones without raisins, and ones with them. I personally tend to prefer the ones without. I’m a big fan of using buttermilk in baking, and I do use them for scones as well. Scones are traditionally served with some jam and clotted cream (I normally prefer whipped cream). There is a long standing debate about whether the jam goes on first, followed by the cream, or vice versa. One thing is for sure: they are indeed very easy to make, and you will be wondering why you never made them yourself in the past!

makes about 10-12

350g self-raising flour
100g caster sugar
100g butter, cut into small pieces
180ml buttermilk
~~~~~
clotted / whipped cream
jam

1. Preheat the oven to 180°C / 356°F (fan).

2. Measure together the flour and sugar, and mix. Add the butter pieces. Rub together, until the mixture resembles breadcrumbs. Add the buttermilk, and mix together into a dough.

3. Place the dough on a floured surface. I tend to cut the dough into half, to make it easier to handle the dough when making the scones. Shape it into a ball, and flatten with your hand. Finish flattening with a rollin pin, until about 2.5cm (1 inch) thick. Cut out the scones. I use a glass that is about the size I want the scones to be, about 5cm (2 inches) in diameter. Repeat with all the leftover dough, to use it all.

img_6320

4. Place on a non stick baking paper and baking tray, and bake for about 12 minutes. After the time has passed, you can check they are cooked through by piercing one with a metal pin. If nothing sticks to the pin, they are cooked.

img_6322

5. Let cool on a wire rack. Cut in half and fill with jam and cream.

Butternut squash tortellini

I don’t often cook full vegetarian meals (I should try to do it more), but at the end of the day, as long as the food delivers on flavour, it doesn’t really matter what it is. These vegetarian  tortellinis filled with butternut squash definitely do just that.

Serves 4
1 butternut squash
250g fine white wheat flour (00 grade is best)
2 large eggs
3 cloves of garlic
3 sprigs of fresh thyme
1 onion
50ml double cream
50ml pine nuts
1tbsp olive oil
salt
black pepper

1. Peel and cut the butternut squash into cubes. Place half in a pot with two cloves of garlic and the thyme sprigs. Cover with a lid, bring to boil and simmer until soft (around 20-30 minutes), drain the liquid in another pan, saving it for later.

2. Peel and chop the onion, and place in the same pot the squash was cooked in, together with the olive oil. Heat and fry the onion for a few minutes. Squeeze one clove of garlic in, and fry for another minute or so. Remove the thyme sprigs and whole garlic cloves from the cooked butternut squash pieces, and add the butternut squash to the pan. Stir together, and set aside to cool.

3. Bake the remaining half of the squash pieces in a preheated oven 180°C/355°F for about 30-40 minutes, depending on the size of the pieces.

4. Prepare the pasta.  Measure the pasta flour in a bowl. Make a well in the centre, and pour the eggs in. Then, starting with a fork, break the eggs and little by little mix the eggs with the surrounding flour. Once the dough gets firmer, move onto kneading by hand.

img_2149

5. Once cooled, prepare the filling. Put the boiled squash pieces,  fried onion and garlic in a blender. Add half the cream and half the pine nuts, then blitz together. Add salt and pepper to taste.

6. Cut the dough into four pieces. Repeat the next stages with all pieces. Roll the piece to a cigar shape, then flatten the piece with your hands, and roll through the pasta machine, on the widest setting. Fold the dough over in half, and roll through the same setting again. Then reduce the setting to the next, and roll through. Repeat until desired thickness is achieved. I would say from 7 down to 2 should be fine.

7.  Cut your pasta. Brush half of the pasta round with egg, and add the filling (make sure it’s cooled). Fold the other half of the pasta over, and close with your fingers, pressing the pasta firmly together. Make sure you don’t leave air in.

8. Boil a large pan of water, with a generous amount of salt. Add the tortellini to the boiling water and cook for 5 minutes.

9. Bring the saved cooking water of the butternut squash to boil in a separate pot. Reduce to about half. Season to taste with salt and pepper, and add 25ml double cream. Mix the oven roasted squash pieces into the sauce.

10. Serve the tortellini and the sauce together with the rest of the pine nuts sprinkled on top, and with some pea shoots and grated parmesan cheese.

img_5719

Restaurant review: Adam Handling Chelsea, London

My husband and I have been fans of Adam Handling ever since he was on Masterchef UK back in 2013 (he came second, however we always thought he should’ve won). He was back then, and still is, an exciting chef, someone whose career one wants to follow. He has quickly built an empire of restaurants and bars, and I suspect he’s only getting started. We were delighted when we learned he was opening a restaurant in Chelsea (or should I say Knightsbridge), simply called Adam Handling Chelsea. Adam has a great eye for detail, is experimental and creates great flavours, and even holds a few surprises up his sleeves.

For those who haven’t read my reviews before, my rating is from 1 to 5, however hardly any place has gotten the full marks from me. 1-2 would be somewhat disappointing, 3 would be good, and 4 very good. 5 would be exceptional, and is only reserved for the few, very best places.

We made our reservation few weeks in advance. Two days before our booking we were contacted by the restaurant that they now had a private event in the restaurant, however we could still have our lunch at the lounge area. This was at first somewhat disappointing, because we had really been looking forward to seeing the restaurant. It has to be said that the all of the staff were very professional in the way they dealt with the situation. We decided to still go ahead, as the food was still the restaurant food.

Because of the whole situation, we were being offered a 4-course menu complimentary. We had, however, been planning on the 7-course Tasting Menu since we made our reservation. The staff and the kitchen were kindly very flexible and accommodating to our wishes, and we were able to go for the Tasting Menu.

After our lunch, we were able to go and see the actual restaurant too, and look forward to eating there next time, it’s a lovely and beautiful space.

The bar and the restaurant both have a great feel to them. Smart and sophisticated, and at the same time they don’t feel pretentious, but relaxed and comfortable. The staff looking after the bar and the restaurant were great, and very welcoming.

First we were served sourdough bread and little doughnuts filled with béchamel sauce, topped with parmesan cheese and truffle. The doughnuts were soft and fluffy, and the taste was nice. The sourdough was nice and soft, and just as it should be, and as in all my reviews, there is always the butter test, which Adam Handling Chelsea passed with flying colours. The normal butter, as well as the chicken butter were both beautifully soft (there are not many things I hate more than hard butter that’s impossible to spread on fresh bread). I didn’t, however, get the chicken flavour from the chicken butter.

Next came the Amuse Bouche of foie gras mousse filled cigars (loved the flavour of this), and crab ‘tarts’. The foie gras mousse was subtle in flavour, however, wonderful. The crab flavour in the tarts was quite strong, and I didn’t taste much anything else.

First actual course was scallop ceviche with fermented tomato, kohlrabi and yarrow. It was very nice, the kohlrabi was wonderful. Personally I prefer cooked scallops, I find the raw ones somewhat bland in taste. Paired wine was creamy rather than sharp, and was nice, easy drinking wine.

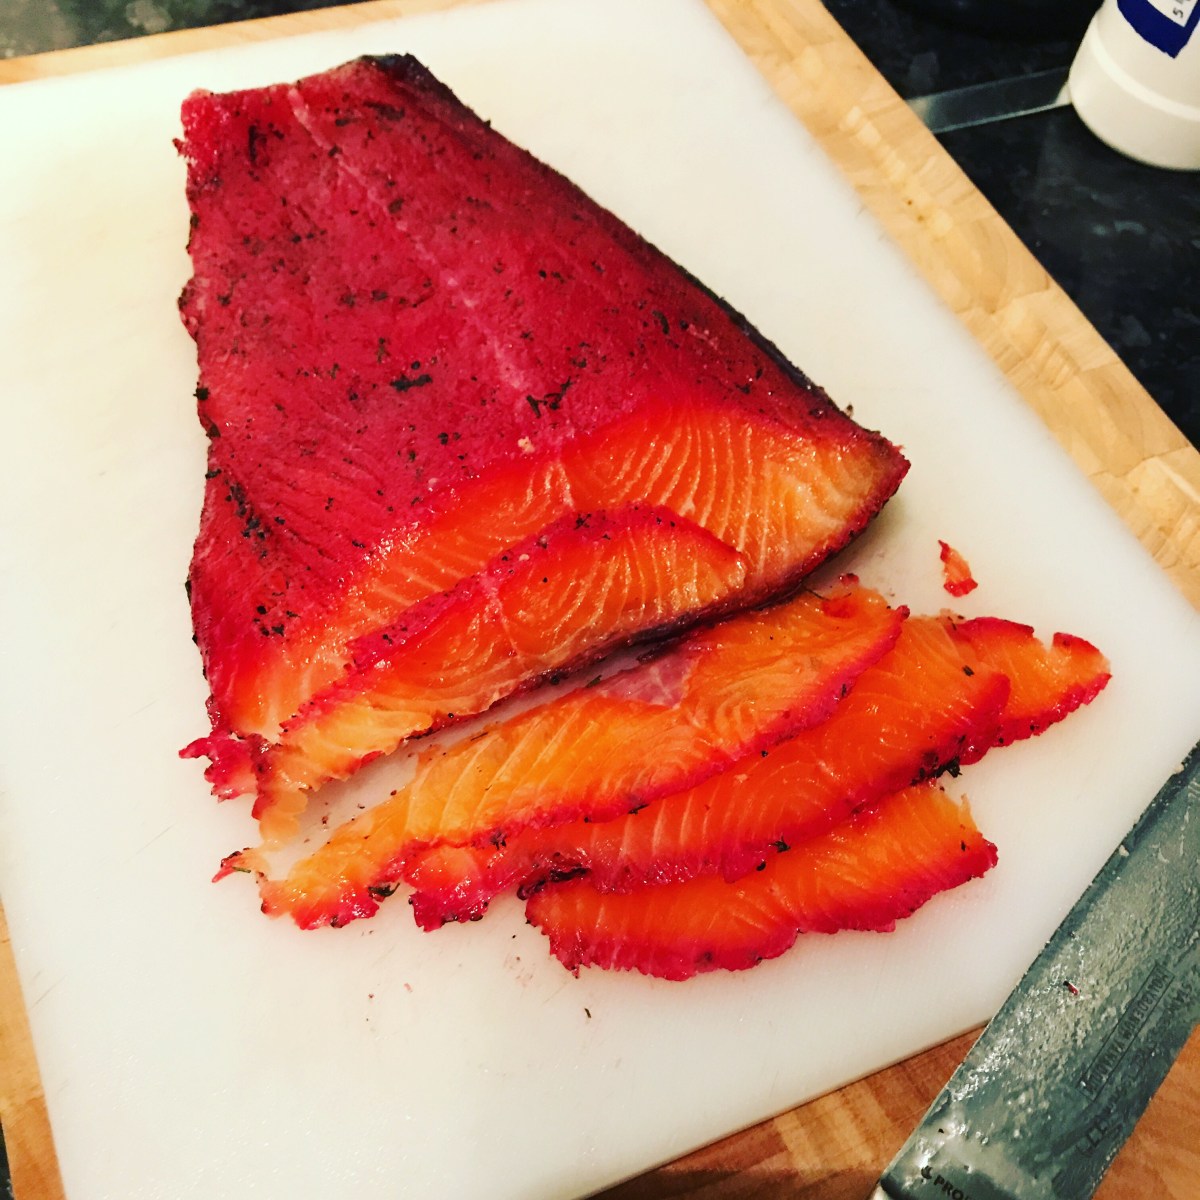
Second course was butter-poached crab, carrots and sorrel. The carrots were prepared in two different ways. The pickled, grated carrots were quite overpowering, perhaps a little too sharp on the vinegar. Otherwise the dish was great. The crab meat itself was beautiful, soft and moist, and very subtle in flavour. The white sauce worked perfectly with the crab. Paired wine was easy drinking, and not as sweet as you would often think Riesling would be. It was creamy and buttery, but with some sharpness to it at the same time.

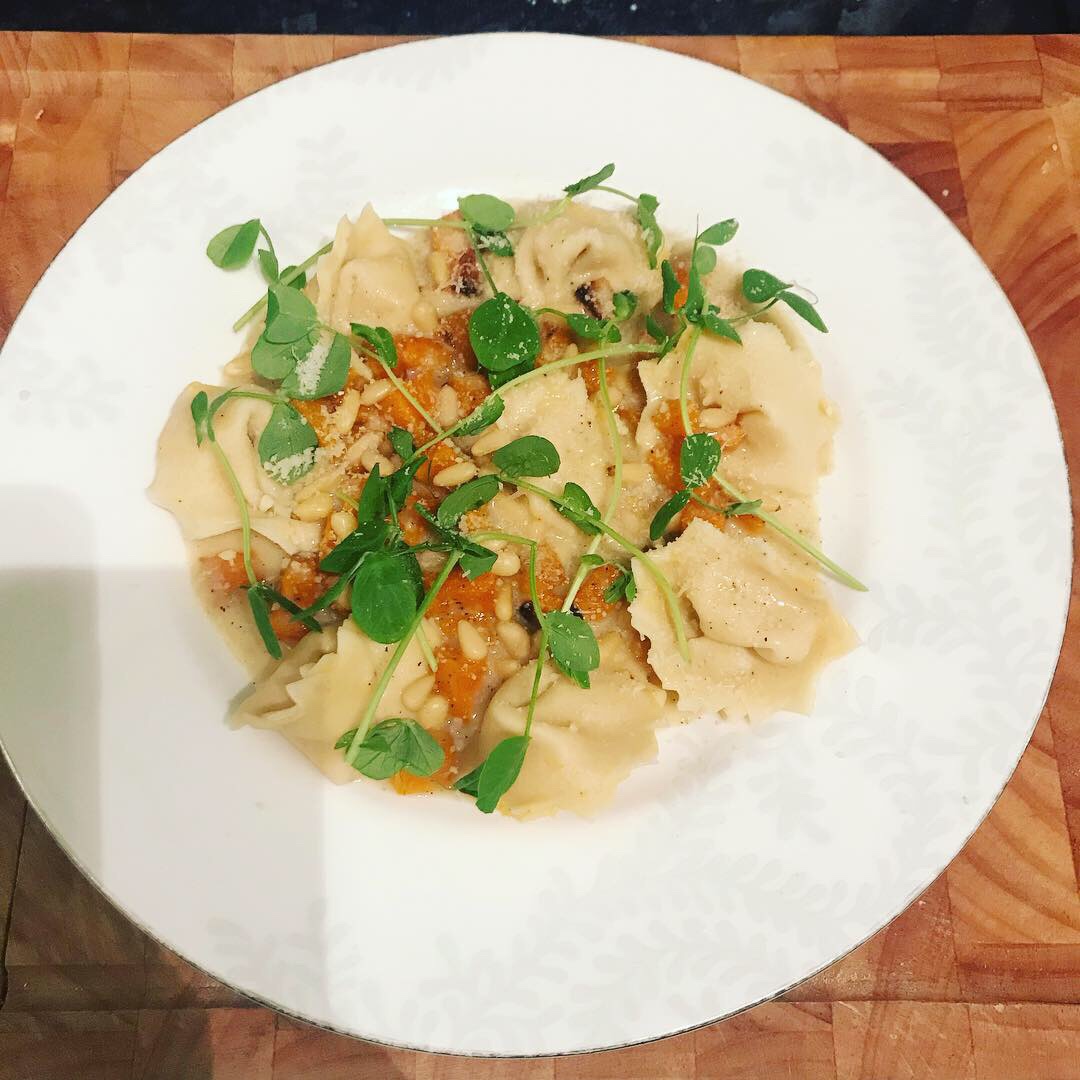
Third course was veal sweetbread, morels, peas and wild garlic. I loved this dish, it was the best one until that point. I find that with sweetbread you won’t always know whether it’ll be good or not. I’ve certainly had some that weren’t great in the past, and a couple of times when it has been cooked really well. I would say this was the best sweetbread I’ve had anywhere. The flavours as well as the texture of the sweetbread were great (yes, I’ve had sweetbread in the past where the texture was off putting). For me, this dish was one of the best of the whole meal. My husband felt this was a little bit too salty. I didn’t think so, and I’m usually the one who finds food more salty than him. All the flavours were perfect together. Paired wine was great: I’m a fan of oaked white wines, as they have more complex taste, like this had too. A wine we would go and buy for home.

Fourth course was John Dory, broccoli puree, cuttlefish, oscietra caviar and whey butter. The fish was cooked really well, and the flavour of the fish as well as the broccoli puree were really good,  however there was an overpowering bitter taste, which we thought might have been coming from the orange peel (finely grated), however not sure if that was the source. We both agreed this was our least favourite dish of the meal, and we probably wouldn’t order it if it was an option on the a la carte (it’s not). Paired wine was a more full bodied white wine, with a lot of character, another one we would definitely buy for home. The wine also had an interesting flavour development, getting a bit of a liquorice flavour.

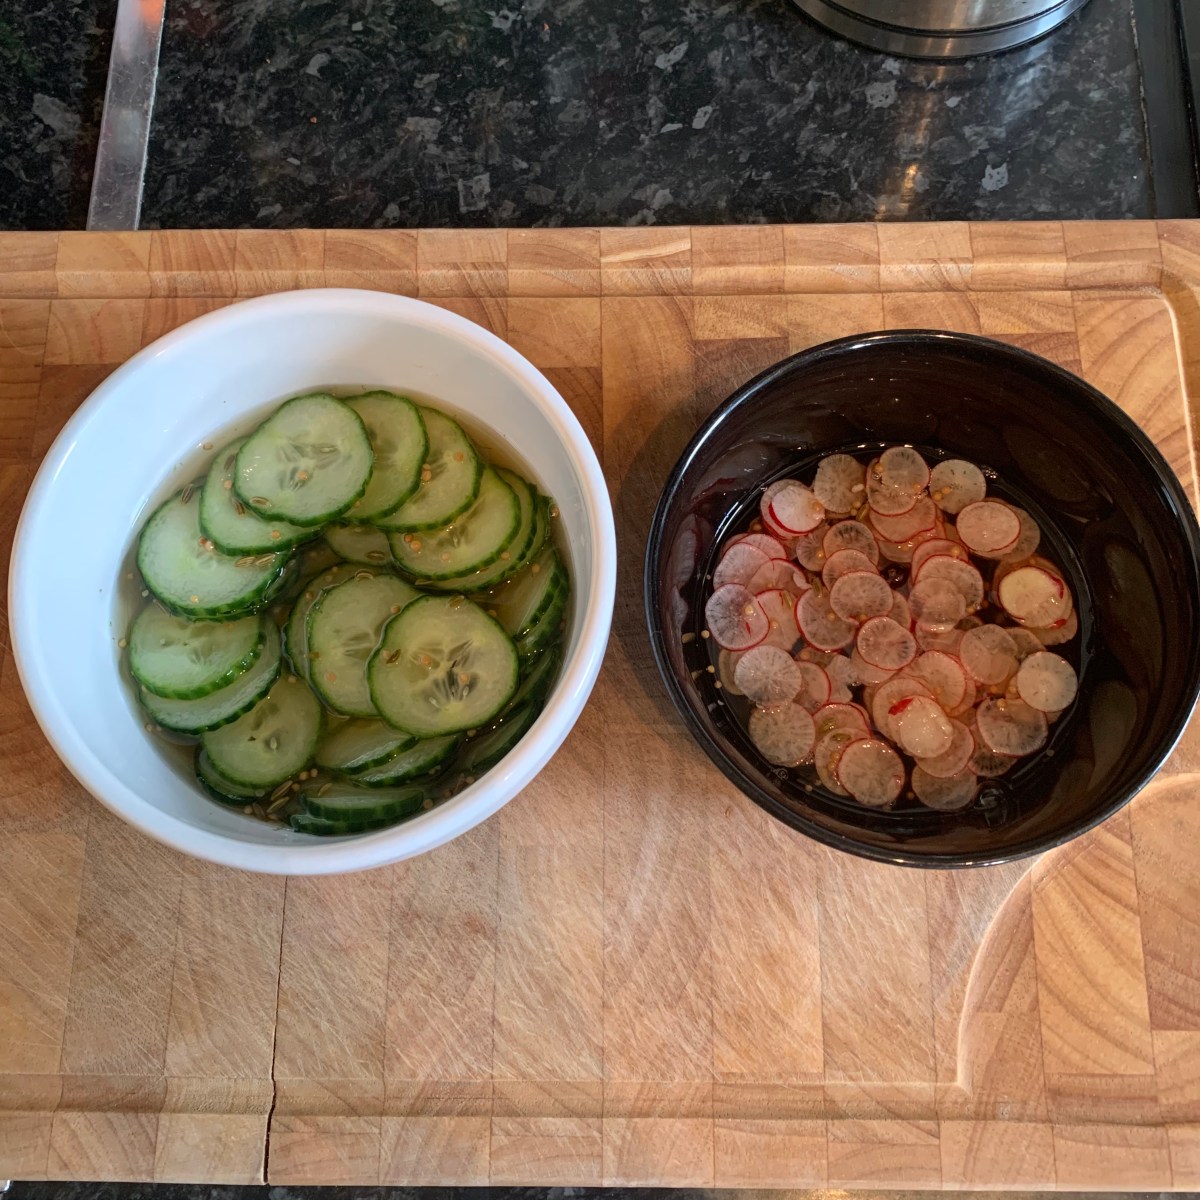
Fifth course was Wagyu beef. I’ve had Wagyu beef before, however this was the best of them so far. The meat was served medium rare which was perfect, and the pieces of meat really showcased what the hype about Wagyu is all about. The meat was unbelievably tender and velvety, and melted in the mouth. This was my husband’s favourite. He originally had reservations because of the pickled cucumber (because of the too sharp pickled carrots with the crab dish), however the cucumber was fantastic. The flavour of the blue cheese and celeriac purée might be something to divide diners. I thought the pickled cucumber, the blue cheese and celeriac flavour together with the gorgeous beef all married together perfectly. Paired wine was fruity and full bodied on the nose, and the taste was dry and sharp with tannins. On the palate, the taste of the wine goes away quite quickly.

Sixth course was the first dessert of yeast parfait, earl grey ice cream, pickled granny smith, honey and star anise beignet. The dish was excellent, and all the flavours went together very well, however I didn’t get the star anise taste from the beignet. Paired wine was floral and sweet.

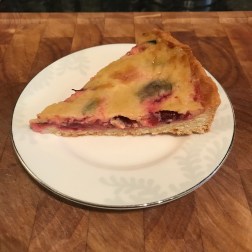
Seventh course, and the last of the desserts, was compressed cucumber, burnt basil and dill. These ingredients were joined with white chocolate ice-cream. The dish was wonderful. All the ingredients and flavours worked together really well, building a really tasty and fresh dessert. The dish was paired with a fresh, subtle flavoured sparkling wine.

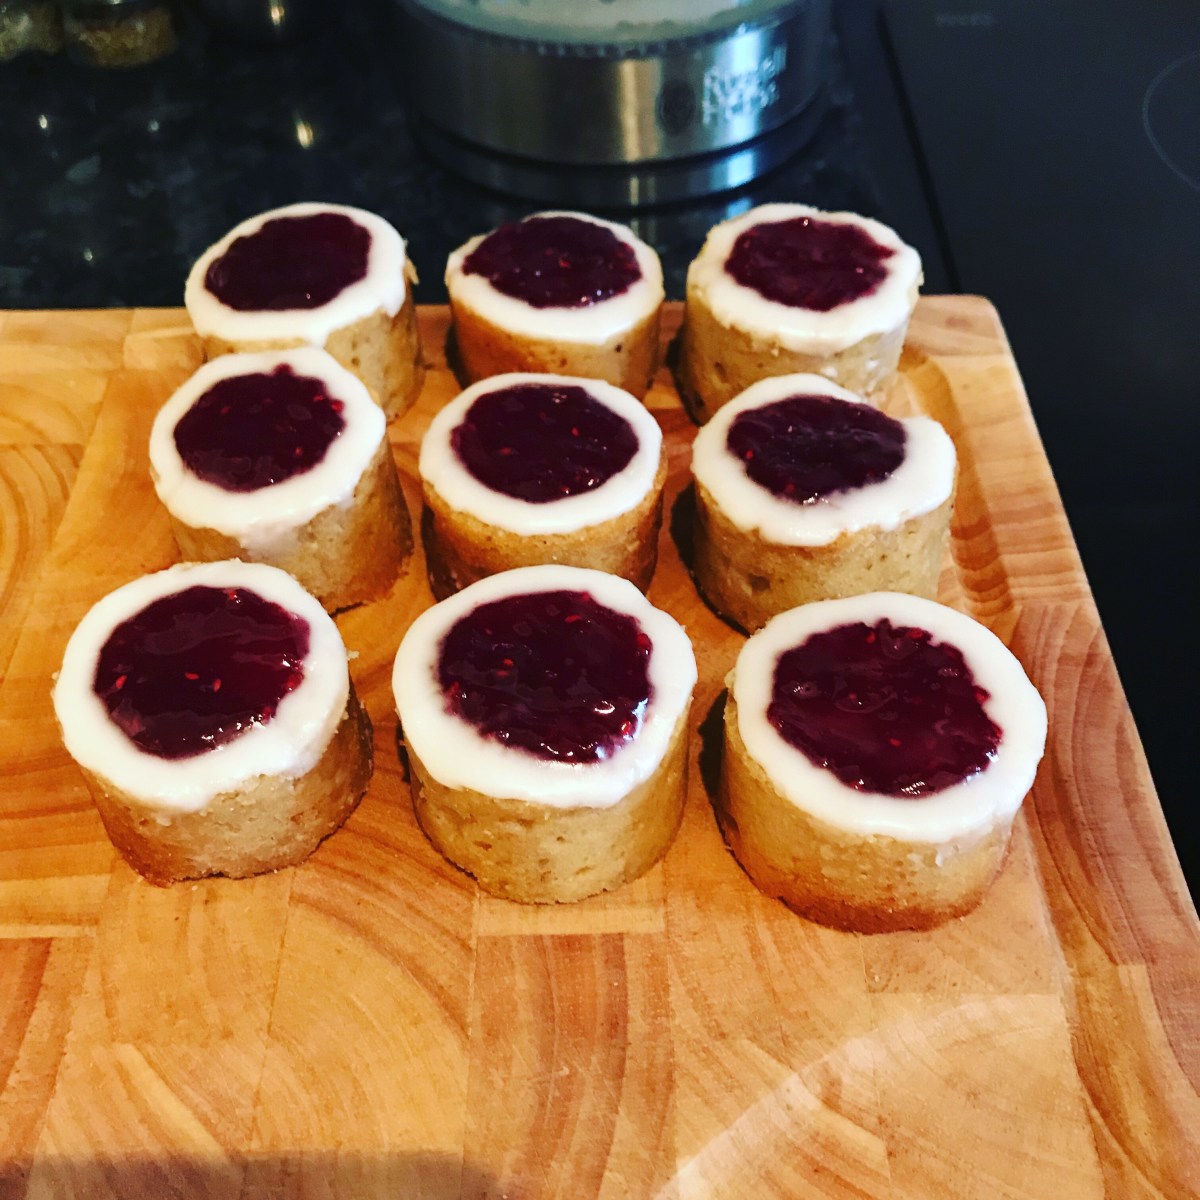
Everything was followed by petit fours, all of them nice, but if you want to save the best till last then eat the little chocolate muffin last.

img_5662

I can see this restaurant becoming very popular.

Rating: ★★★★☆